 Welcome
 Linux
Linux Unix
Unix Download
Encourage FUNIX
The consultation of the site is completely free and without advertisements. Donations are nevertheless appreciated to pay for hosting and encourage its author
Multimedia
Video editing
- The basics of video editing
- Installation of video editing software
- Editing your video with Kdenlive
- Editing your video with Cinelerra
- Editing your video with OpenShot Video Editor
- Editing your video with Pitivi Video Editor
- Editing your video with Flowblade Video Editor
- Editing your video with Shotcut
- Installation of video editing software
- Editing your video with Kdenlive
- Editing your video with Cinelerra
- Editing your video with OpenShot Video Editor
- Editing your video with Pitivi Video Editor
- Editing your video with Flowblade Video Editor
- Editing your video with Shotcut
Edit your video with kdenlive
Network and system
Email management
Exporting a video with Kdenlive
Last modified
August 5, 2024
This site has been automatically translated with Google Translate from this original page written in french, there may be some translation errors
This page is part of a tutorial to explain video
editing with kdenlive and which includes the following topics:
This site has been automatically translated with Google Translate from this original page written in french, there may be some translation errors
Object
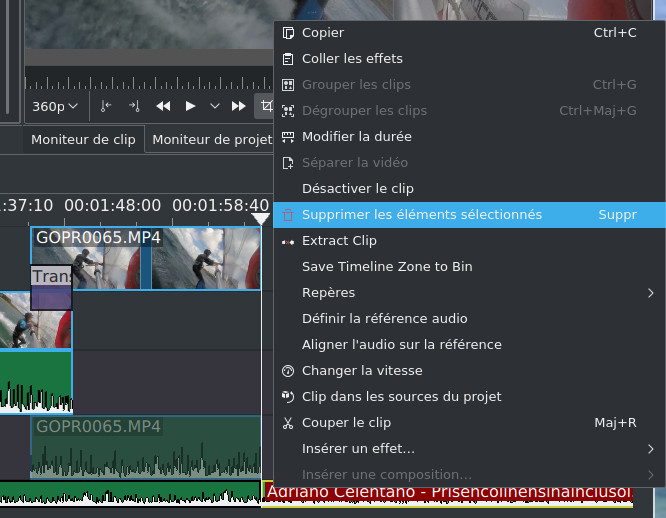
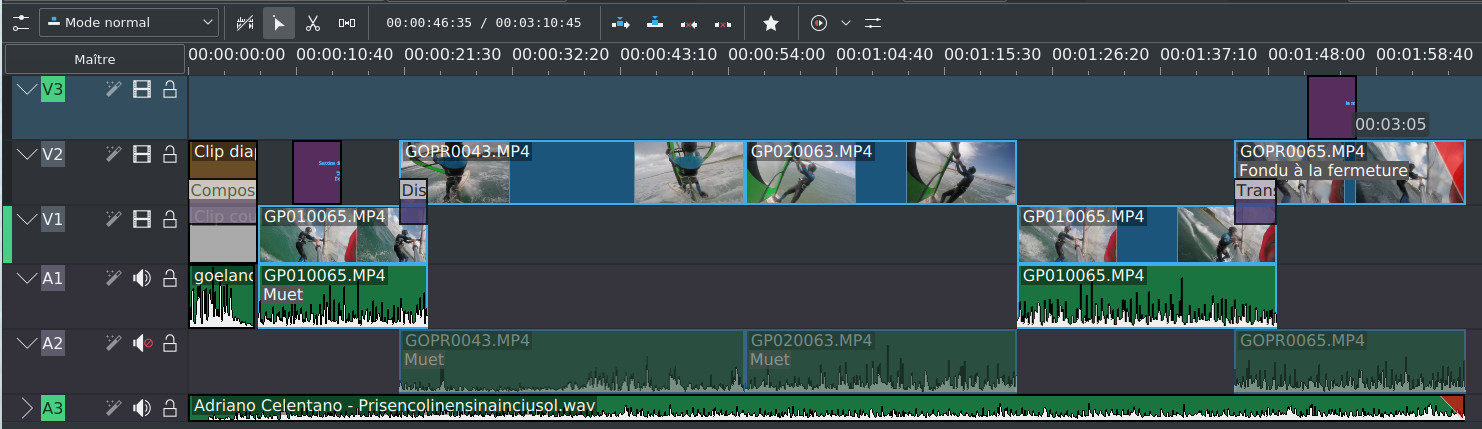
This section follows the previous sections that
were followed in order. We now place ourselves at the end of
our video, and we will cut the soundtrack that is too long,
by first placing the cursor at the end of the last clip,
cutting the audio clip and deleting the excess

Here is the complete
timeline of our finalized project.
On the
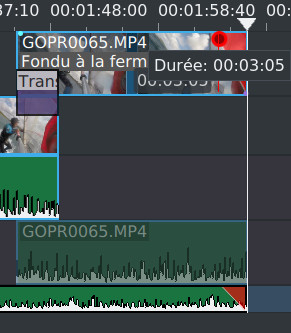
other hand, stopping the soundtrack may be a bit abrupt,
so we're going to add a fade-out, a regular attenuation of
the sound. To do this, click on the top right corner of
our audio clip and choose the duration of the attenuation
period (here 2''15).
For the
last video clip we will do the same by creating a fade
to black
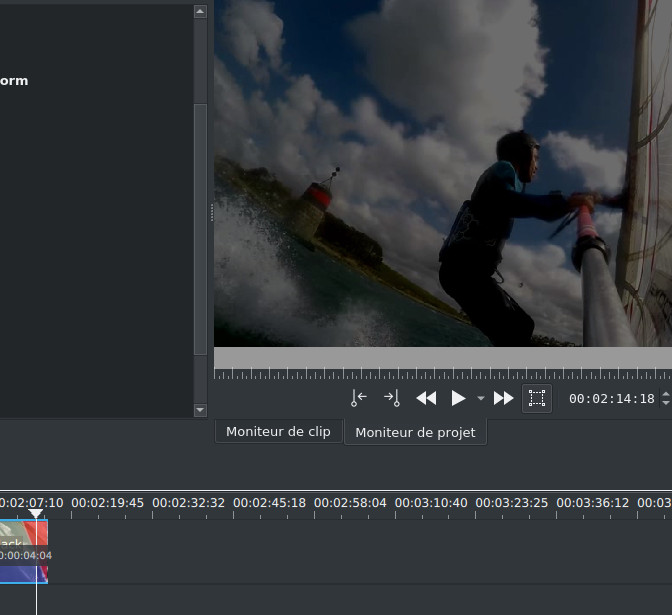
It looks
something like this with the video fading to total black
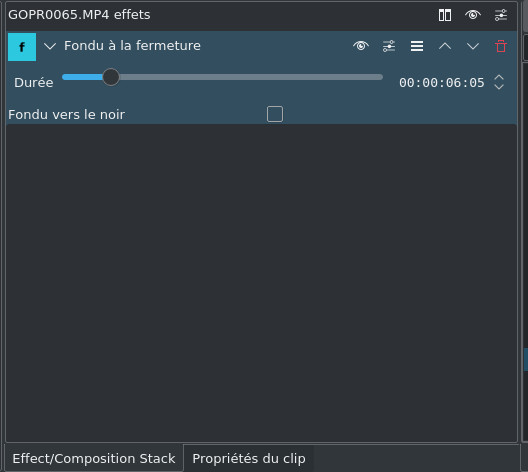
The fade
duration can be changed by moving the red triangle above
or by playing on the properties of the effect
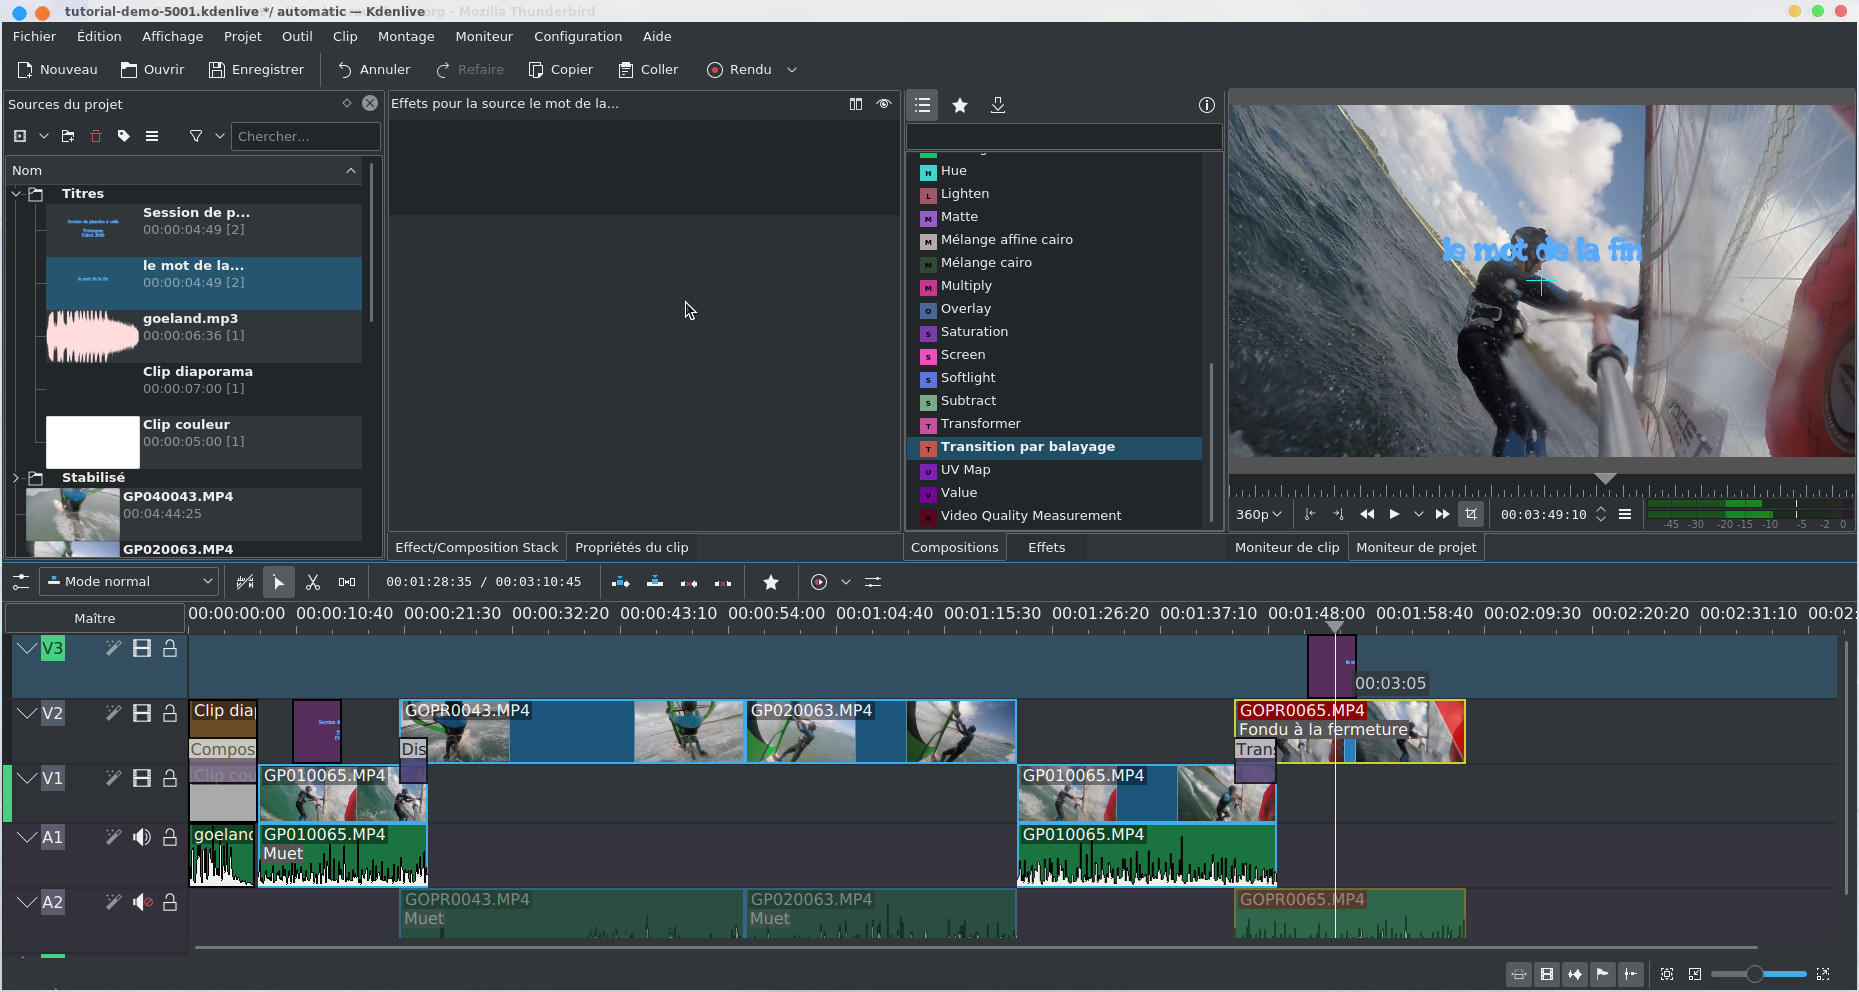
In the
same way we will add the end title which must be placed on
the track above the track of the last clip, so I added a
track above the V2 track to be able to add the title.
We can
consider that the editing is finished. Now to export a video
file, you have to go to the Project->Render menu or from the
button  You have a large choice
of formats, the best compromise being MP4-H264/AAC which gives an
excellent rendering with youtube (as long as the initial
clips are in HD). Also note the 4K format with MP4-H265
(HEVC) which is not yet read
by many devices but which is certainly the format of the
future, it is at least as good quality as H264 while
being much smaller in size, also note the lossless
formats, not to mention other more exotic or obsolete
formats.
You have a large choice
of formats, the best compromise being MP4-H264/AAC which gives an
excellent rendering with youtube (as long as the initial
clips are in HD). Also note the 4K format with MP4-H265
(HEVC) which is not yet read
by many devices but which is certainly the format of the
future, it is at least as good quality as H264 while
being much smaller in size, also note the lossless
formats, not to mention other more exotic or obsolete
formats.
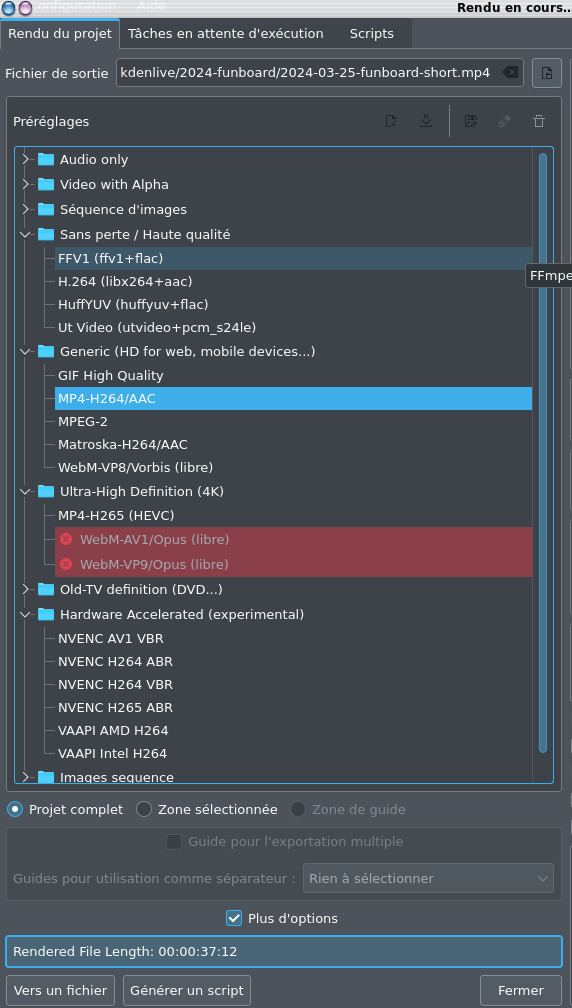
Note
that at this point you can choose to export the entire
project, only the selected area in the timeline, or an
area of the timeline delimited by guides.
If you have chosen to degrade certains clips with the Proxy Clips function by clicking on the More options box, make sure that the Render with preview resolution box is not checked, so that the original video format of the rush will be used.
In the
window below you also have the option to enable parallel
processing with multiple CPU cores (note the warning
though), the encoding settings can be changed at the
very bottom of the window.
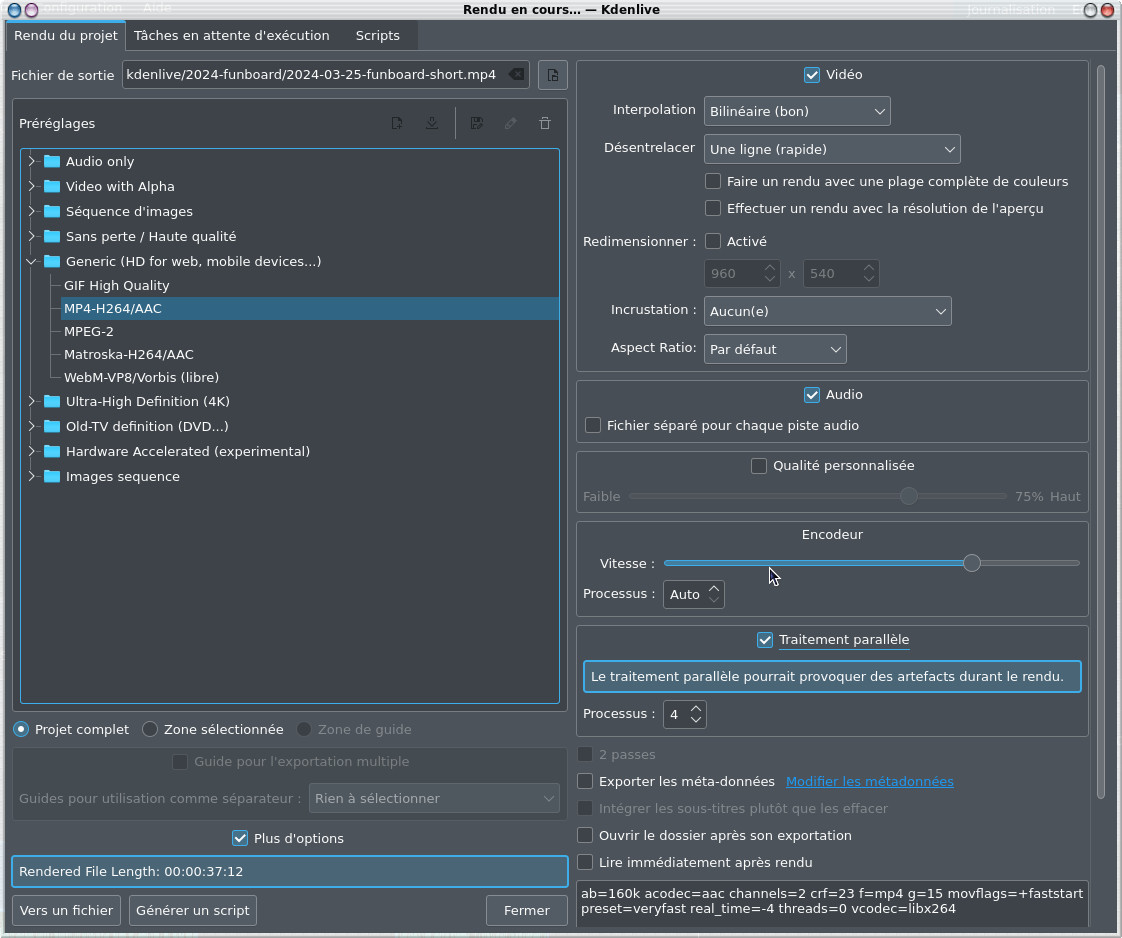
From
version 24.05 you can choose the ratio of the final
video
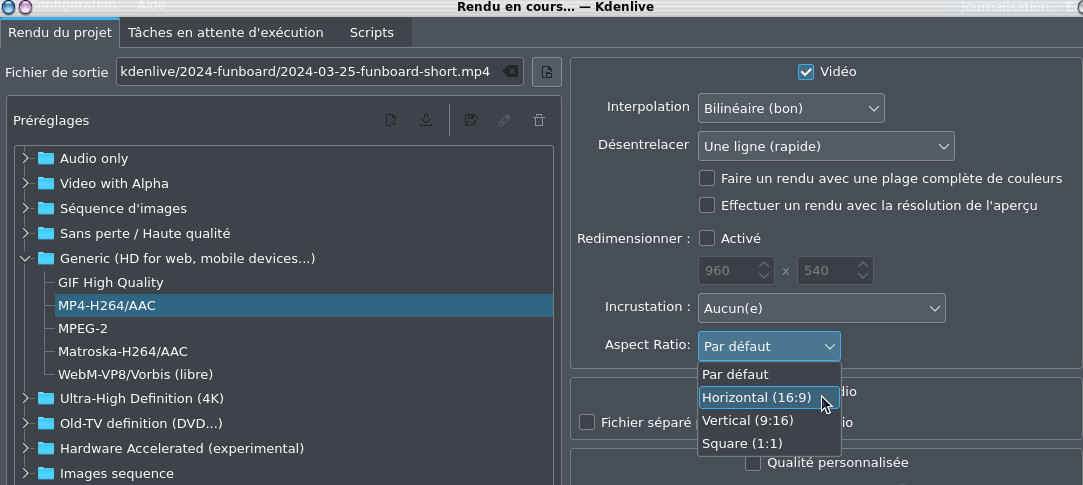
and from
the Overlay command you can set up
a timestamp or frame number overlay.

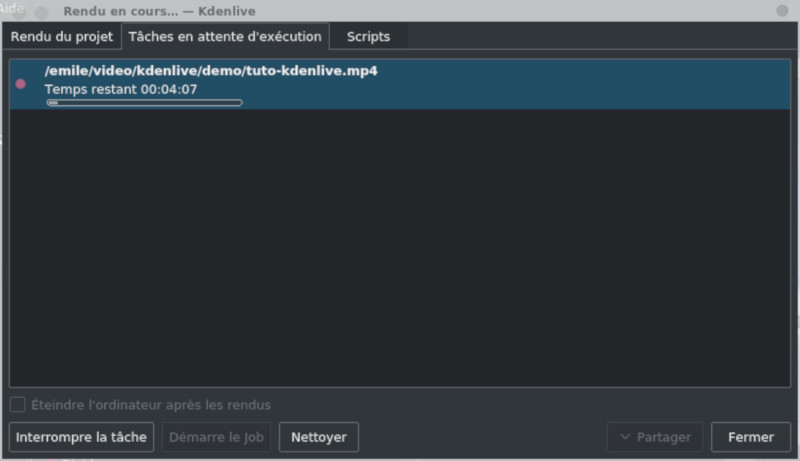
Before
thinking about rendering, don't forget to enter the name
of your file and it's done when you click on To a
file
| Back to FUNIX home page ] |