Encourage FUNIX

The consultation of the site is completely free and without advertisements. Donations are nevertheless appreciated to pay for hosting and encourage its author


Prepare your project with kdenlive

Prepare your project with kdenlive

Last modified August 2, 2024

This site has been automatically translated with Google Translate from this original page written in french, there may be some translation errors

Object

This page is part of a tutorial to explain video editing with kdenlive and which includes the following topics:


Importing files

We start by importing video rushes, photos, audio, in short everything that is useful to make our video editing. This happens at the Project menu level, we will click on Add a clip to select a video, audio or photo file. By holding down the Ctrl or Shift key you can select several multimedia files at the same time.
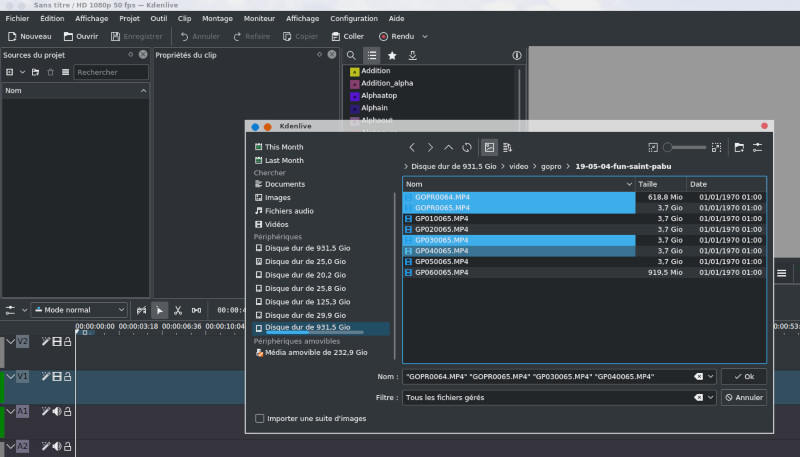


You have a media browser accessible via the View menu, it is a classic browser in which you select your media and you can drag/drop them into the project sources.


All raw files will be found on the left in the Project Sources section, by default the project will use the video definition of the video rushes, it will probably be necessary to modify this (see below in the project configuration), note that you can create directories by clicking on this icon   to store your rushes. Once your rushes are loaded the project sources will fill up.


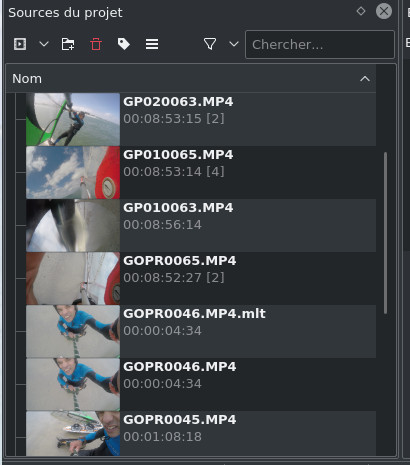
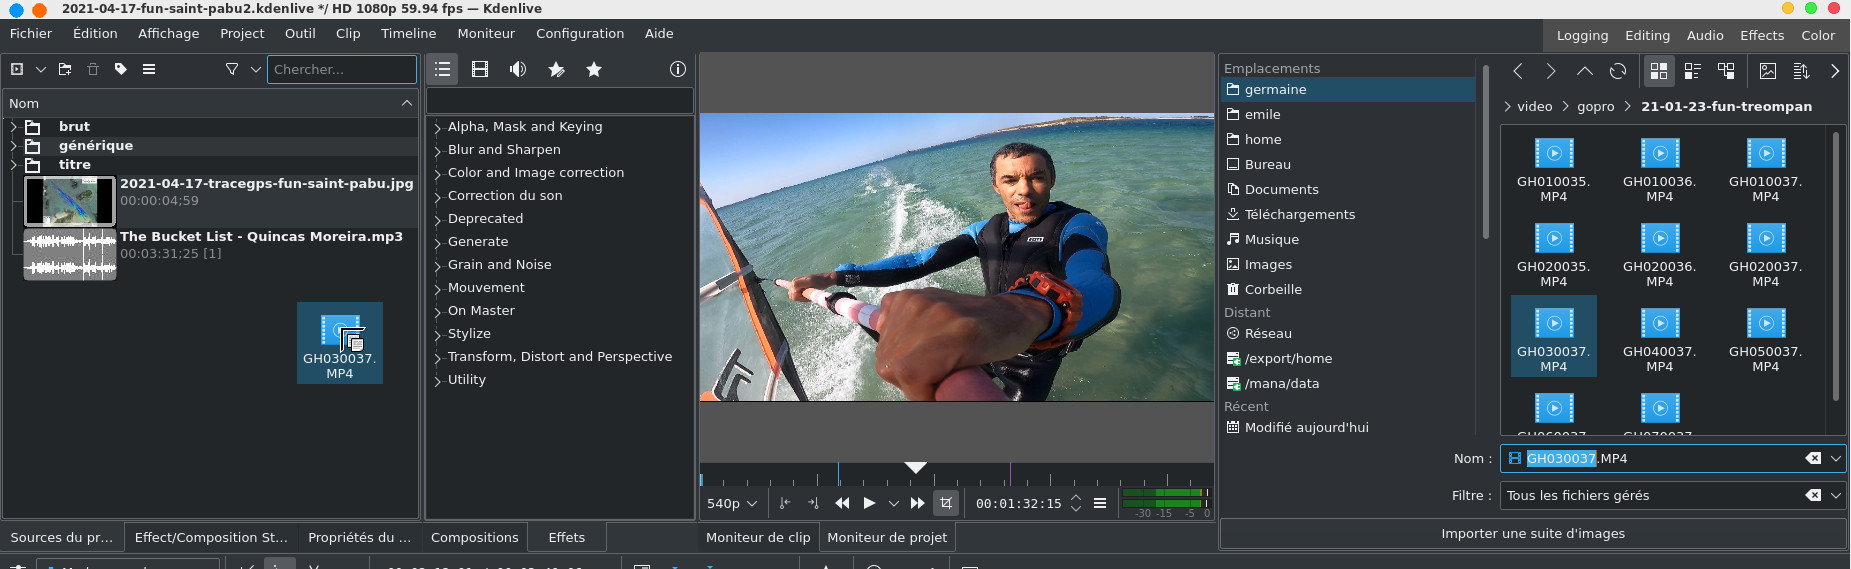
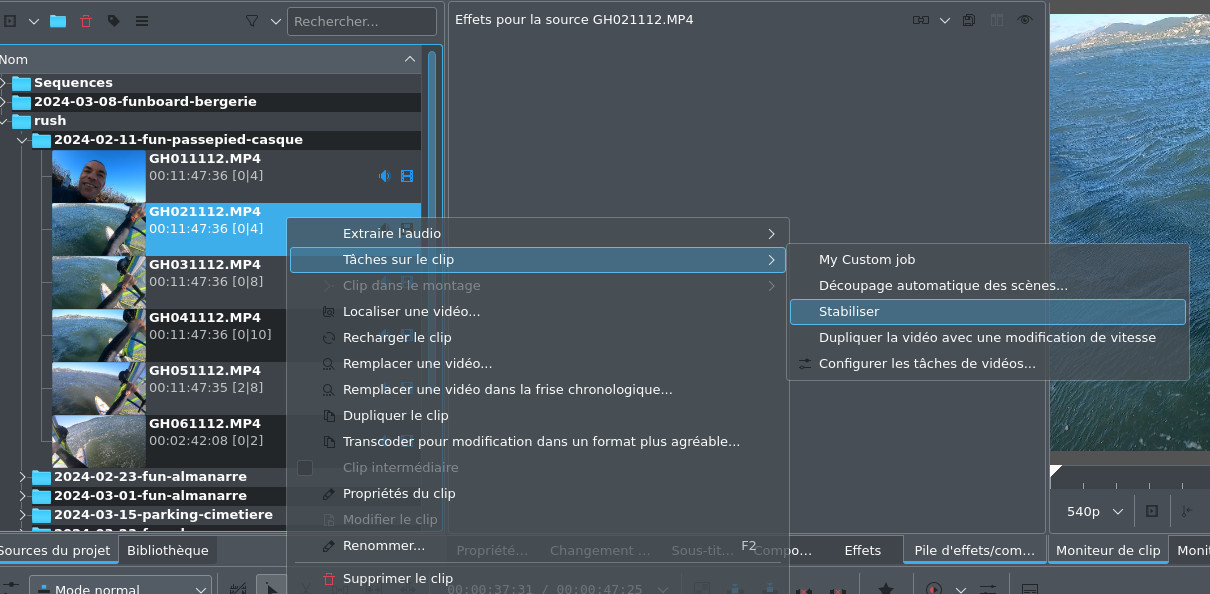
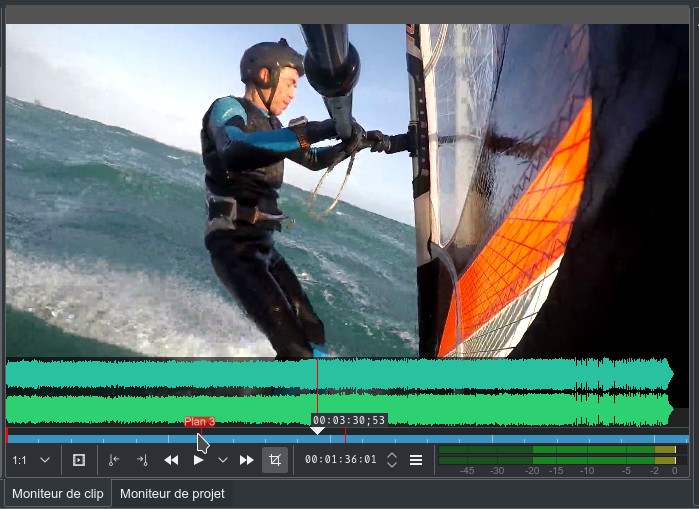
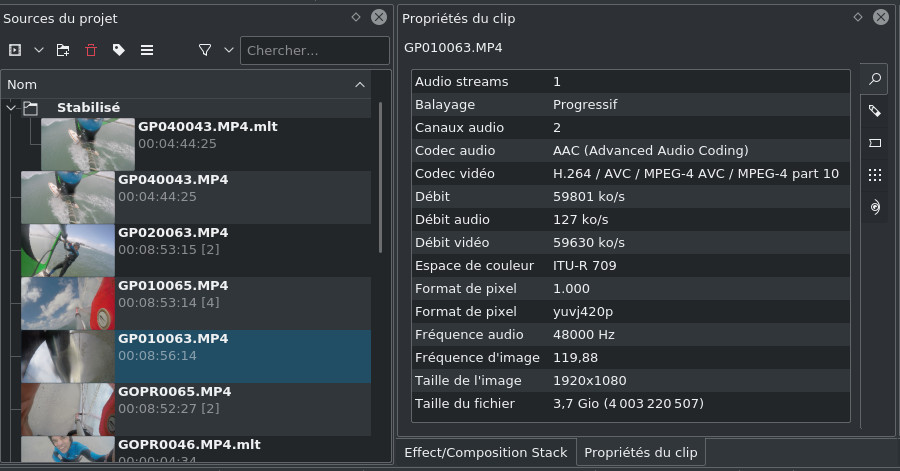
If you select a clip in this part, you will be able to view it in the clip monitor ( Clip Monitor ) on the right. Note in the view below that importing a file involves processing ( tasks ) that can take time and resources.


At this point it is recommended to save your project to avoid unpleasant surprises from File->Save or simply the Save diskette. You can archive your project with all the source files, it is accessible from the Project->Archive Project menu


We will modify the project properties by clicking on Project->Project Configuration and we will take the opportunity to put the correct definition.

When viewing the clip you can see that it suffers from a big problem of trembling and that it would deserve to be stabilized, it is possible! Select it in the Project Sources, then from the context menu accessible with the right mouse button, you will choose Tasks on the clip -> Stabilize (vidstab)


the following window appears, you can leave the default settings, this already gives very good results


We start the calculation by clicking on OK , then at the Project Sources level we see that the task is being processed and its progress at the level of our video clip (below under GOPR0046.MP4). Be careful for high definition clips and several tens of minutes, it is very costly in machine time, on my i7, I have more than enough to go have a coffee and even more. Unfortunately there is no way to be able to stabilize via an effect just the clip that interests us during editing, we are obliged to stabilize the complete rush. To save time, I advise you to do a pre-edit with avidemux for example (while preserving the audio/video quality) and to extract only the part to be stabilized.


When the job is finished, kdenlive has created a new video clip with the extension .mlt in a Stabilized directory which will be created automatically


This is the .mlt file that will need to be used for editing, from experience it requires more resources during editing than with the initial file. At the same menu level to be able to stabilize the video, there is also the Automatic separation of shots feature, which allows you to automatically split your clip into as many scenes as it contains, a scene corresponding to a shot, in other words to a shot. This gives this window there

By clicking OK, it will start processing on the selected video, then in the clip monitor we find markers that correspond to each scene change, in the case below, there are 3 three plan changes in the clip. These are markers that are useful and can make your life easier to select the clips that will go on the timeline.


Indeed, in the project manager, the clip has been split into shots, by selecting a shot we find it in the clip monitor, so it is then very easy to locate it and drag it onto the timeline.

Right-clicking on a clip and choosing Clip Properties gives you the initial encoding information for your video, for example here is a video from a GoPro HD4 Black.


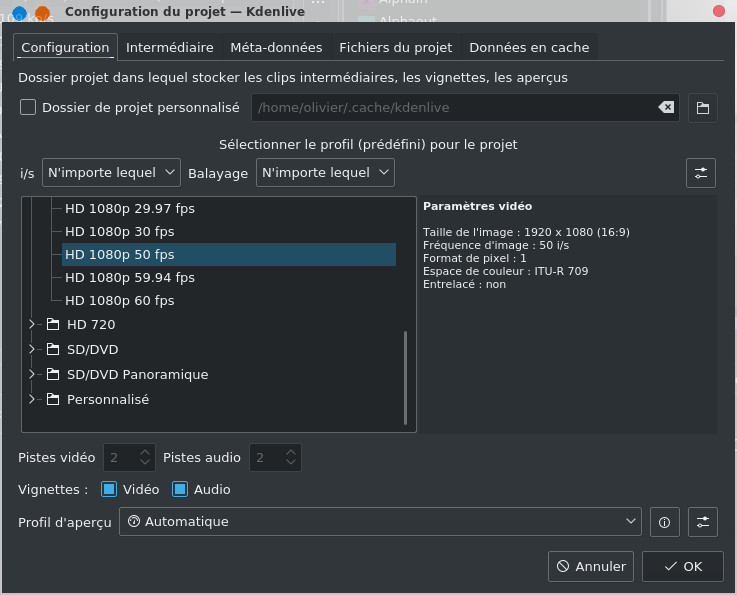
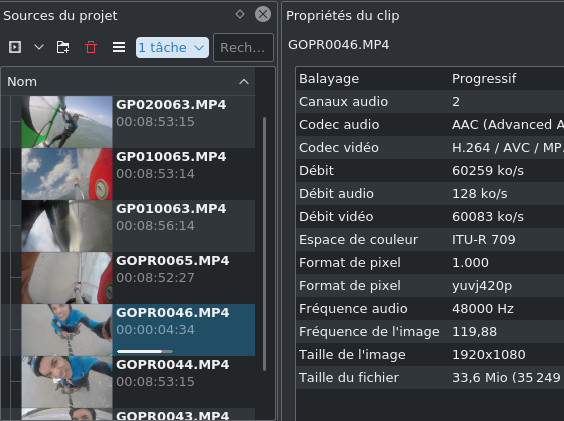
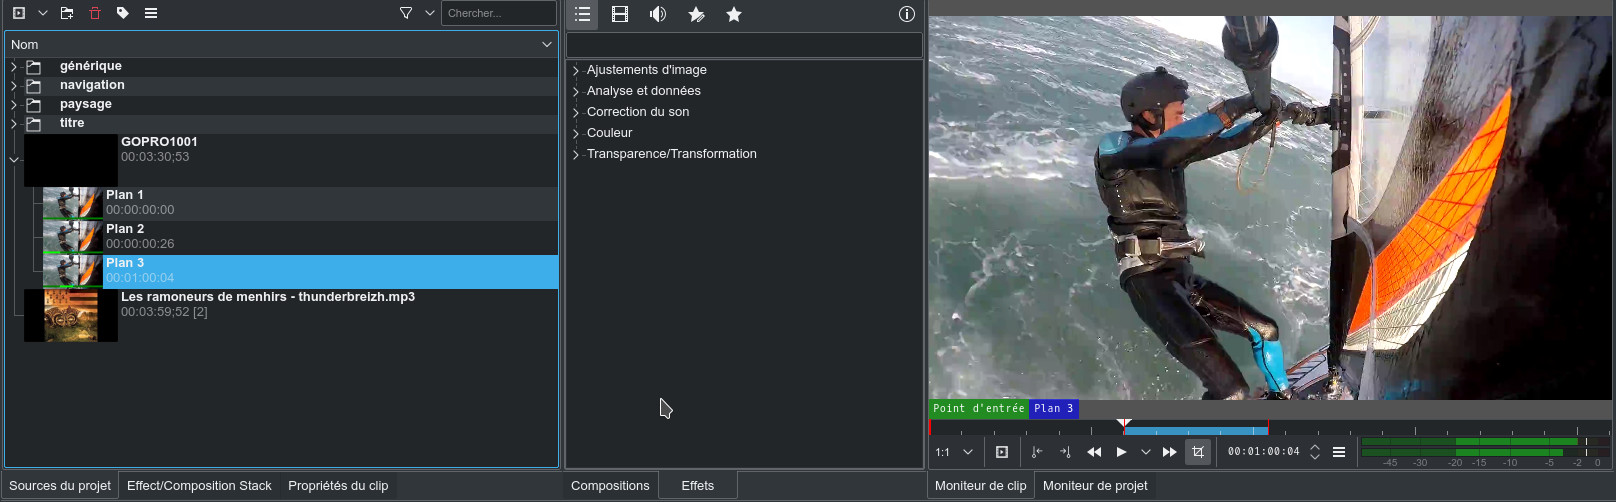
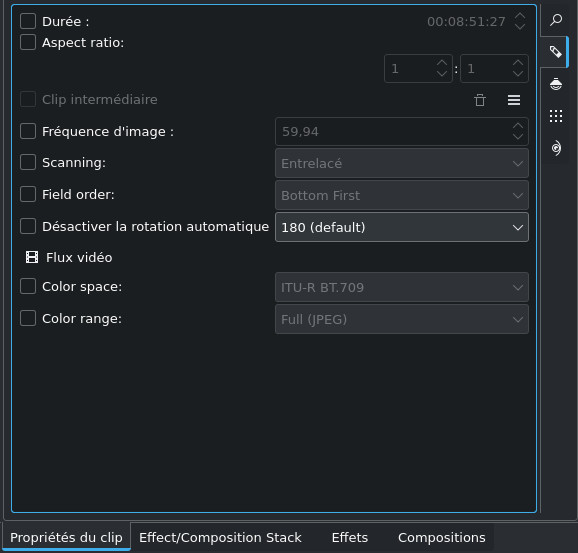
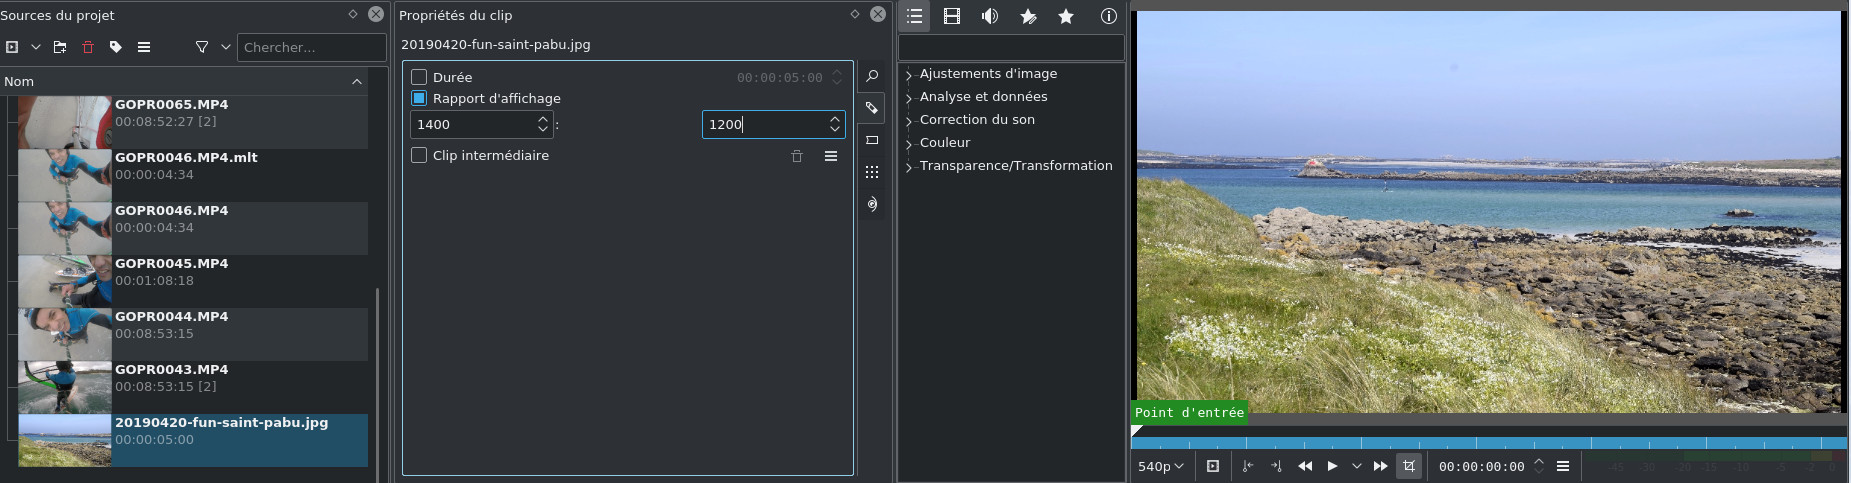
We can go further by modifying certain parameters of the video such as the frequency or the display ratio and even rotating the video.


If you import an image into the project, you go through Project->Add a clip in the classic way, the problem is that the image ratio does not necessarily match that of the project, in this case you select the image in the clips and at the Clip Properties level you can modify the display ratio. It is sometimes quite laborious to find it, there was previously a function that allowed you to automatically find the right ratio ( Center crop ) but it has unfortunately disappeared. In the case below I forced a 1400:1200 ratio by distorting the image to avoid black bands and incorporating it into a 1920x1080 pixel HD video.


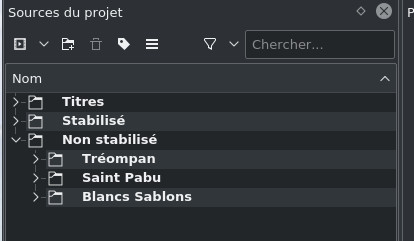
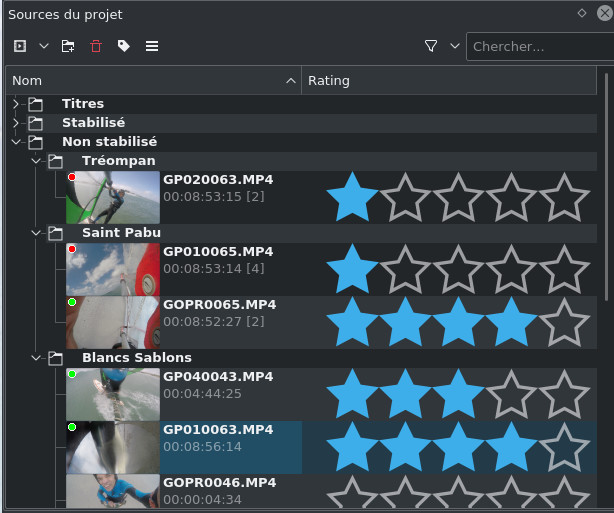
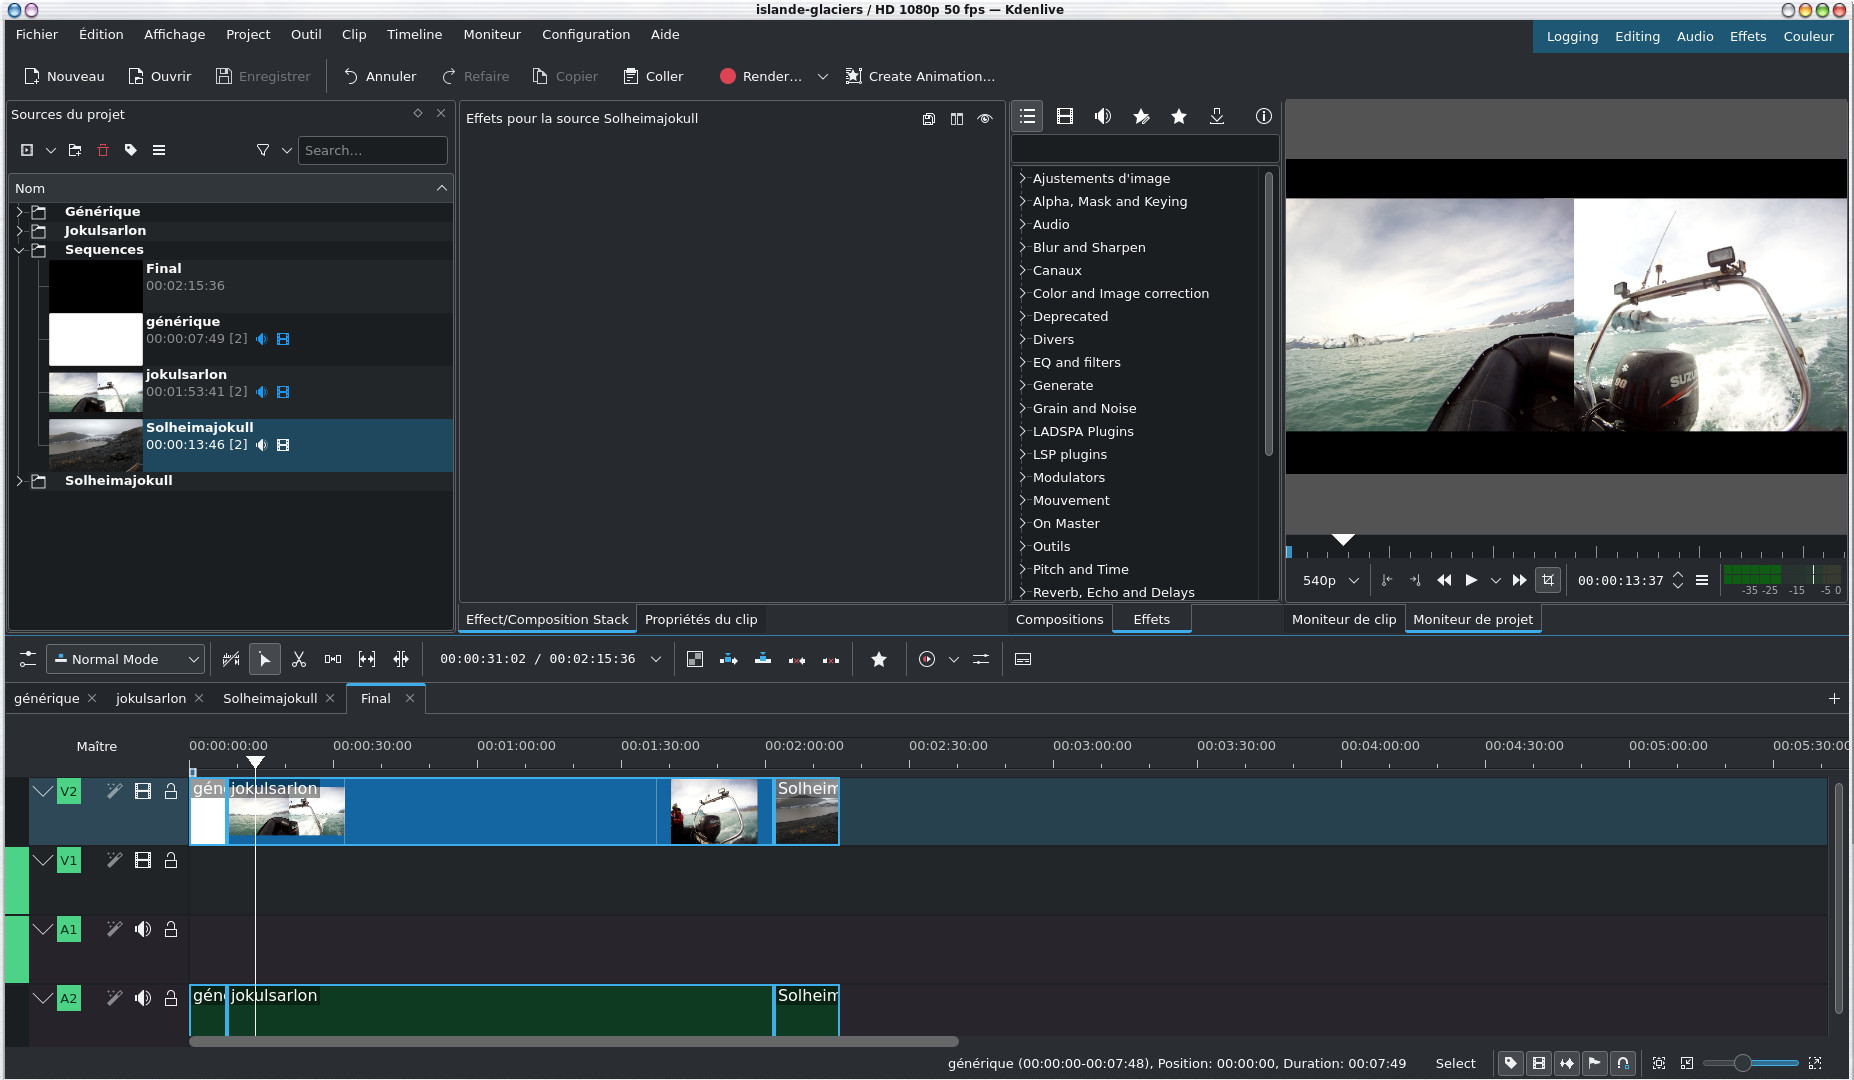
Organize the project
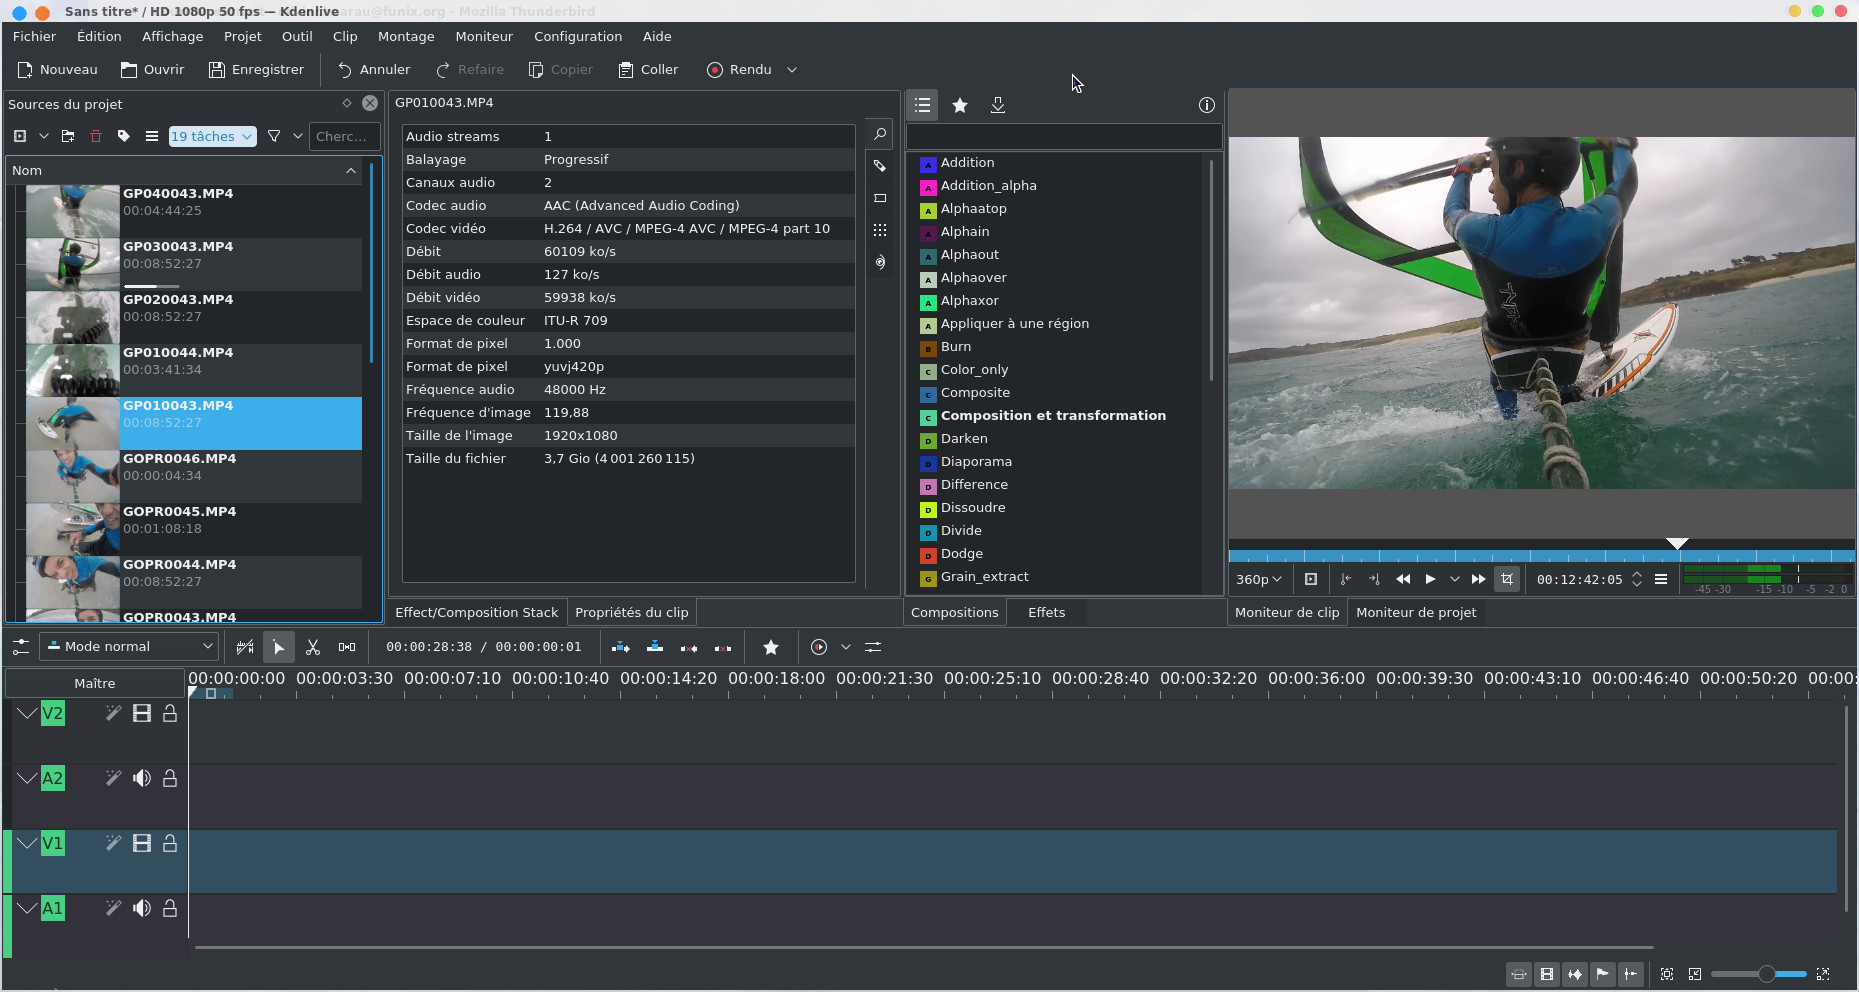
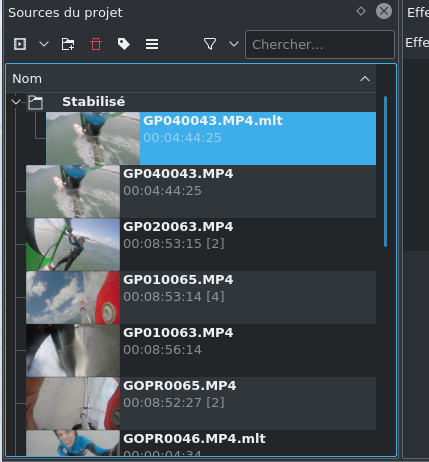
For large projects, you can quickly have dozens and dozens of files in the project sources and you can quickly get lost and waste a lot of time finding your way around. Hence the interest in organizing all of this, the first thing to do is to simply create directories to store your files. We will therefore use the directory tool in Project Sources and it could give something like this
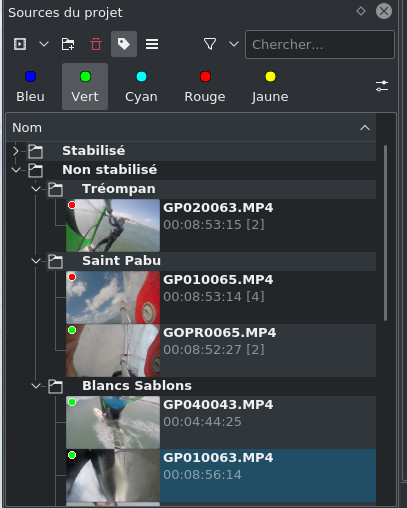
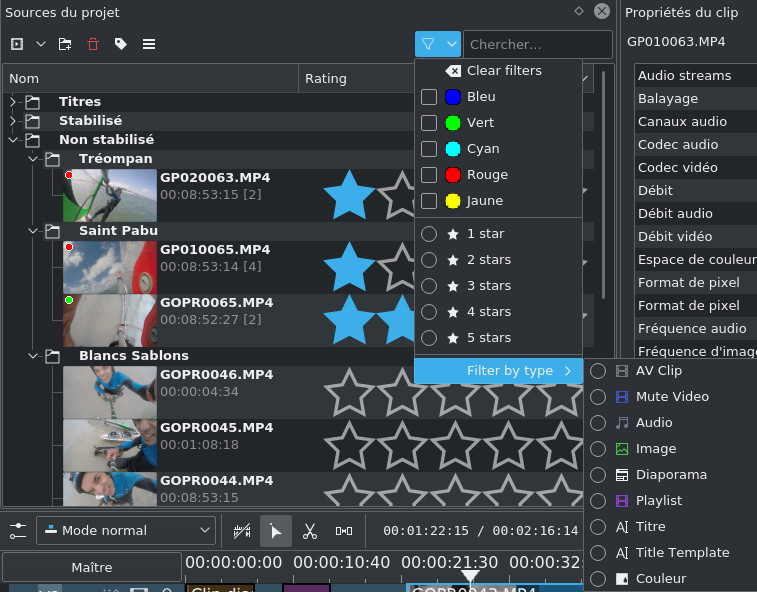
You can go even further by tagging the videos with the tag tool  by choosing the criteria of your choice (for example by choosing the color red for clips not to be used for editing, and green otherwise).
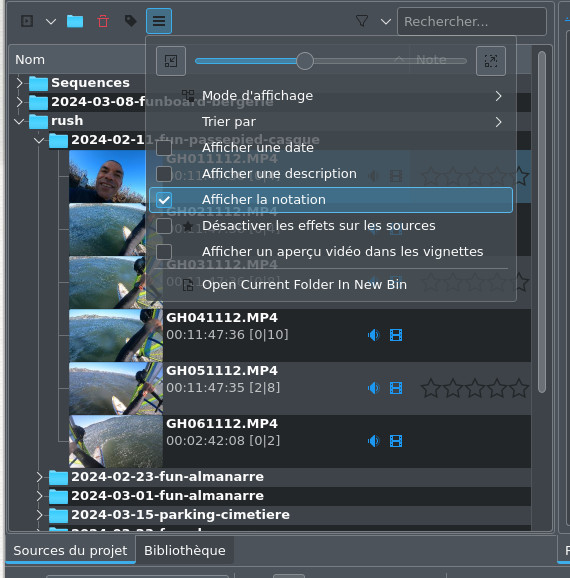
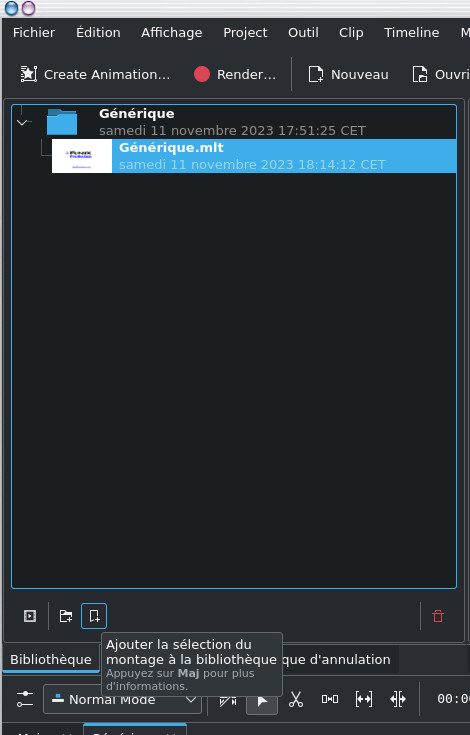
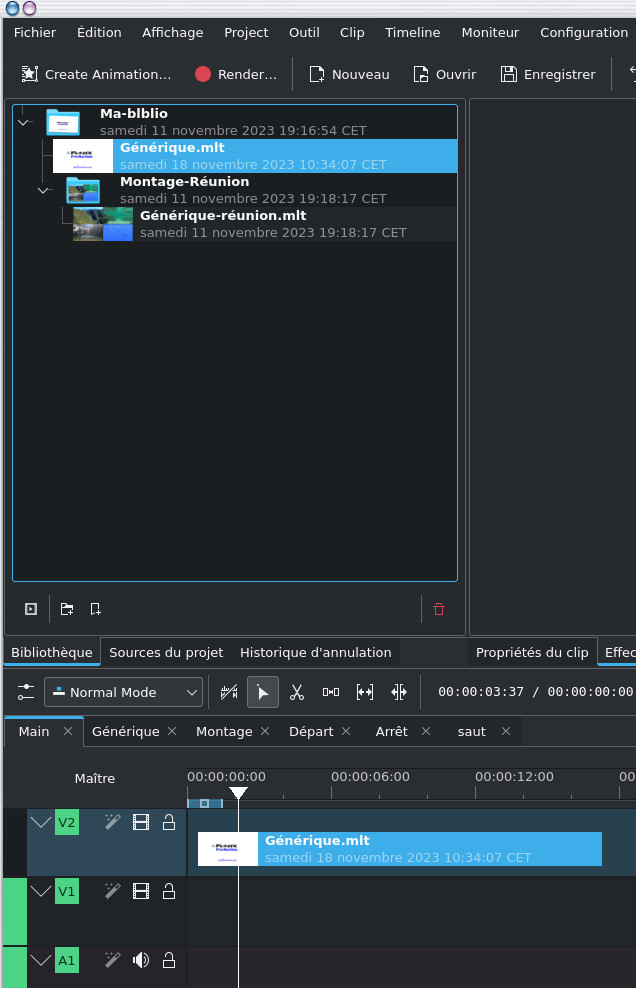

The clip marked with a color will end up in the same color in the timeline, it will be much easier to spot it


Similarly you can rate your videos from the Show Rating menu


Videos are rated by giving them a certain number of stars.


Then we can easily find the videos according to their color code or their rating from the menu below, via this menu we can also find the files by their type (video, silent video, audio, image, etc.) knowing that we can combine the search criteria.


The library is a little-known tool in kdenlive that allows you to create a library of video sequence snippets that is visible to all projects, in other words, it allows you to import a sub-project into another project and in the sub-project you put what you want, a selection of the timeline containing clips with their effects and transitions.
To do this, you will need to activate the display of the library from the View->Library menu. In the example below, I will choose to add my credits, which I will then find in all my projects and which I can then simply incorporate into my timeline without having to recreate everything.
We click on the icon to create a library folder that I have called Generic here.


Now we select a set of clips in the timeline or a complete sequence and I click on Add selection from montage to library


That's it, the library elements can be sorted by folders and subfolders and when we load or create a new project we will find them and can import them into the new project by simply dragging & dropping them to the timeline.


Small problem once the element is added to the timeline, it is in a single homogeneous clip, that is to say that we no longer have access to the clips, effects and transitions that originally constituted it. In fact, we can very simply make them appear again to be able to modify them later. Simply select the clip in the timeline and from the Editing menu -> Current clip -> Import sequence, this will reload all its constituents in the timeline.
Be careful to create the necessary tracks beforehand if the clip imported from the library requires it.


Even stronger from version 23.04 there are several possible timelines, which is particularly useful for complex projects. In the case below, my project has 4 sequences, the credits and 2 sequences named Jokulsarlon and Solheimajokull, and a Final sequence . Each sequence corresponds to a different tab of the timeline, the tabs appear well in the screenshot below. For each sequence we have a specific timeline with its own editing which will correspond to a particular sequence of the final video.

When you have finished working on all the sequences, you move on to the Final sequence by clicking on the timeline tab, the timeline on the Final tab will group all the other sequences, you just have to drag the other sequences that are present in the Sources of the project in the desired order.

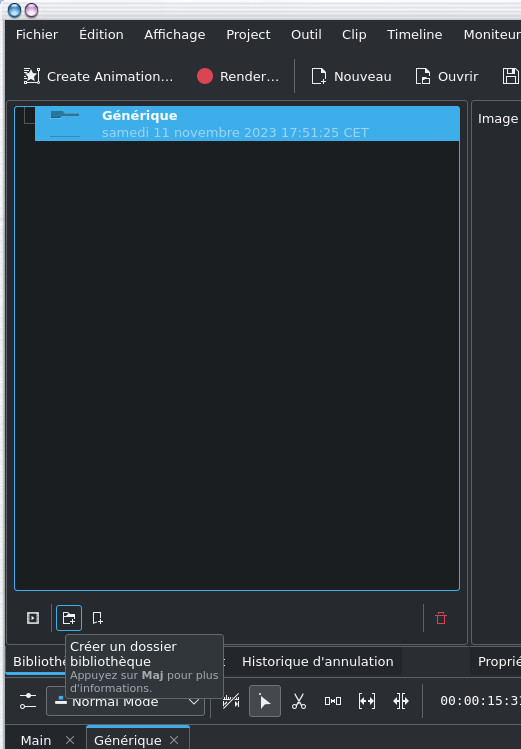
Back to FUNIX home page ]