 Welcome
 Linux
Linux Unix
Unix Download
Encourage FUNIX
Multimedia
Video editing
- Installation of video editing software
- Editing your video with Kdenlive
- Editing your video with Cinelerra
- Editing your video with OpenShot Video Editor
- Editing your video with Pitivi Video Editor
- Editing your video with Flowblade Video Editor
- Editing your video with Shotcut
Edit your video with kdenlive
Network and system
Email management
[ Overview | Tagging your audio files ( Automatically tagging with MusicBrainz Picard , manually tagging with kid3 ) Managing playlists ( playlist formats , creating playlists automatically , creating playlists manually ) ]
Manage audio metadata and playlists
This site has been automatically translated with Google Translate from this original page written in french, there may be some translation errors
Presentation
Tag your audio files
First of all just a quick word about the audio metadata format. ID3 is the de facto standard used for audio metadata which stands for "IDentify an MP3", but actually it doesn't only apply to MP3 files, it also works for FLAC or OGG files. It comes in several versions:- ID3v1 : this is the first version, where we find the title, the artist, the album, the year of release, a comment and the musical genre
- ID3v1.1 : same with the track number on the album
- ID3v2 : it's much richer, you can add just about anything and everything, in addition to the album image, you can go as far as the lyrics of the track, the composer, the arranger, etc. the ReplayGain field makes its appearance, it gives the sound volume of the track and allows an audio player to normalize the sound. The latest version of this standard is ID3v2.4 which dates from 2000.
- the APE tags that exist in the APEv1 and APEv2 versions , of which we will find here the description of all the fields, it has the defect of not embedding an image of the album
- the vorbis tags which can be used for Vorbis , FLAC , Theora and Speex audio files , we will find the format of the different fields there
In any case, it will be necessary to avoid the mix of metadata formats made possible by the fact that ID3 and APE tags can be found in the same file at the beginning and at the end (and vice versa), this can lead to conflicts and reading errors depending on the player.
Automatically tag with MusicBrainz Picard
tar xvfz mutagen-release-1.47.0.tar.gz
python setup.py install
On the Picard site we retrieve the archive which we decompress by typing:
tar xvfz picard-2.13.3.tar.gz
this gives the picard-2.13.3 directory in which we type as root:
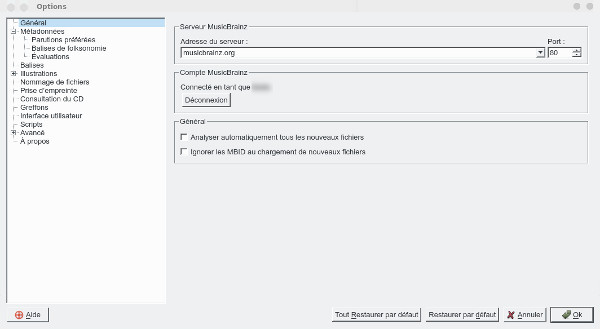
It seemed useful to me to create an account on the MusicBrainz site , which defines itself as a free musical encyclopedia that collects musical metadata that anyone can contribute to and enrich.
You launch picard by simply typing picard in a shell. In the options, I indicated my MusicBrainz account, picard then sends me back to the site and gives me an activation code that I have to enter, so in the end it gives this
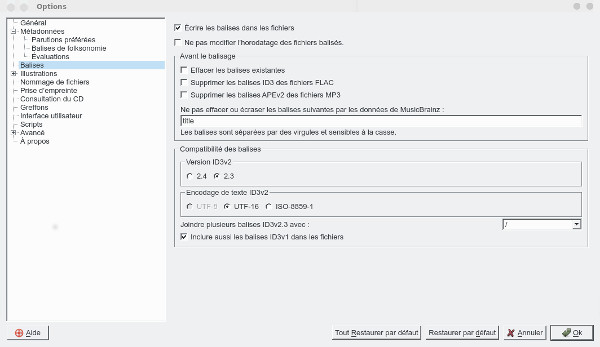
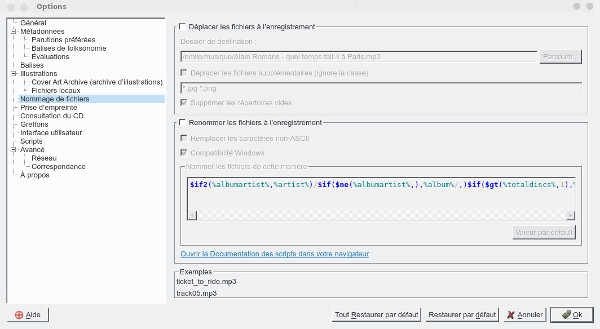
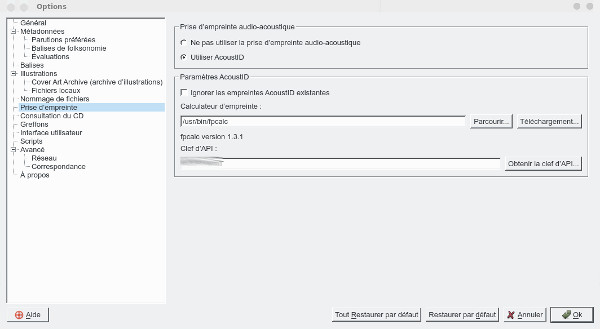
I left the settings at their defaults, or almost, here are some interesting configuration pages, first on the tag format.
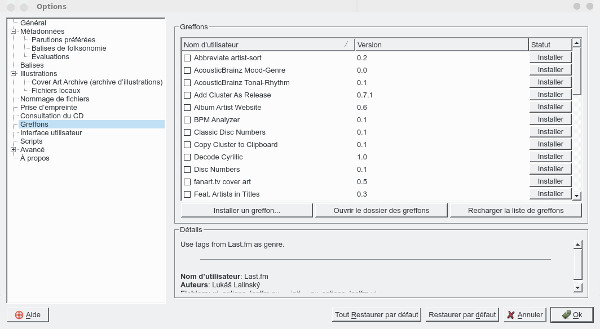
On this page, you can activate plugins, for the moment I have not considered it useful to add any
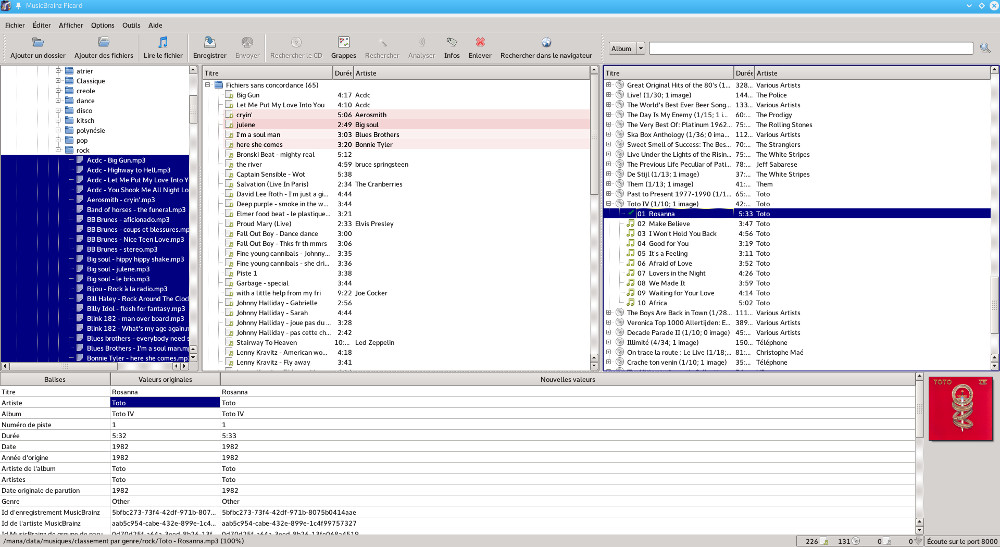
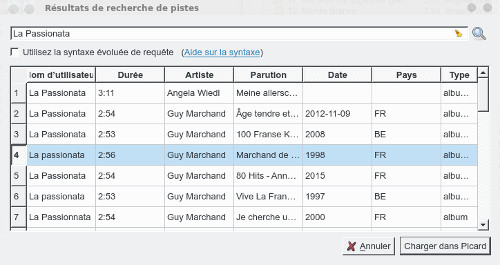
On the left we move in the tree, we select the titles to identify that we drag and drop in the middle column, by default all the files are unmatched. We select them and click on Search, Picard will search in its database for the files whose tags correspond best to ours, on the right we will see all the corresponding albums that Picard has found. We can just regret that for many it is compilation albums that appear and not the original album, there are also false positives, a song that is attributed to someone else, but we will see later how to deal with this. For some we will have a message impossible to load the album , to resolve this you must select the unloaded albums and with the menu accessible by a right click choose Refresh , do not hesitate to insist, it sometimes loads after 4 or 5 times. There are still a number of files in the middle column without a match, you will have to select them again and do Search several times, because strangely it continues to identify files when it had not done so before. For those that it would not have identified, it could come from a file not tagged well at the base or badly named, in this case check and modify the Artist and Title tags and start again. In the end I often have less than 5% of unidentified files which is not huge, we select the albums in the banner on the right that were found and we save the total from the context menu. All the files will be modified with the correct tags by also adding an illustration image and that's it. The unsaved albums and files appear in the banner on the right with a small star on the disk.
If your files are poorly tagged at the base, the search can be more laborious, you must start by tagging them correctly. It can be laborious to modify the tags of the files one by one, so if they are well named like my artist – my title.mp3. We have a very practical tool that will do this automatically, we select the files, then we click on Tools->Tag from file names. For the naming style above, we will take %artist% – %title% which will allow us to properly tag the file and then launch a more efficient search. If the correctly tagged files have still not been identified, I encourage you to at least save them (select the files in the middle banner then save from the context menu.
When the search becomes unsuccessful, we can move on to searching based on their acoustic signature by clicking on Analyze, Picard will calculate the acoustic fingerprint of the file by comparing it with those present on the fingerprint server.
For the remaining files, we can assume that they are not in the Picard database, so we can enrich it and share it with the community with the correct associated tags by selecting the track and clicking on Send AcoustIDs
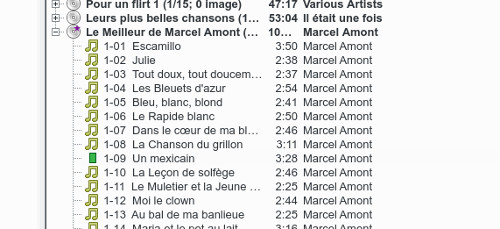
You will have noticed that Picard classifies audio files by album and not by artist (for example), each file is attached to an album and the image associated with the file visible in the audio player is the one attached to the album. For my part, my mp3s are stored in directories by musical genre, when I move from one directory to another I quit Picard and restart it to start from a blank screen without preloaded albums. In Picard's philosophy, the files are basically classified by album, with one directory per album, in this case you will have to use the Clusters function instead , this page (in English) explains how to do it. In summary, we select the album directory, drag it into the middle banner and click on the Group tool, the album will be found at the Cluster tree level in the middle banner and in the same way we will click on Search or Analyze to find the corresponding album.
Now what to do
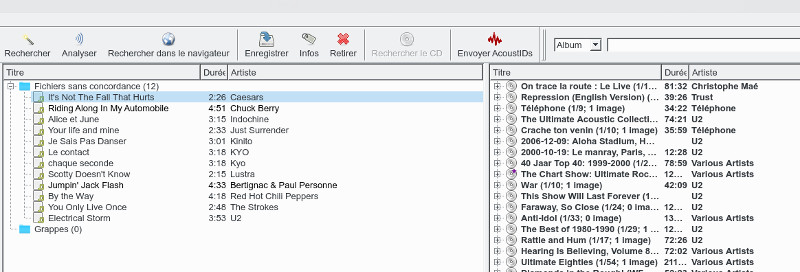
with unmatched files? Just select the corresponding file in
the middle banner and then with the context menu choose Search for
similar tracks
Another method, we select the track then we click on Search in the browser, automatically we are sent back to the browser which displays the matching tracks

For the false positives in the banner on the right, that is, the files that have been associated with bad tracks, in the banner on the right we will select the track in the corresponding album, and in the same way from the context menu we will choose Search for similar tracks.
We will proceed in the same way for the tracks associated with compilations if we want to associate them with the albums of the artist concerned.
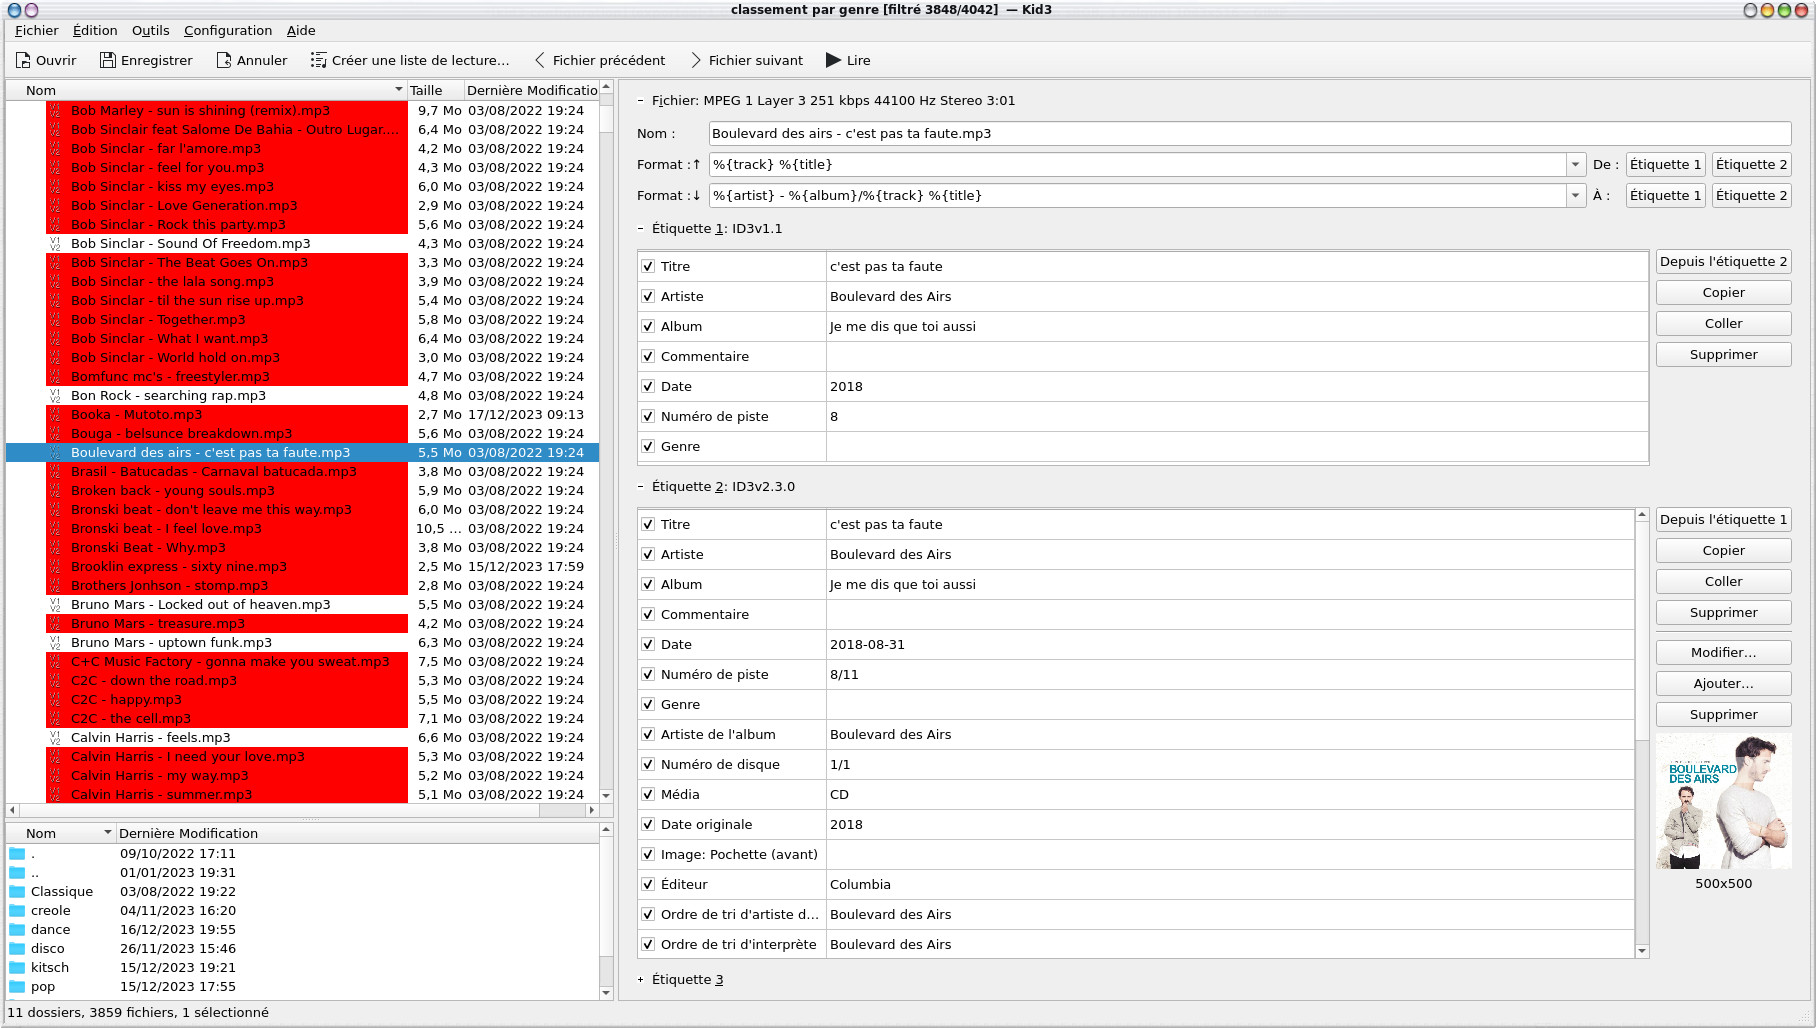
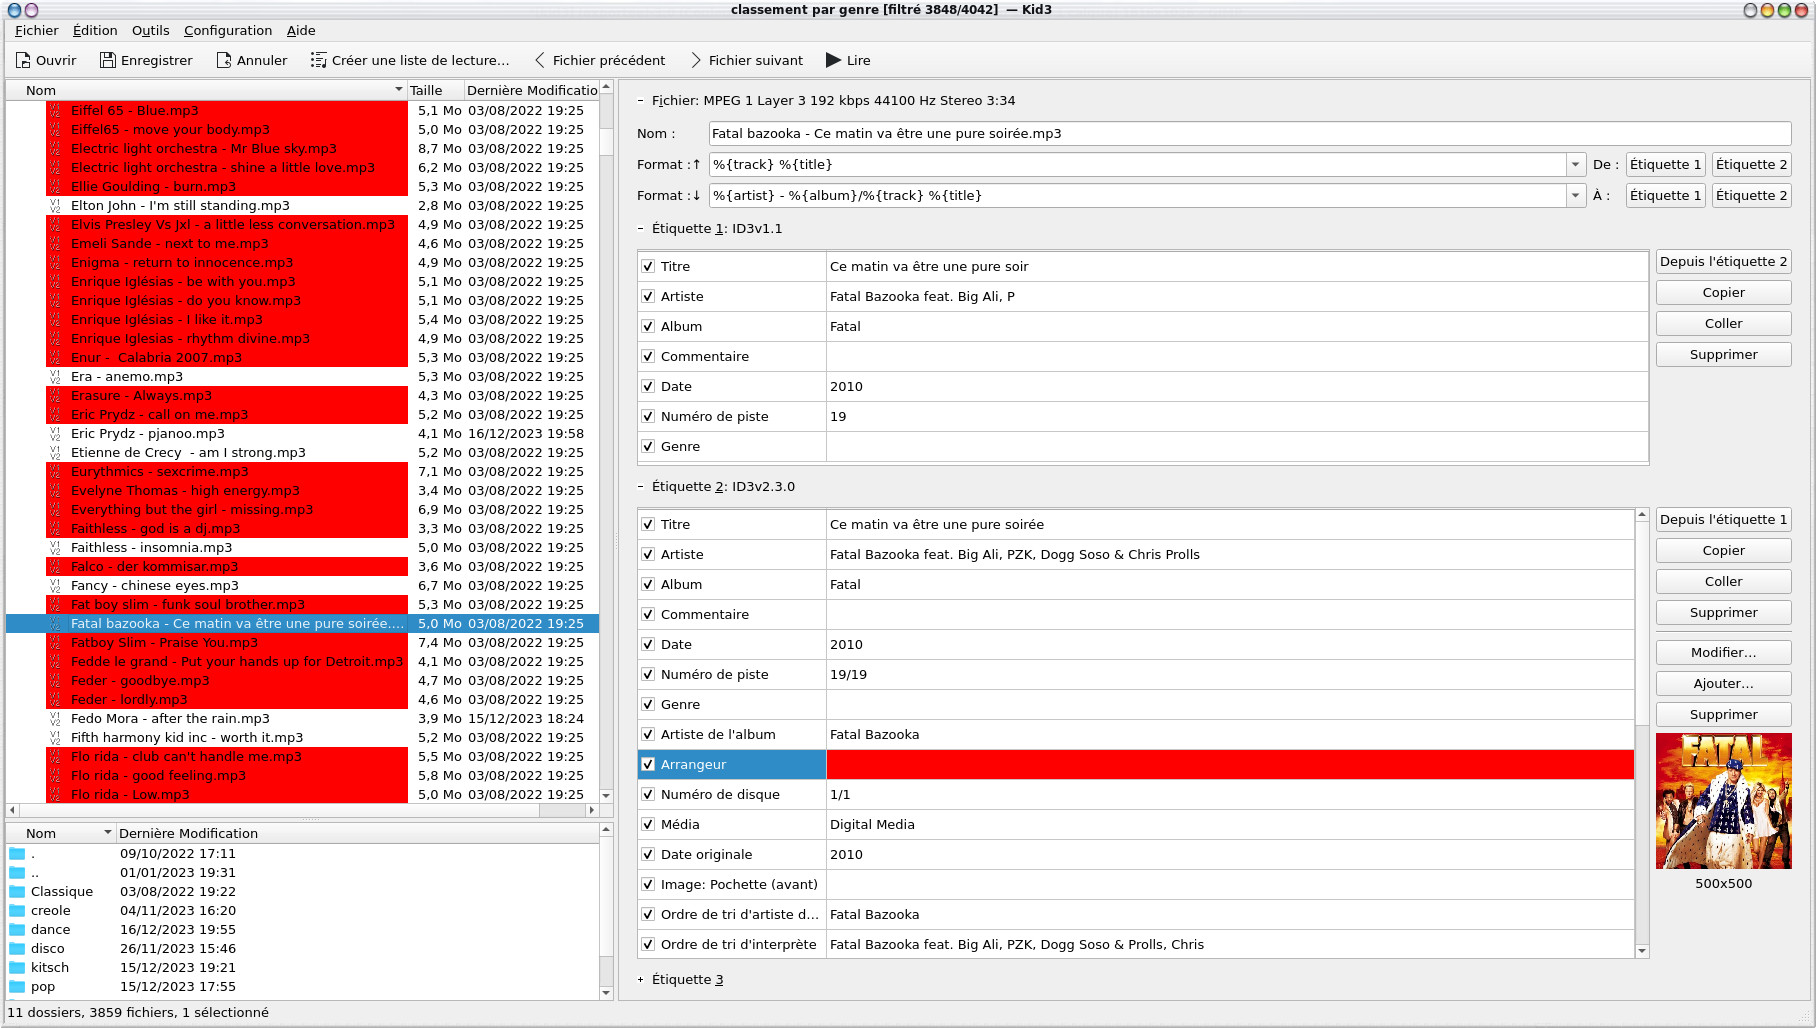
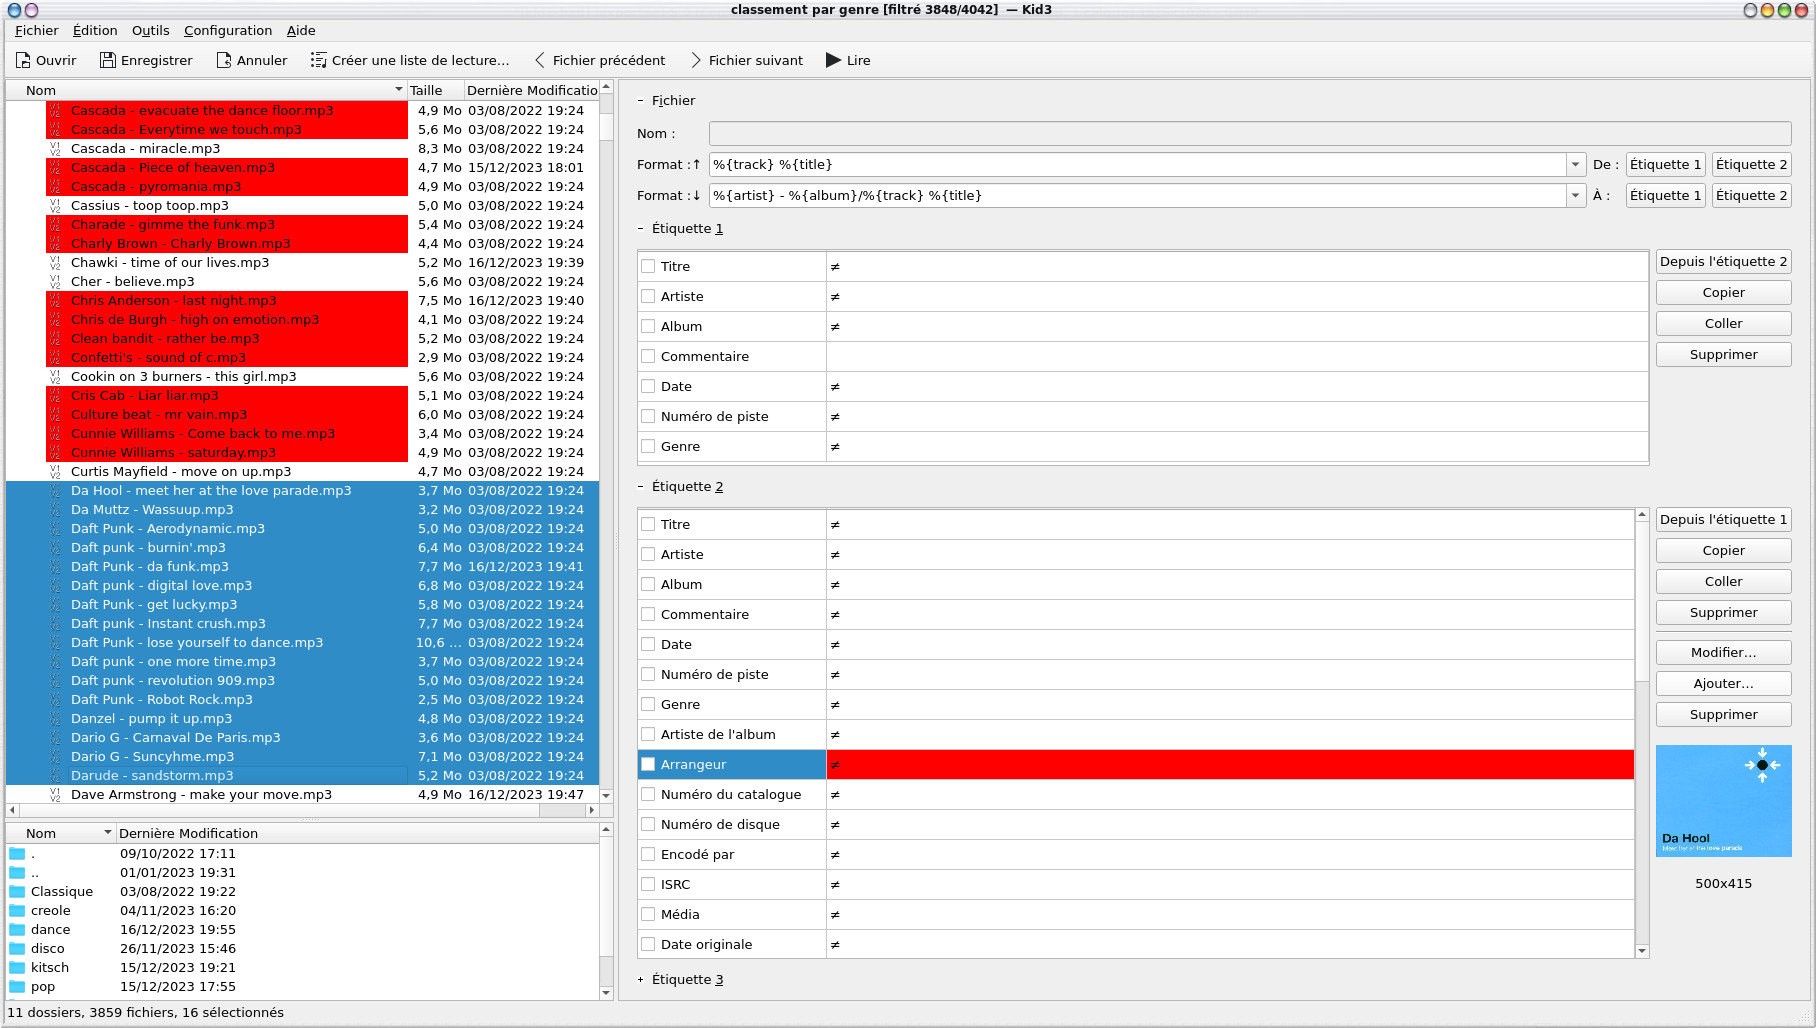
An audio track can be identified by ID3v1.1 and ID3v2.30 tags, the information is obviously much richer with the latest version and the information fields are longer (especially for the name of the artists and the album), we also find the image of the album. The fields of the ID3v2.30 tags, they were filled in automatically by picard.
Note that a number of tracks are marked in red, in fact it is because they do not fully respect the ID3 standard. If we look at the configuration, they appear because the " Mark violations of the standard " field is checked by default.
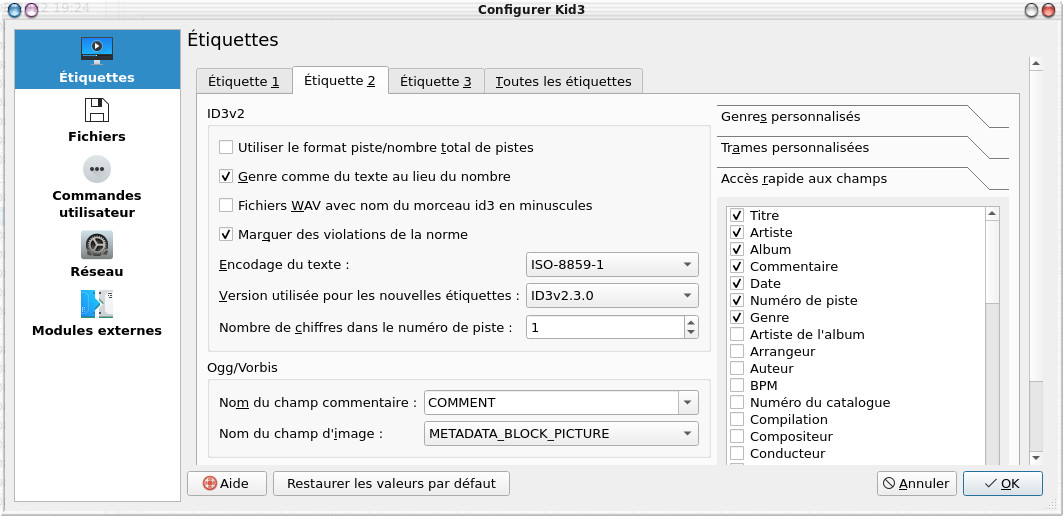
By default we will also choose the ID3v2.30 version which is better recognized by most readers than v2.40 even if the latter dates from 2000!
for the character set, we have the choice between
- ISO -8859-1 , which allows almost all French characters to be recorded;
- ISO -8859-15 , a variation of ISO -8859-1 , which adds the "euro" symbol and the "e in the o"
- UTF -8 , which theoretically allows all languages to be encoded, from French to Japanese to Arabic.
Even if UTF -8 is preferred today, here too we would prefer to use ISO-8859-1 which is still the most recognized by audio players.

- Absolute path to the file
- Relative path to the file relative to the M3U file
- URL of a remote file
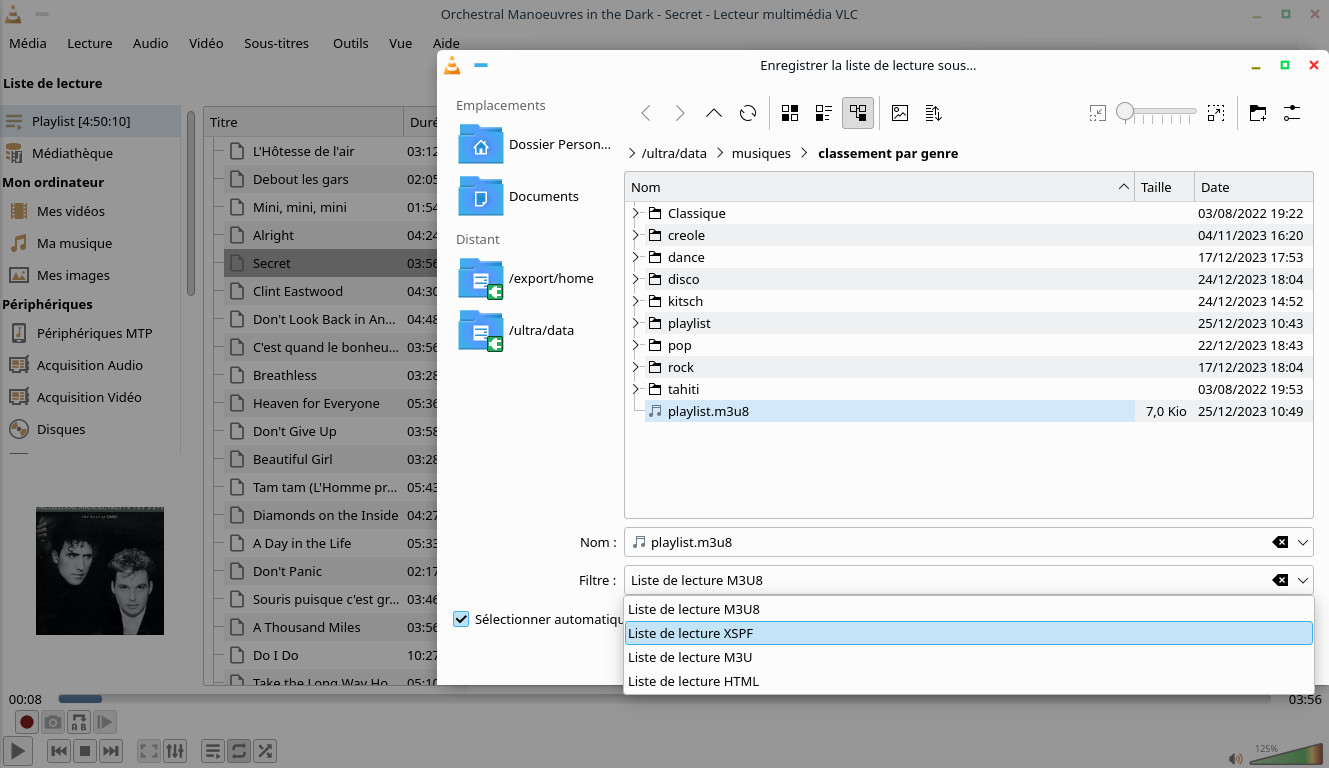
- #EXTM3U - placed in the file header indicating that the Extended M3U format is used
- #EXTINF: track information
- #PLAYLIST: The title of the playlist
Here is an example of a file in extended M3U format
#EXTM3U
#EXTINF:227,Roé -
Soledad
/ultra/data/music/genre ranking/pop/Roe - soledad.mp3
#EXTINF:141,Al Martino
- Volare
/ultra/data/music/genre ranking/pop/Al Martino -
Volare.mp3
#EXTINF:218,Nek -
Laura non c'e
/ultra/data/music/genre ranking/pop/Nek and Cerena -
Laura non ce.mp3
(...)
/ultra/data/music/genre
ranking/pop/Manu Chao - Bongo Bong.mp3
#EXTINF:219,Gilberto
Gil - Toda menina baiana
/ultra/data/music/genre ranking/pop/Gilberto Gil - Toda
Menina Baiana.mp3
#EXTINF:248,Umberto
Tozzi - tu
/ultra/data/music/genre ranking/pop/Umberto Tozzi -
tu.mp3
The number in front of the track name is the length of the track in seconds.
<playlist version="1" xmlns="http://xspf.org/ns/0/">
<trackList>
<track>
<location>/ultra/data/musiques/classification by genre/pop/Roe - soledad.mp3</location>
<title>Soledad</title>
<creator>Roé</creator>
<album>Roé</album>
<duration>227000</duration>
<trackNum>1</trackNum>
<image>(embedded)</image>
</track>
<track>
<location>/ultra/data/music/sort by genre/pop/Al Martino - Volare.mp3</location>
<title>Volare</title>
<creator>Al Martino</creator>
<album>Best of Al Martino</album>
<duration>141000</duration>
<trackNum>1</trackNum>
<image>(embedded)</image>
</track>
<track>
<location>/ultra/data/music/classification by genre/pop/Umberto Tozzi - tu.mp3</location>
<title>tu</title>
<creator>Umberto Tozzi</creator>
<album>Tu</album>
<duration>248000</duration>
<trackNum>1</trackNum>
<image>(embedded)</image>
</track>
</trackList>
</playlist>
read -p "Chemin absolu ou relatif (par défaut relatif) " chemin
if [ "$chemin" = "absolu" ]
then
path=$(pwd)
else
path="."
fi
playlist="playlist.m3u"
rm -f $playlist
IFS=$'\n'
for fichier in $(find $path type f | grep '/*.ogg\|/*.mp3\|/*.flac')
do
echo "Fichier trouvé $fichier"
echo $fichier>>$playlist
done;
unset IFS
read -p "Genre musical : " genre
read -p "Chemin absolu ou relatif (par défaut relatif) " chemin
if [ "$chemin" = "absolu" ]
then
path=$(pwd)
else
path="."
fi
playlist="playlist-$genre.m3u"
rm -f $playlist
IFS=$'\n'
for fichier in $(find $path type f | grep '/*.ogg\|/*.mp3\|/*.flac')
do
if ffprobe -loglevel quiet -hide_banner -show_entries format_tags=genre -of default=noprint_wrappers=1:nokey=1 $fichier 2>&1 | grep -i $genre ; then
echo "Fichier trouvé $fichier"
echo $fichier>>$playlist
fi
done;
unset IFS
read -p "Enter filename: " file
read -p "Enter string to replace: " string1
read -p "Enter replacement string: " string2
echo "Processing $file ..."
tempfile=$(basename "$file" | cut -d. -f1)
extension="${file##*.}"
sed "s|$string1|$string2|g" $file > "$tempfile-relative.$extension"
| [ Back to home ] | [ Back to top of page ] |