 Welcome
 Linux
Linux Unix
Unix Download
Encourage FUNIX
The consultation of the site is completely free and without advertisements. Donations are nevertheless appreciated to pay for hosting and encourage its author
Multimedia
Video editing
- The basics of video editing
- Installation of video editing software
- Editing your video with Kdenlive
- Editing your video with Cinelerra
- Editing your video with OpenShot Video Editor
- Editing your video with Pitivi Video Editor
- Editing your video with Flowblade Video Editor
- Editing your video with Shotcut
- Installation of video editing software
- Editing your video with Kdenlive
- Editing your video with Cinelerra
- Editing your video with OpenShot Video Editor
- Editing your video with Pitivi Video Editor
- Editing your video with Flowblade Video Editor
- Editing your video with Shotcut
Edit your video with kdenlive
Network and system
Email management
Adding transitions with Kdenlive
Last modified
August 2, 2024
This site has been automatically translated with Google Translate from this original page written in french, there may be some translation errors
This page is part of a tutorial to explain video
editing with kdenlive and which includes the following topics:
This site has been automatically translated with Google Translate from this original page written in french, there may be some translation errors
Object
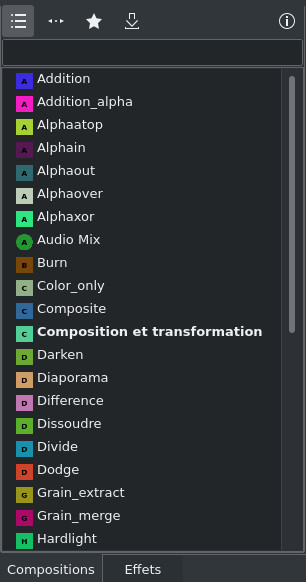
First of
all a word about transitions (called Compositions under kdenlive ), you will find the
list by clicking on the corresponding tab
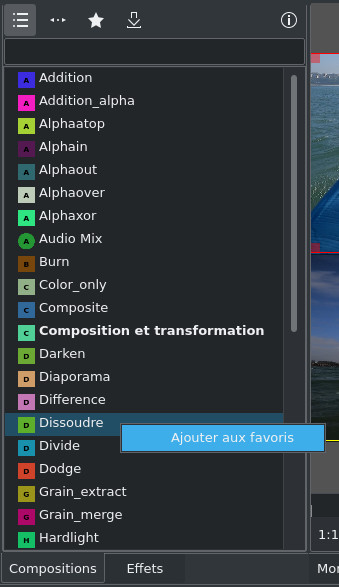
You can
add compositions to favorites by selecting the desired
composition and then adding to favorites from the context
menu.
We will
then find the favorite compositions by clicking on  and now by
clicking on
and now by
clicking on  we will be able to
download new transitions
we will be able to
download new transitions
and now by
clicking on we will be able to
download new transitions 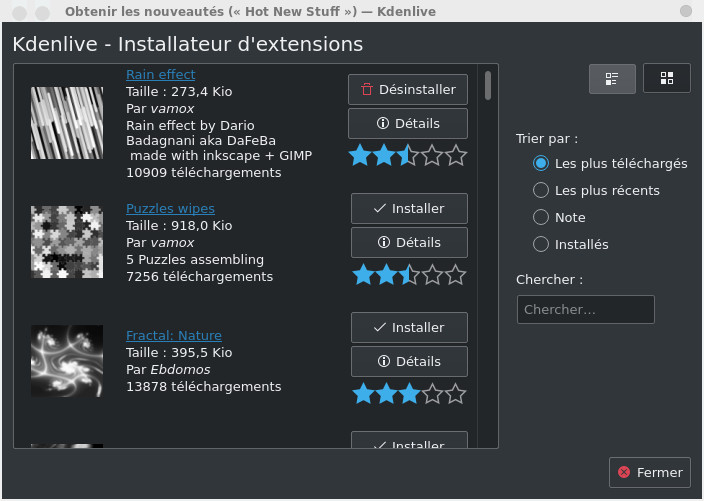
Let's go
back to our montage, we will now add a transition between
the first and second clips (not counting the animation at
the beginning). To do this we will make them overlap by a
few seconds, we will do the same for the last and
penultimate clips. Here is the result:
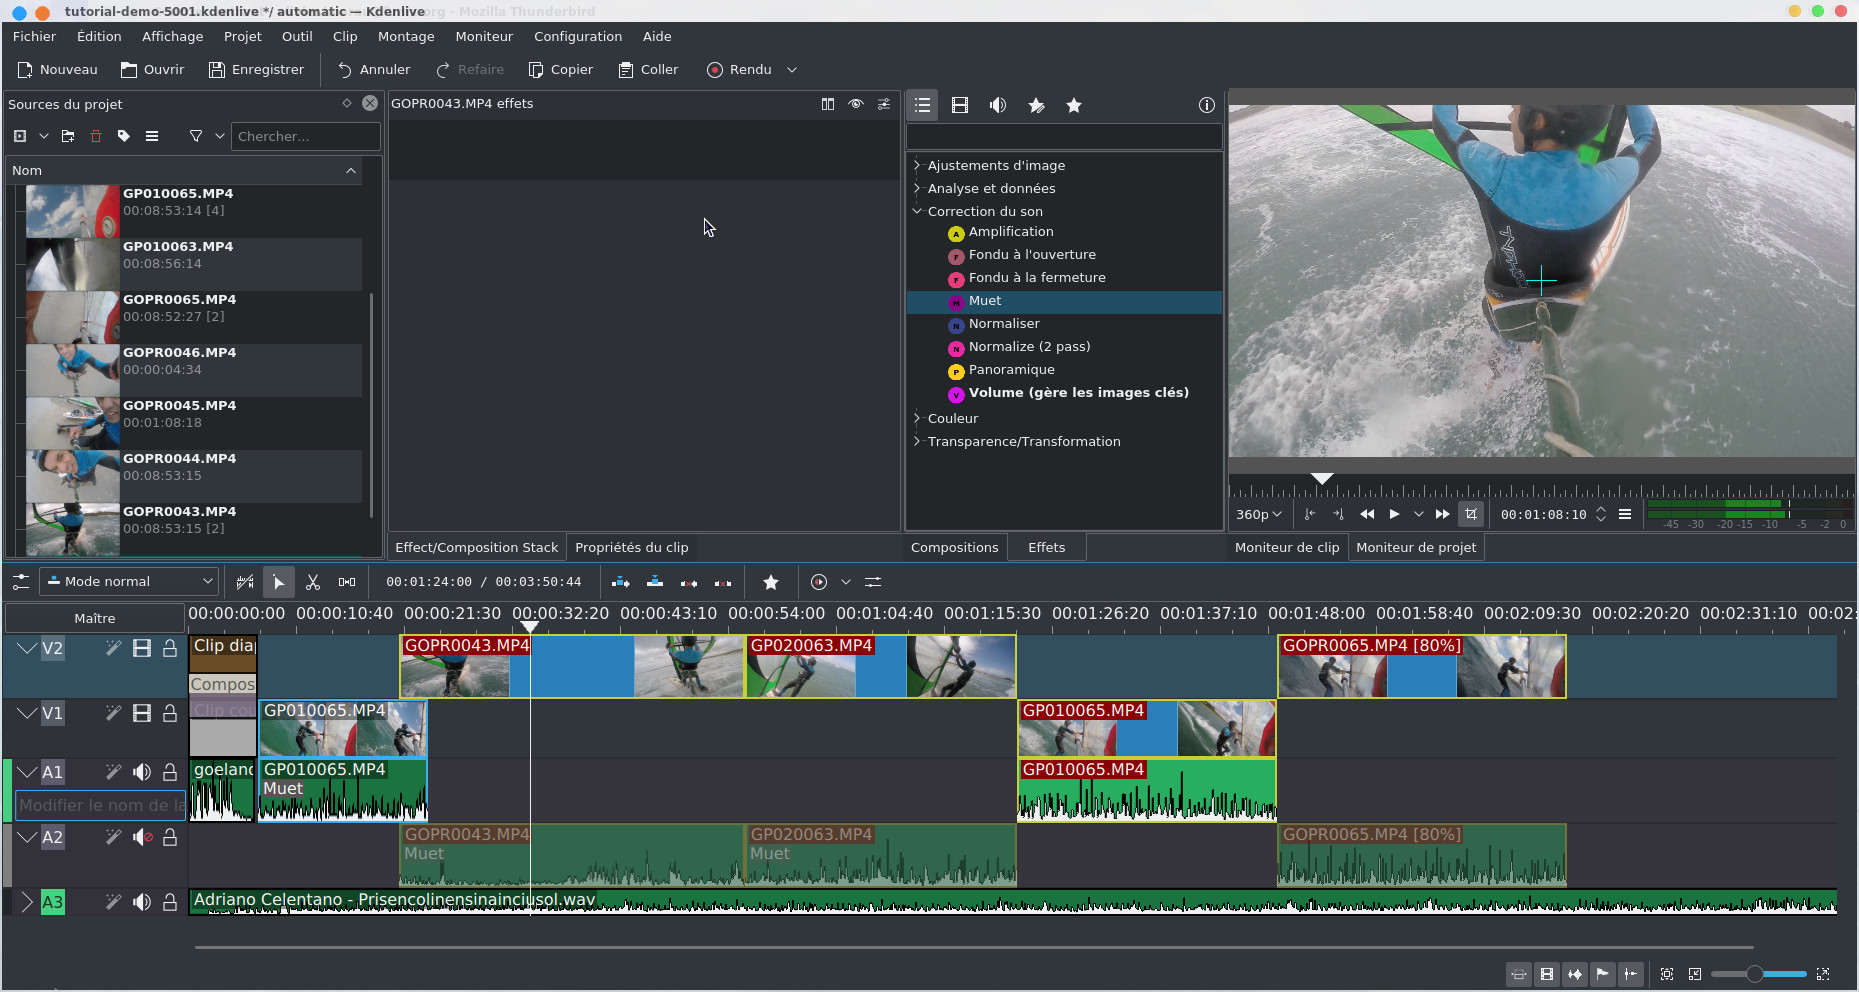
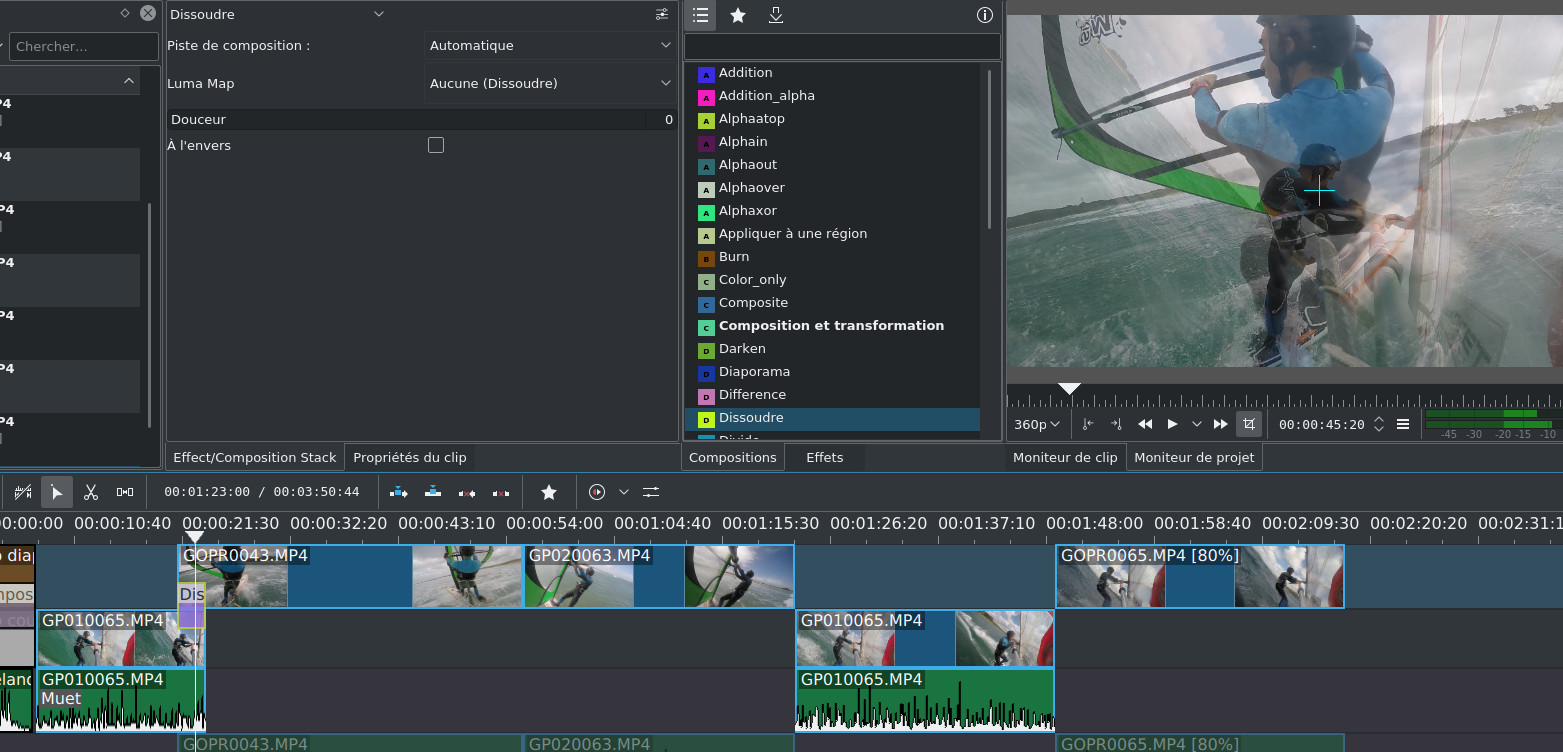
In the Compositions tab, we will drag the Dissolve transition between the first and second clips. This will give an effect with a combination of the two images gradually passing from one to the other. If necessary, we stretch the transition so that it encompasses the entire common part of the 2 clips, do not hesitate to zoom if necessary, it should give something like this.
For the second transition between the last two clips, we will choose Sweep Transition, it is a transition with a sweep effect to go from one video to another, we have a large choice of effects, I chose the burst sweep method
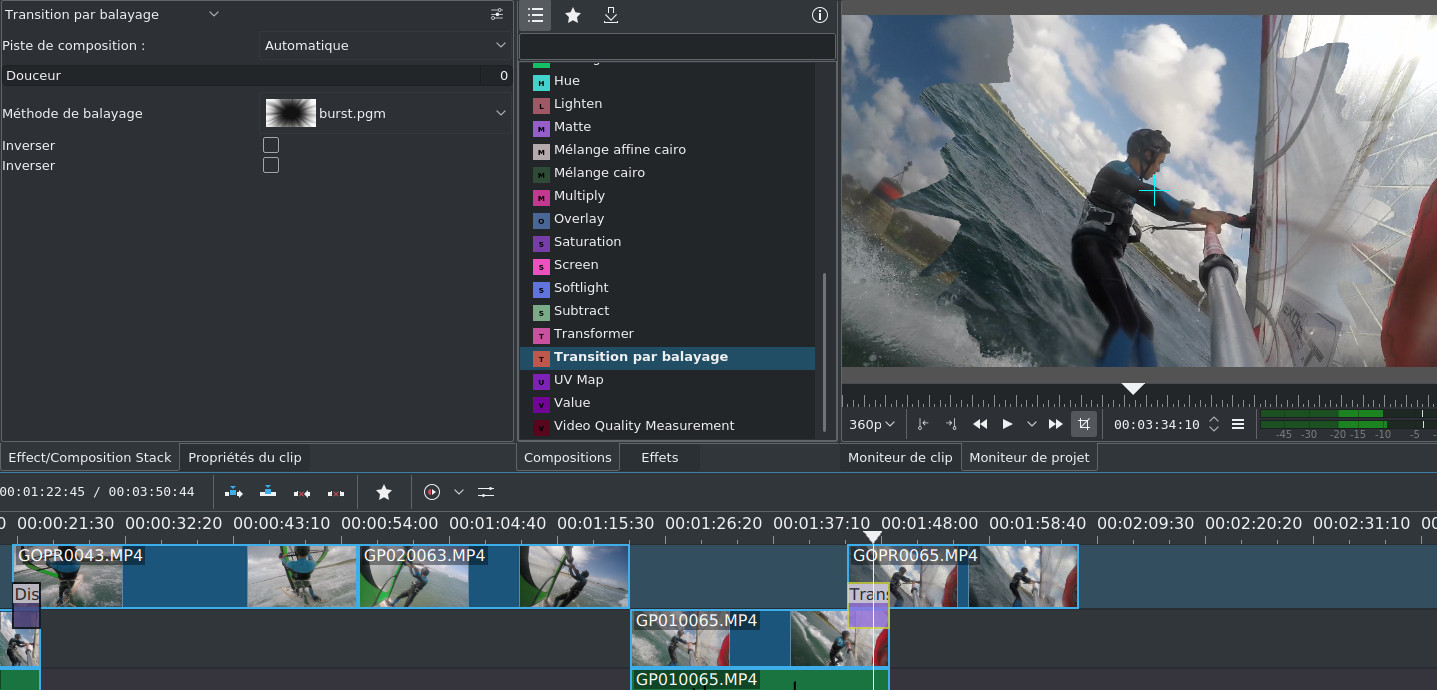
The
transition may be in reverse (check when playing in the
project monitor) in which case you must check the Reverse box .
| Back to FUNIX home page ] |