 Welcome
 Linux
Linux Unix
Unix Download
Encourage FUNIX
Multimedia
Video editing
- Installation of video editing software
- Editing your video with Kdenlive
- Editing your video with Cinelerra
- Editing your video with OpenShot Video Editor
- Editing your video with Pitivi Video Editor
- Editing your video with Flowblade Video Editor
- Editing your video with Shotcut
Edit your video with kdenlive
Network and system
Email management
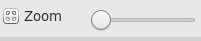
[ Purpose | Quick interface overview | Configuration | File import | Editing ( The principle , arranging clips on the timeline , creating a title , adding transitions , adding effects ) | Key images | Other refinements | Exporting to the final video ]
Tutorial to edit your video with Pitivi Video Editor
Object
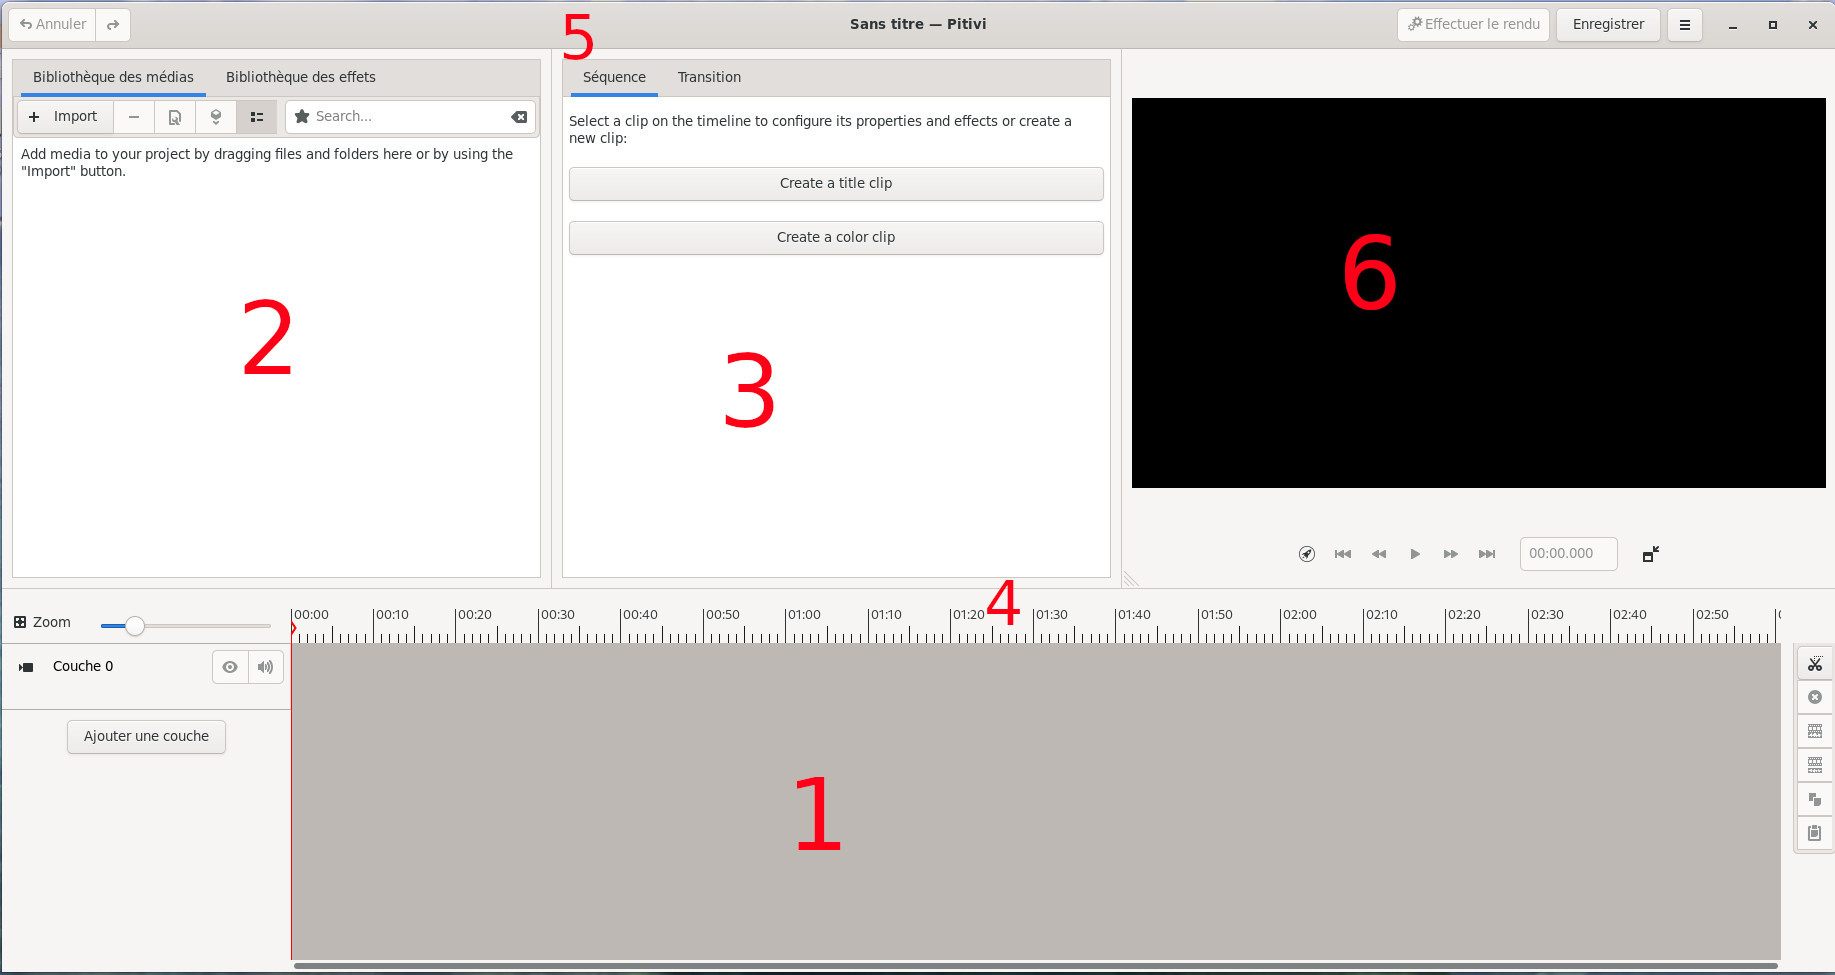
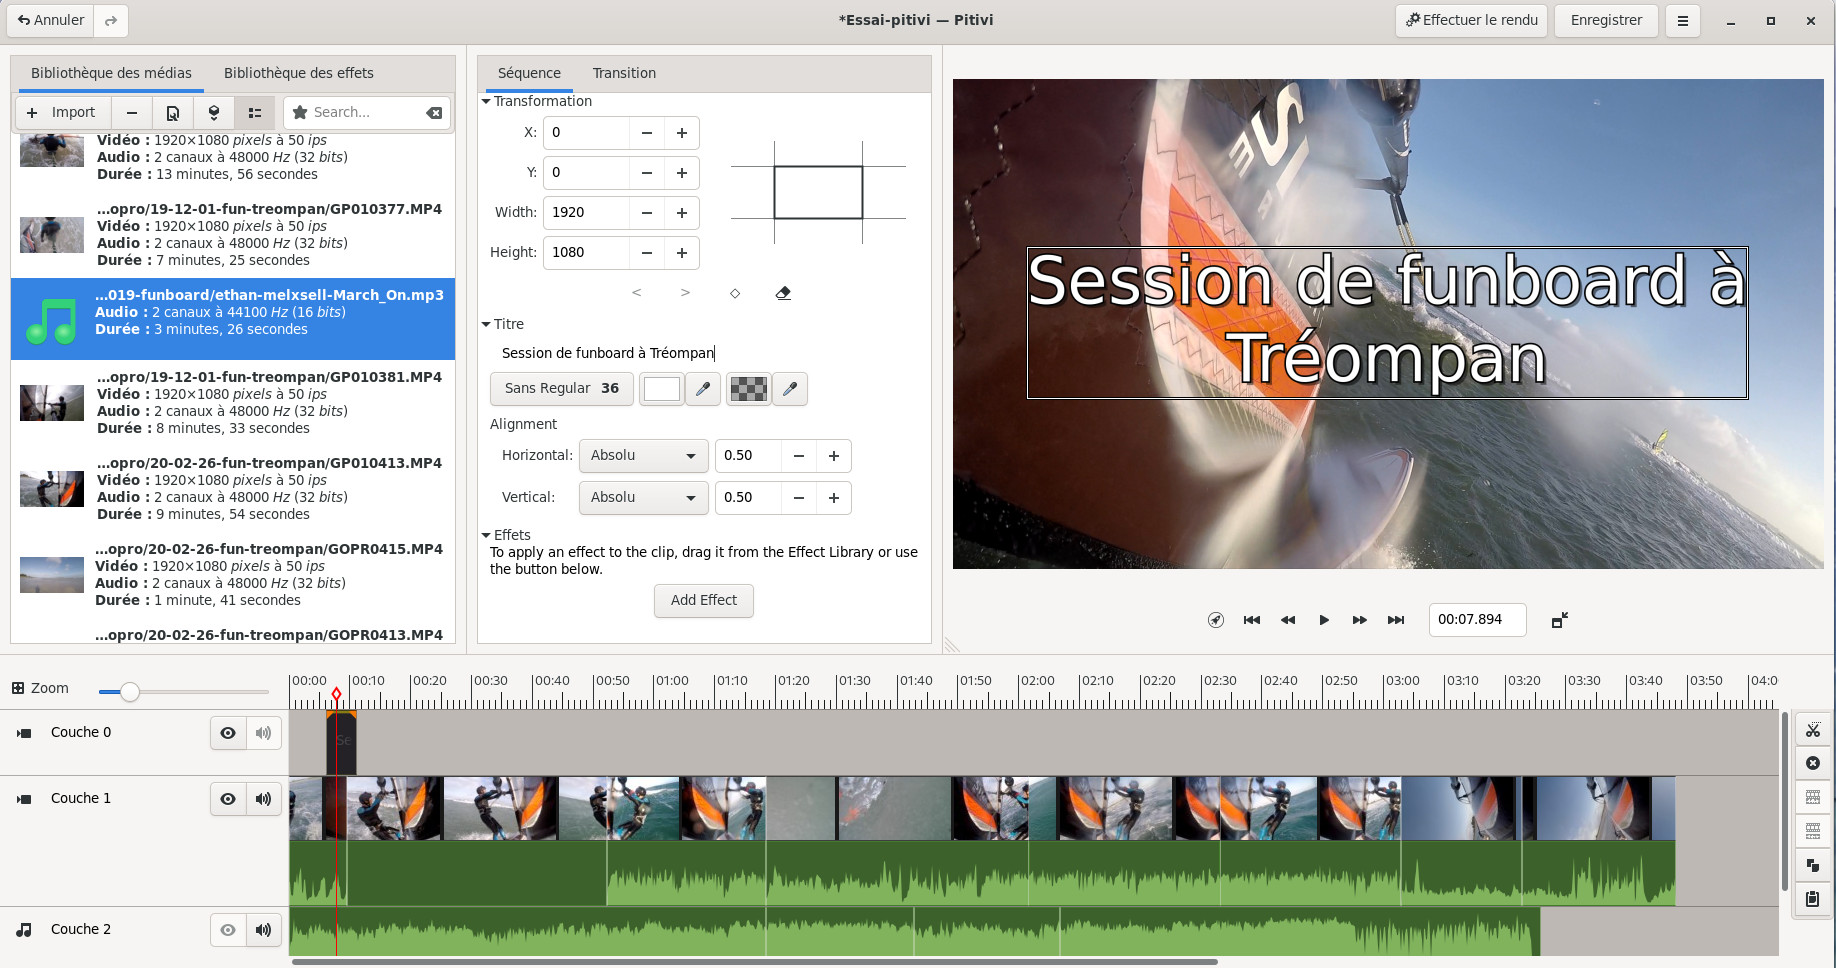
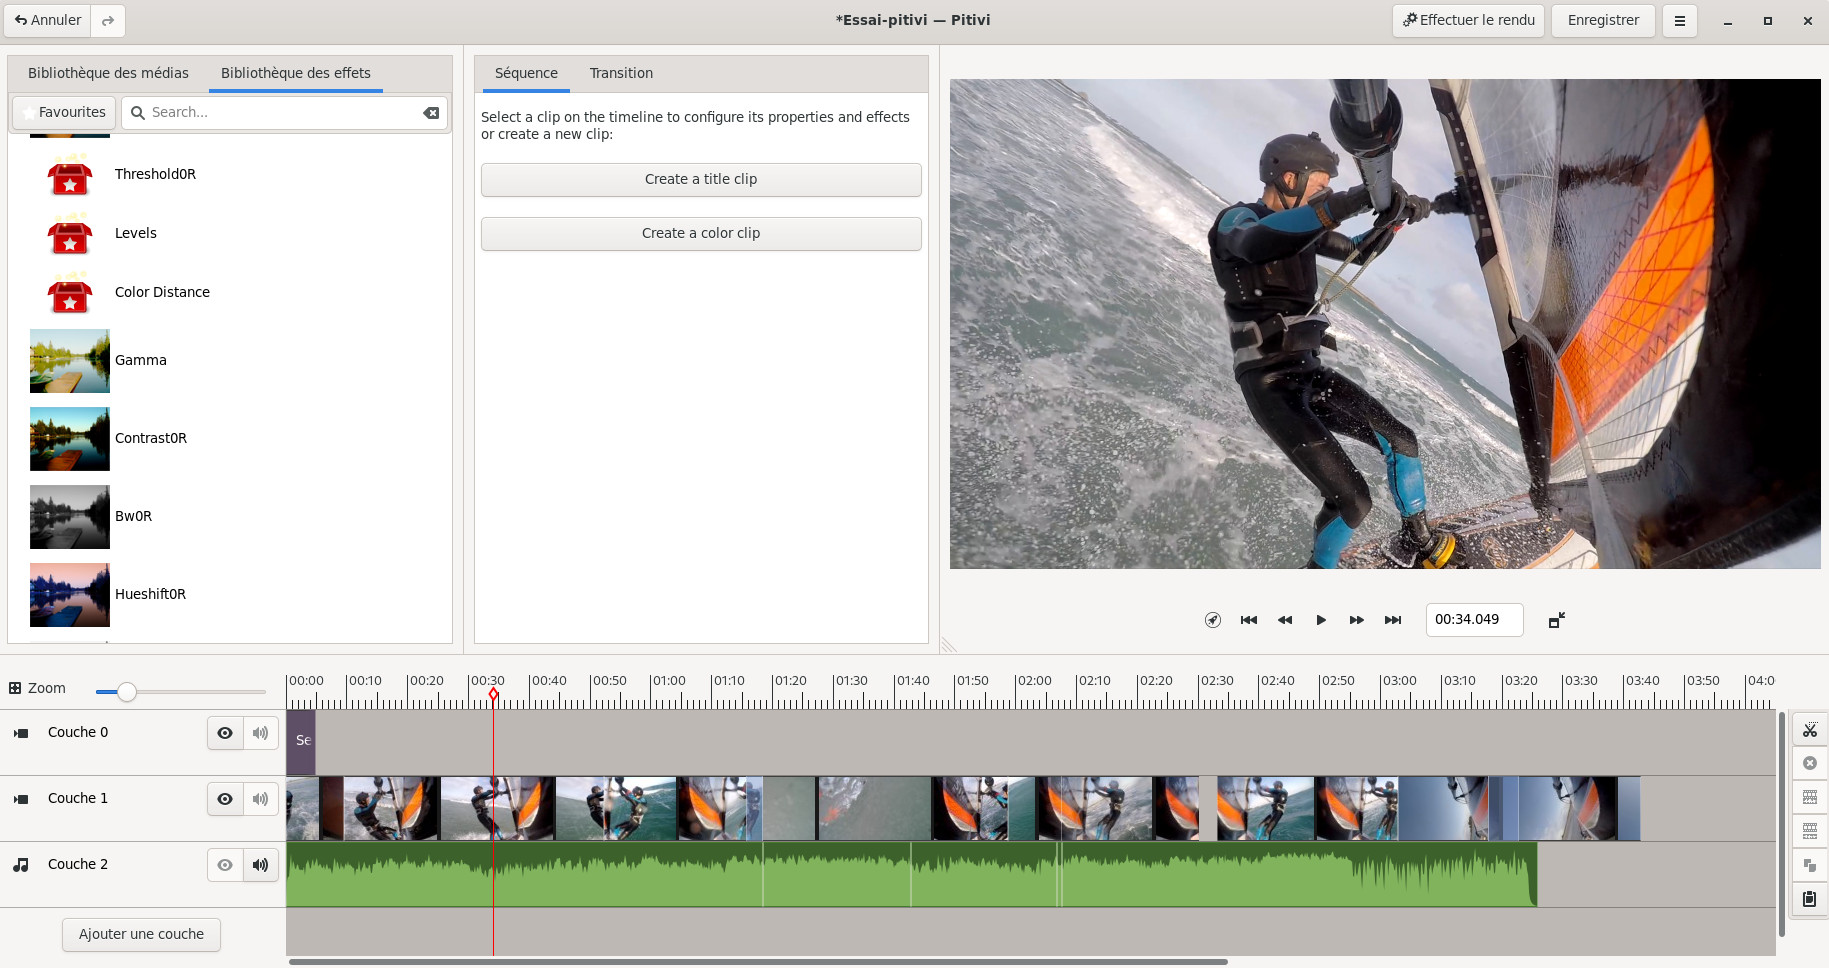
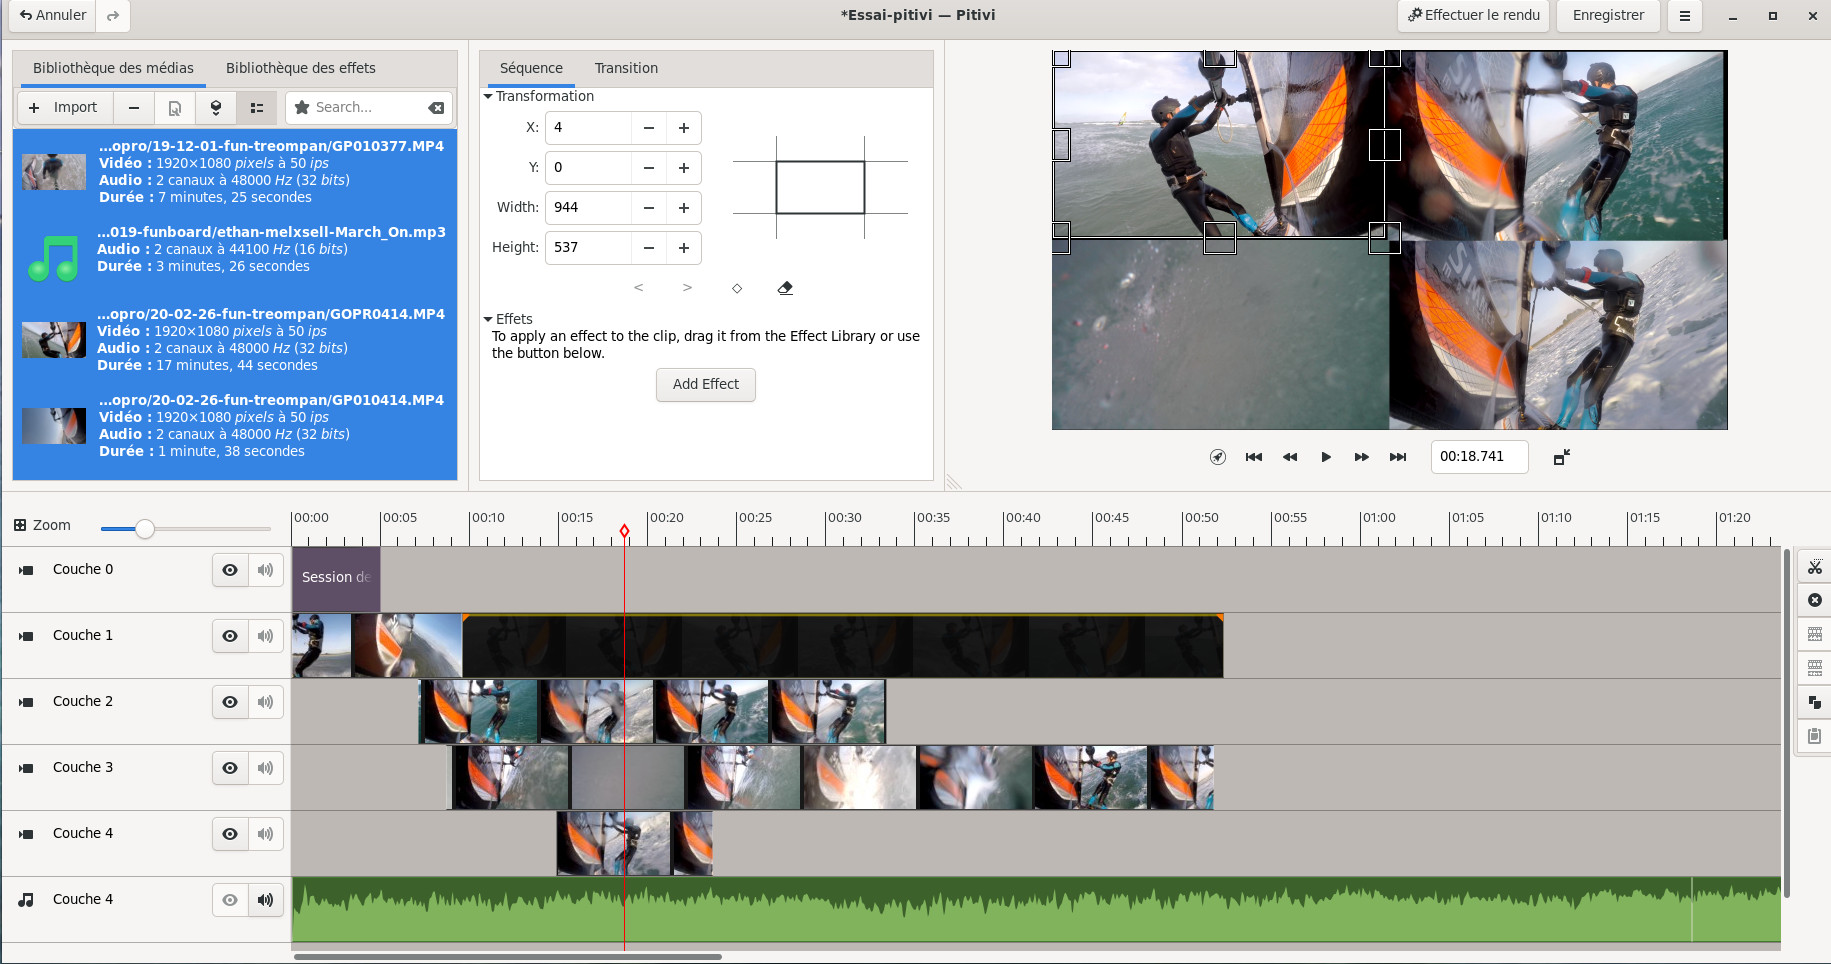
- 1 The timeline
- 2 The library of project files and effects on two tabs
- 3 The contextual tabs where the properties of the clips and transitions and the button for creating titles will be displayed
- 4 The time scale
- 5 The menu bar
- 6 The display screen
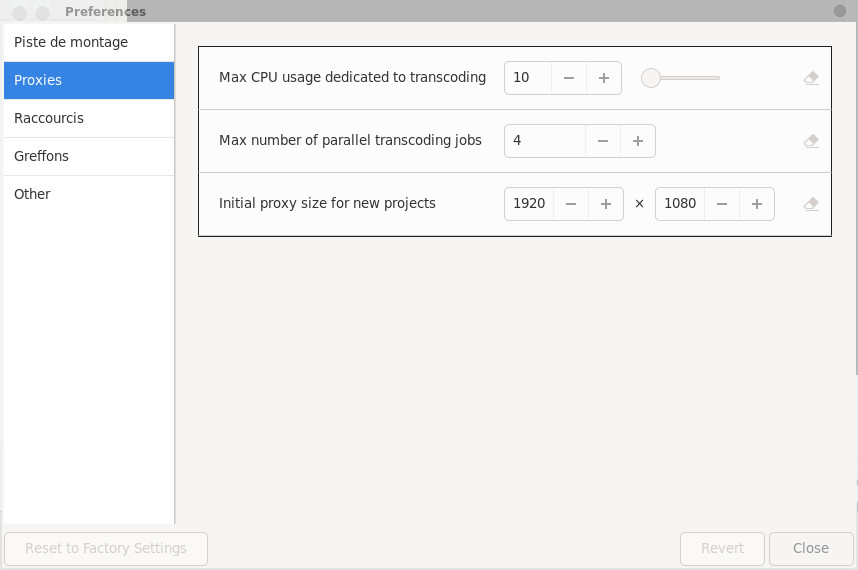
 . Via this menu, we have the classic commands to
save/load your project, to export an image of the project to
the location of the cursor ( Export current frame ). We choose Preferences.
. Via this menu, we have the classic commands to
save/load your project, to export an image of the project to
the location of the cursor ( Export current frame ). We choose Preferences. 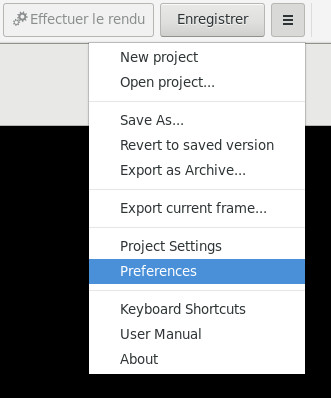
 the media library space by clicking on the button.
We can obviously select several files at the same time by
using the CTRL and SHIFT keys. The Optimize box is checked by default, it allows to transcode
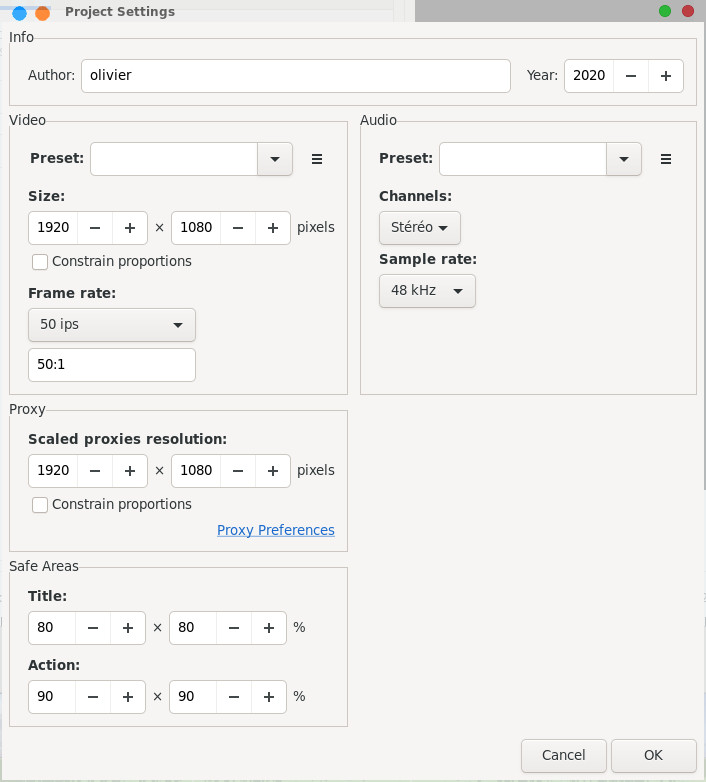
formats not natively supported for video editing, the Scale assets button allows to create intermediate videos by
reducing videos that are larger than a certain size defined
in the Proxy box.
the media library space by clicking on the button.
We can obviously select several files at the same time by
using the CTRL and SHIFT keys. The Optimize box is checked by default, it allows to transcode
formats not natively supported for video editing, the Scale assets button allows to create intermediate videos by
reducing videos that are larger than a certain size defined
in the Proxy box. 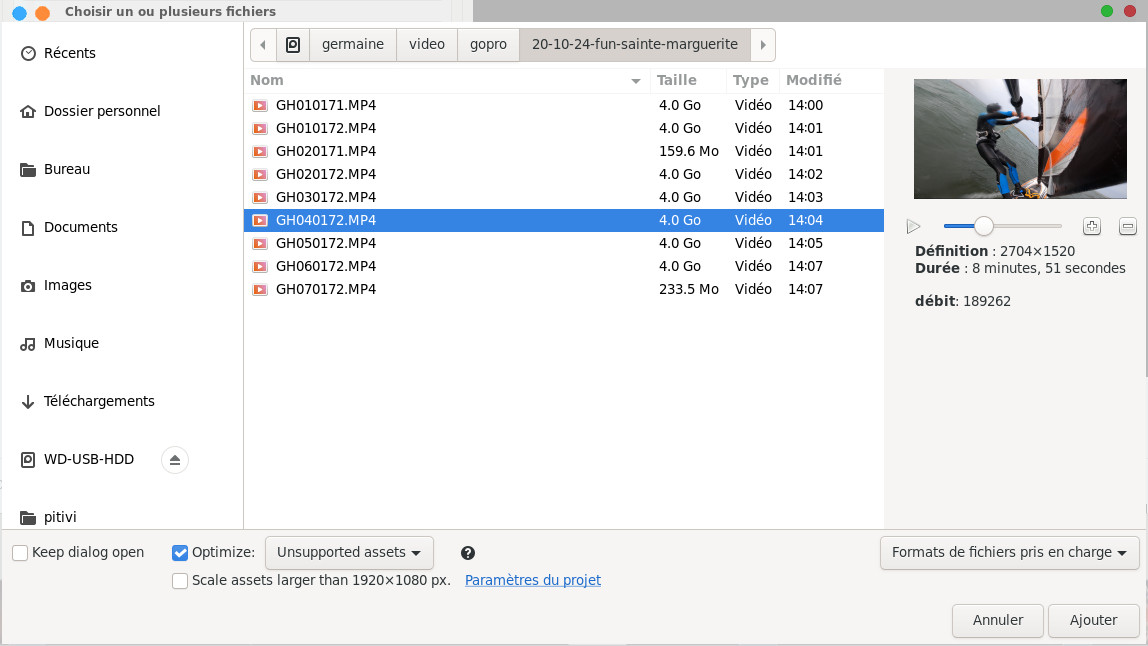
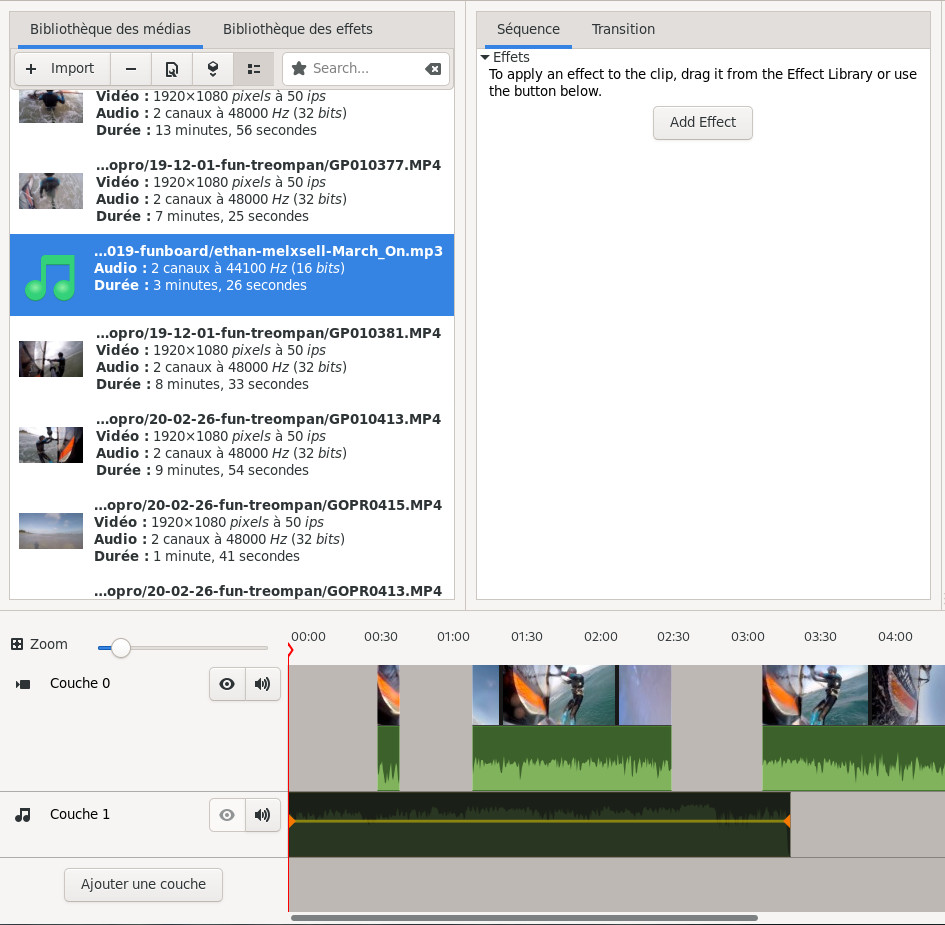
 we have a list mode
display with the properties of the imported files.
we have a list mode
display with the properties of the imported files. 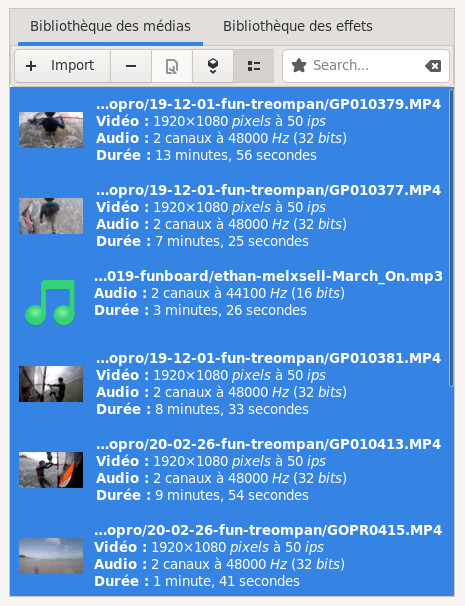
 it gives this:
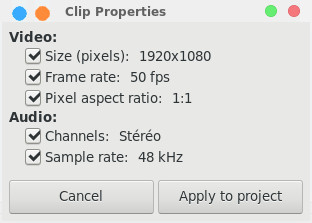
The assembly
The principle of assembly
Please refer to this page to learn the main principles of assembly.Arrange clips on the timeline
 It ends up on layer 0
of the timeline.
It ends up on layer 0
of the timeline. 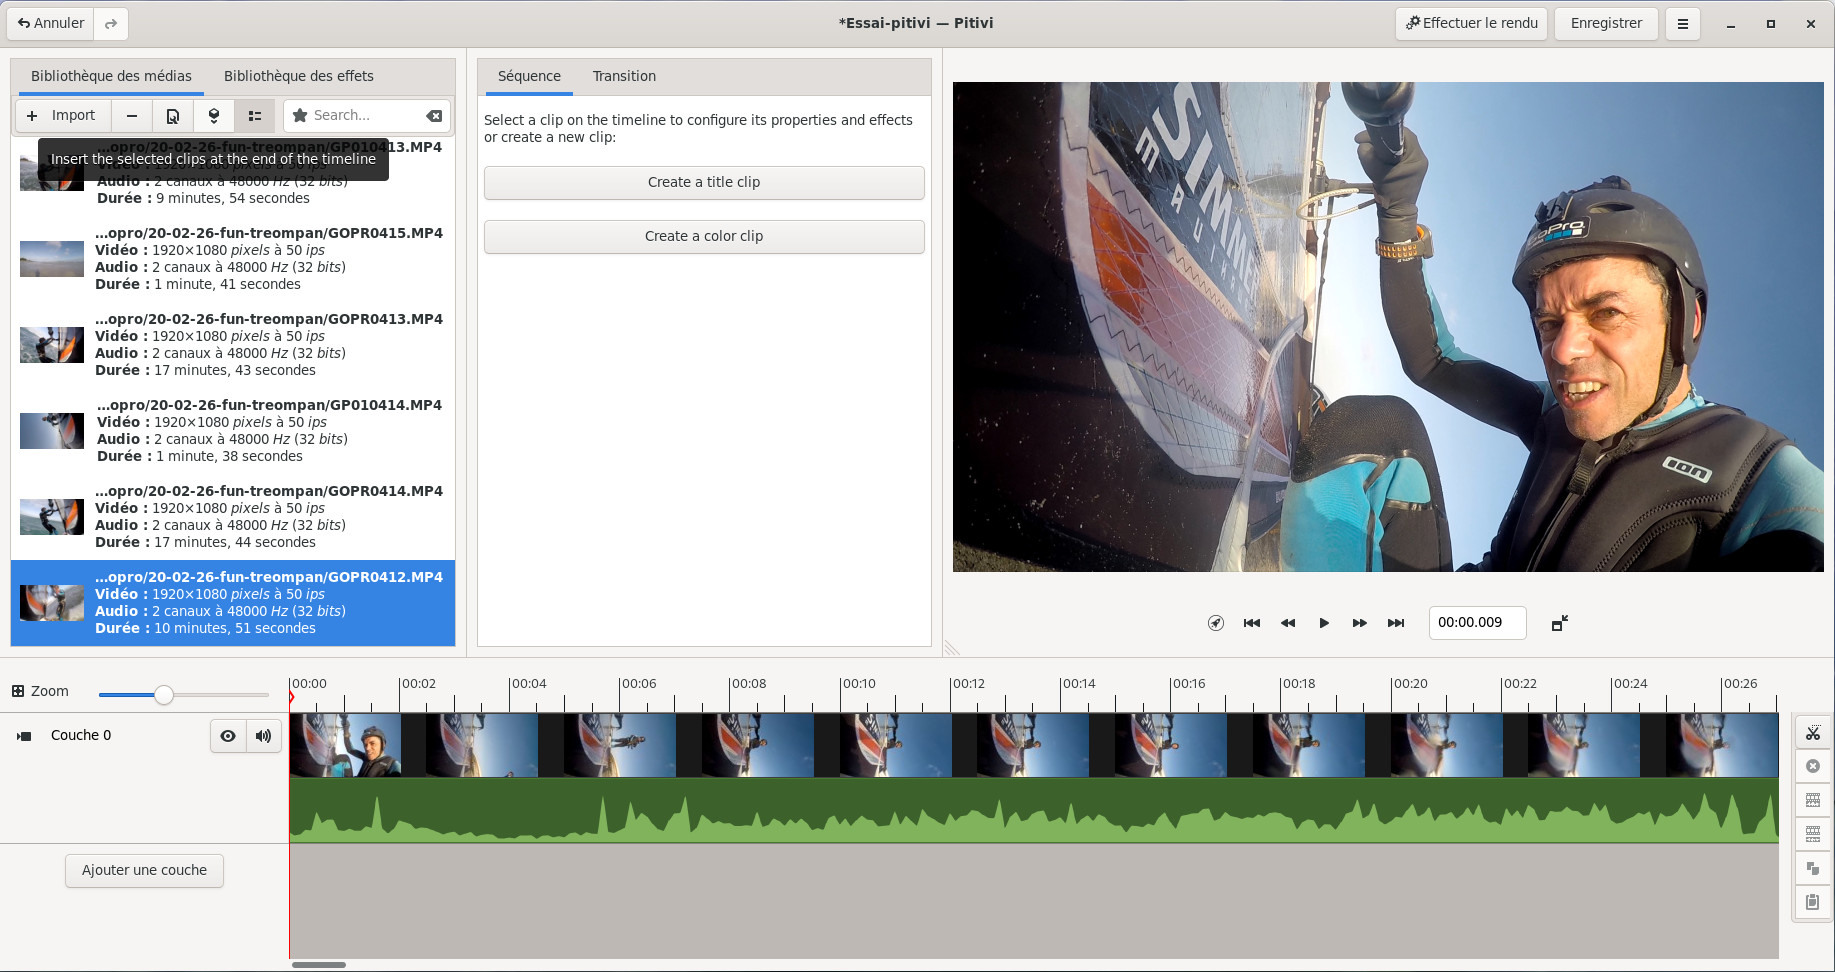
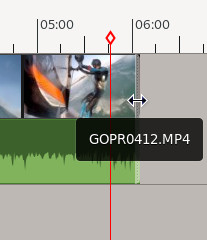
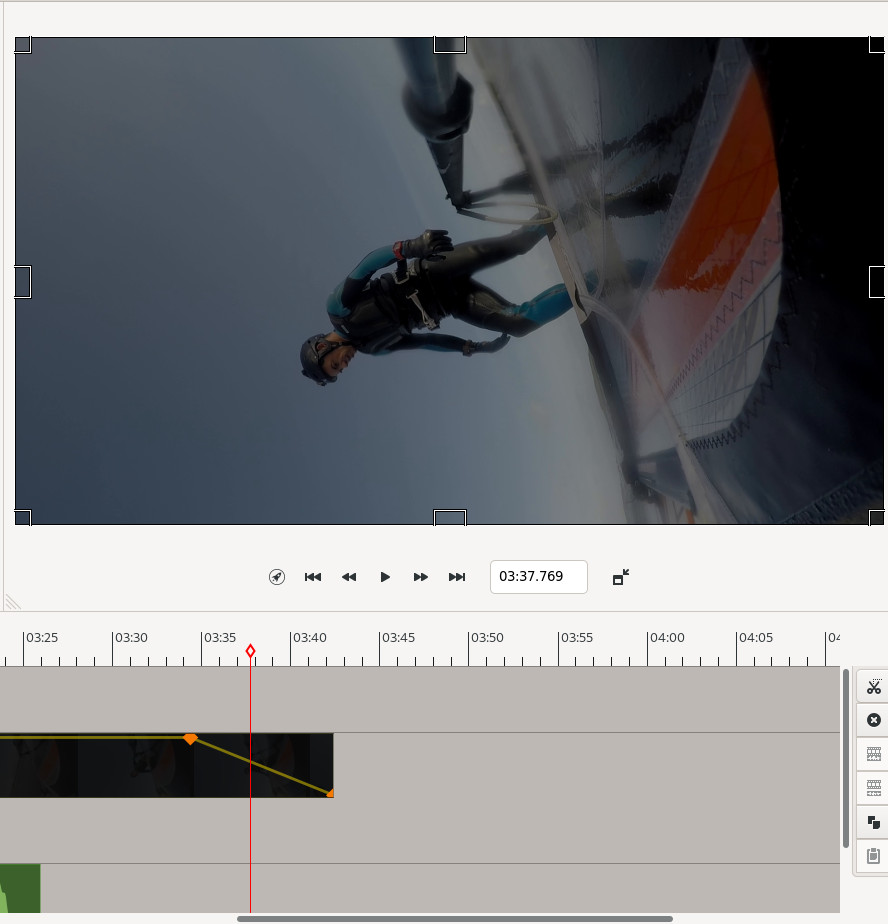
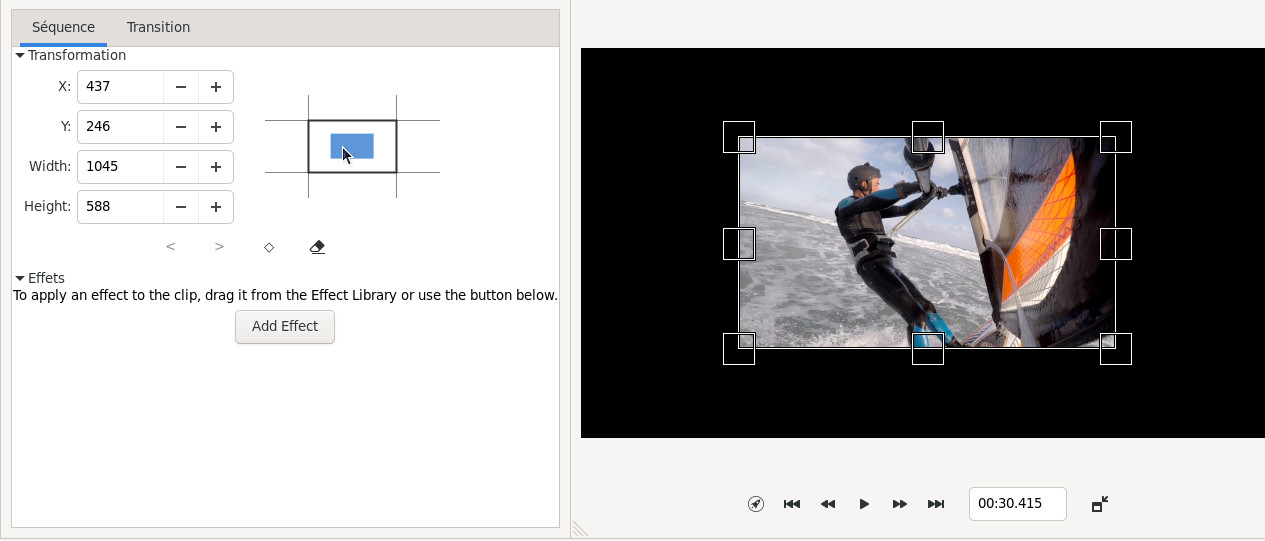
 , note that you can
detach the viewer by clicking on the Detach Monitor button. By clicking on
the first button Select composition
guidelines, you can set up guides
in the video viewer.
, note that you can
detach the viewer by clicking on the Detach Monitor button. By clicking on
the first button Select composition
guidelines, you can set up guides
in the video viewer. 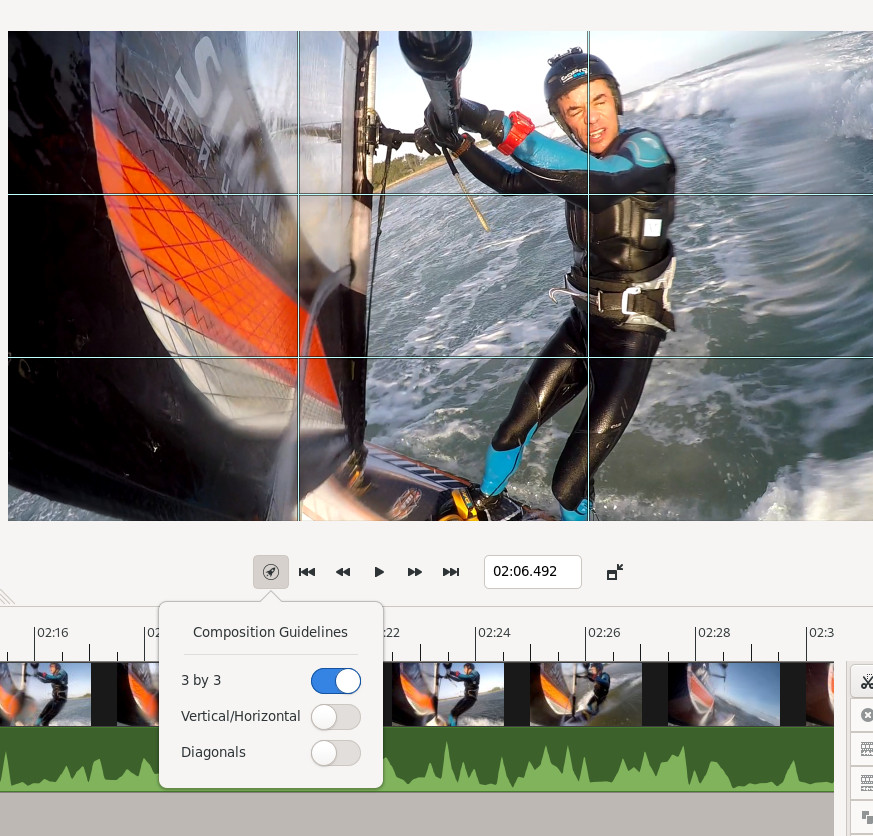
 .
.  . You have to place the
cursor at the beginning of the sequence to be cut, click
on the scissors, this makes the white line appear on the
video, then place the cursor at the end of the sequence
to be cut, click on the scissors. In practice, you will
cut your video into several clips.
. You have to place the
cursor at the beginning of the sequence to be cut, click
on the scissors, this makes the white line appear on the
video, then place the cursor at the end of the sequence
to be cut, click on the scissors. In practice, you will
cut your video into several clips. 
 Illustration button on
the screenshot below, selecting a clip then Delete clips button
Illustration button on
the screenshot below, selecting a clip then Delete clips button

 it will be
automatically added to the first layer after the last
clip. We will proceed in the same way by selecting and
cutting the superfluous clips, and so on with all the
other imported videos.
it will be
automatically added to the first layer after the last
clip. We will proceed in the same way by selecting and
cutting the superfluous clips, and so on with all the
other imported videos. 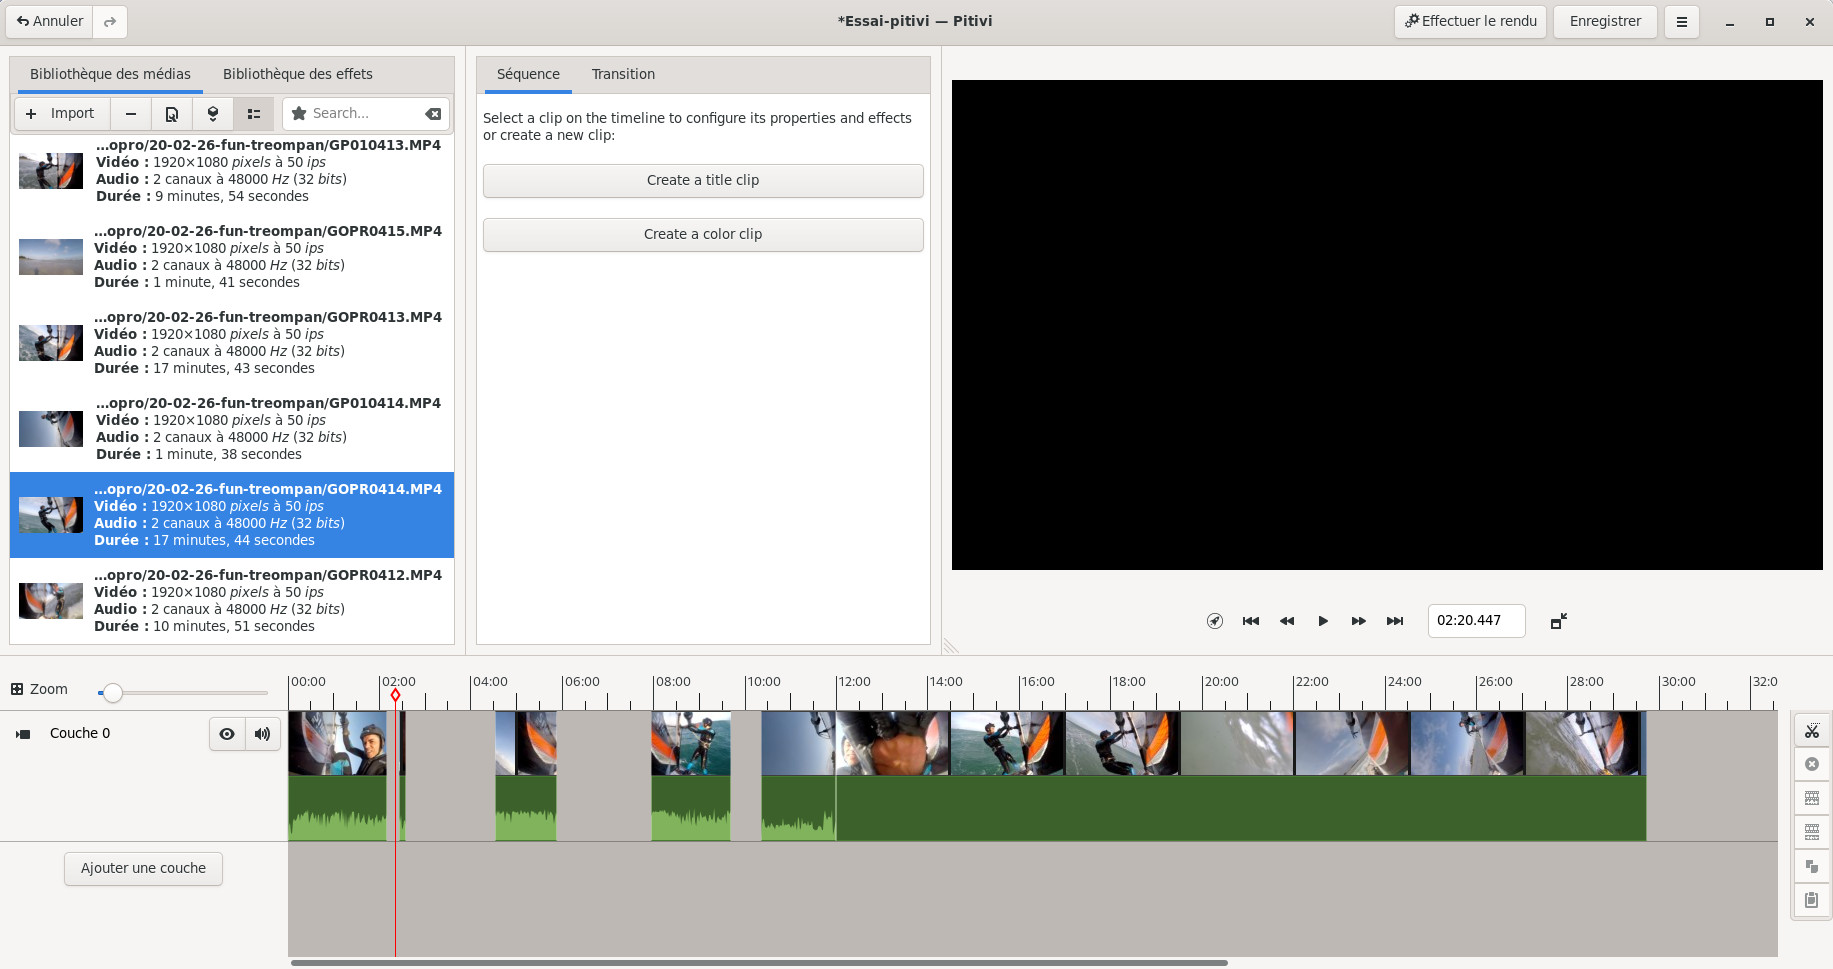
- You can play on the
zoom
 to view the complete
project on the timeline or on the contrary zoom in on
a part, it also works with the CTRL key and the + or -
key.
to view the complete
project on the timeline or on the contrary zoom in on
a part, it also works with the CTRL key and the + or -
key. - By clicking on Zoom the timeline automatically adapts to the entire project
- Selecting a clip in the timeline and holding down the SHIFT key will move the clip and all subsequent clips in the layer.
- By selecting a clip and clicking CTRL+left arrow key you go to the beginning of the clip and with CTRL+right arrow key you go to the end of the clip
- Clicking on the left arrow goes back one image and clicking on the right arrow goes forward one image.
- Clicking SHIFT+left arrow goes back one second and SHIFT+right arrow goes forward one second.
- To get a list of all keyboard shortcuts, simply click on /
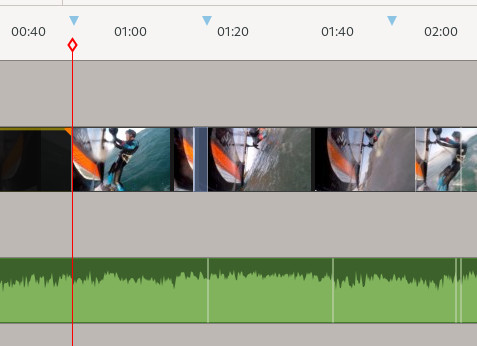
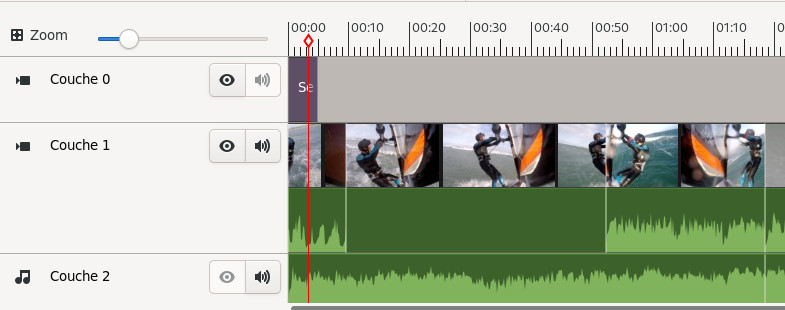
To find your way around the timeline it can be useful to place markers there, you can create them by clicking above the numbers on the timeline. Below we see three markers, we simply move them by drag and drop and delete them by clicking on them. Unfortunately we cannot create a marker precisely at the position of the cursor and that is a shame, because suddenly the markers have a rather approximate position.


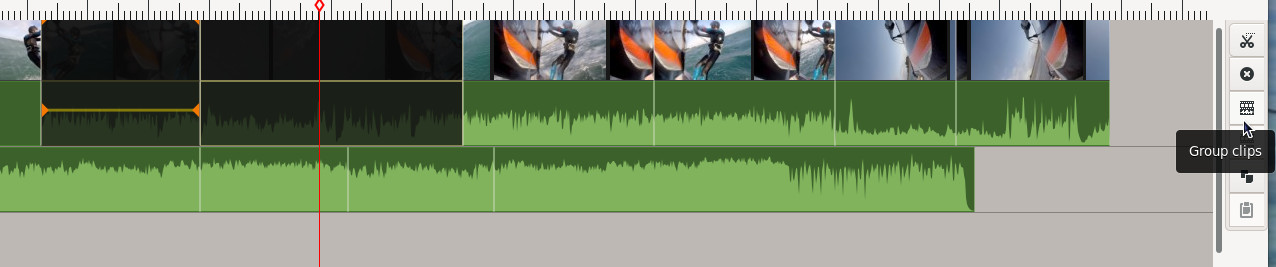
 . Also note that you
can also copy a clip with the copy
. Also note that you
can also copy a clip with the copy
 button and copy it
elsewhere on the timeline with the paste
button and copy it
elsewhere on the timeline with the paste
 button.
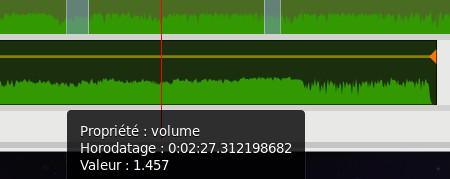
  allow you to mute a
layer or turn off the video.
allow you to mute a
layer or turn off the video. 
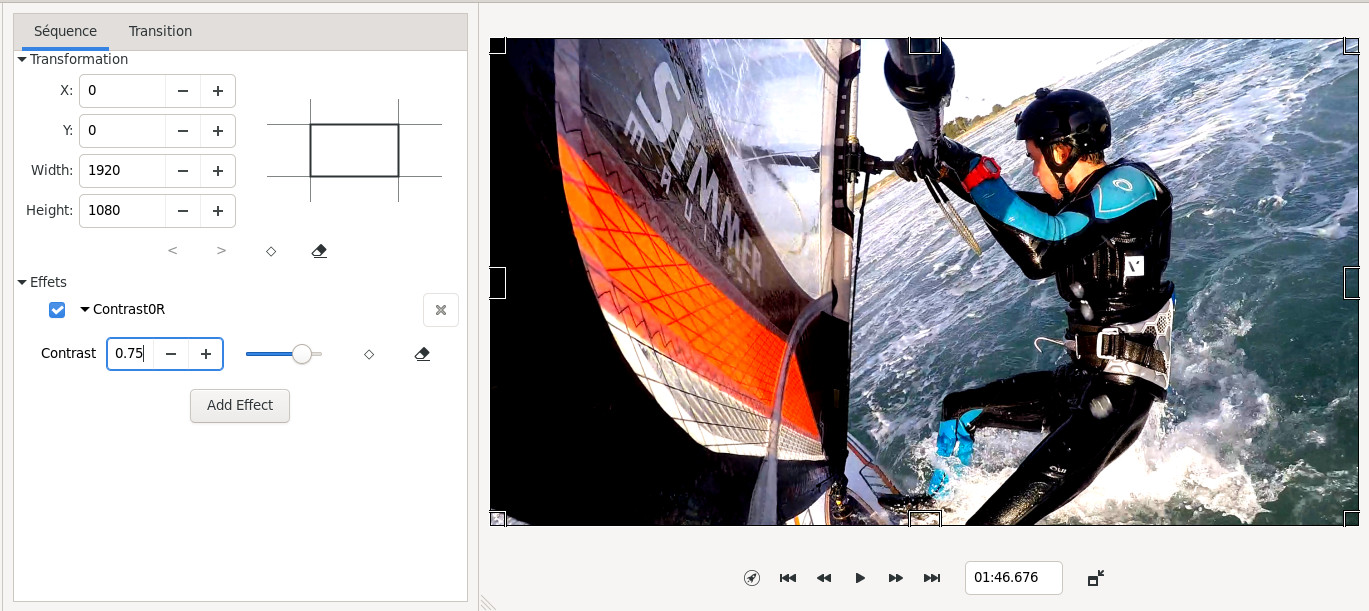
Add effects
An effect is a special video treatment that changes the appearance of a clip, you will quickly understand what it is by selecting an effect in the Effects Library. In the example below I selected the contrast effect that I dragged and dropped onto a clip in the timeline.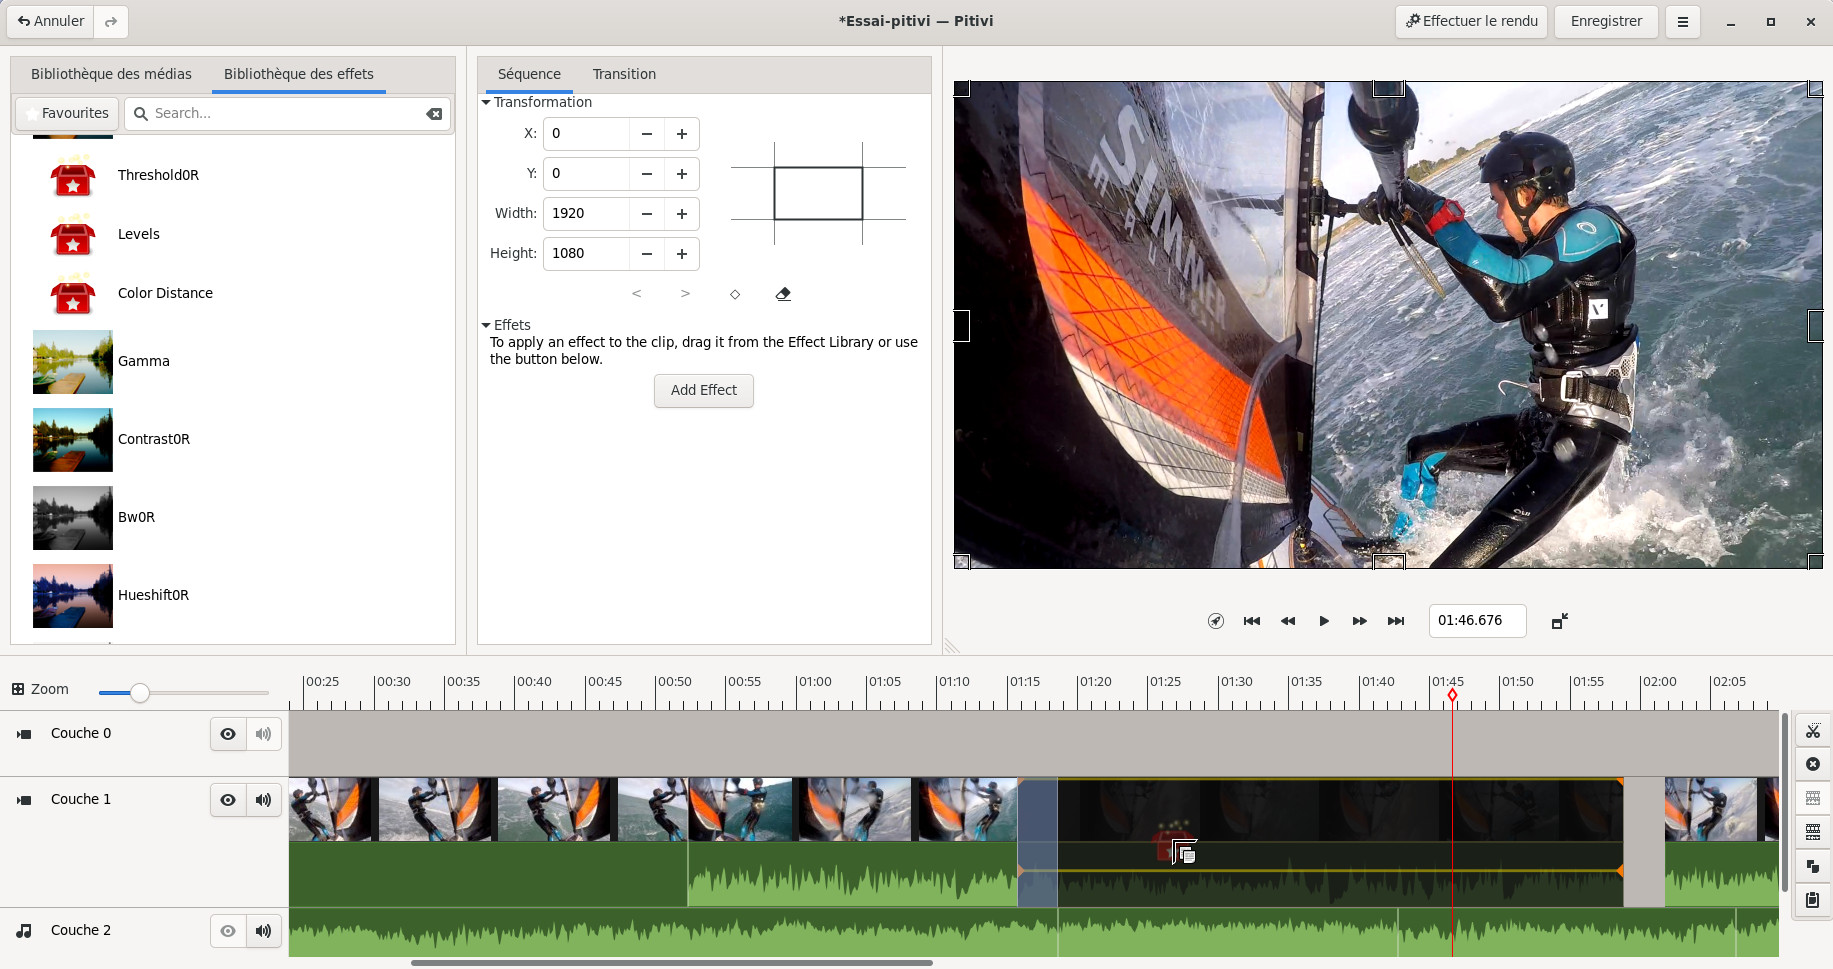
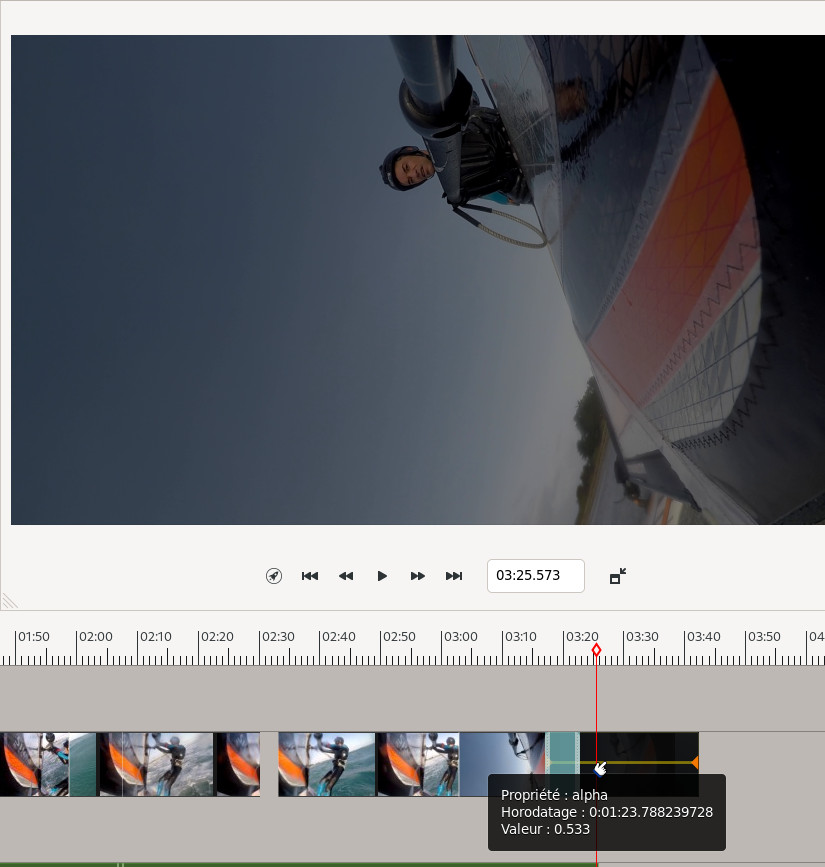
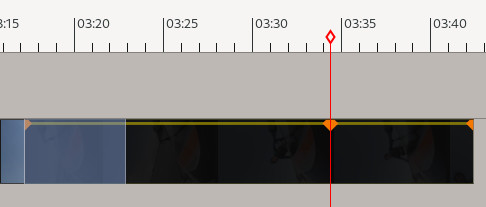
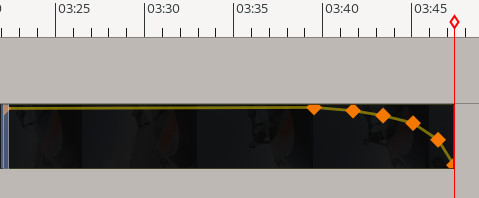
Key images

| Back to FUNIX home page ] |