 Welcome
 Linux
Linux Unix
Unix Download
Encourage FUNIX
The consultation of the site is completely free and without advertisements. Donations are nevertheless appreciated to pay for hosting and encourage its author
Multimedia
Video editing
- The basics of video editing
- Installation of video editing software
- Editing your video with Kdenlive
- Editing your video with Cinelerra
- Editing your video with OpenShot Video Editor
- Editing your video with Pitivi Video Editor
- Editing your video with Flowblade Video Editor
- Editing your video with Shotcut
- Installation of video editing software
- Editing your video with Kdenlive
- Editing your video with Cinelerra
- Editing your video with OpenShot Video Editor
- Editing your video with Pitivi Video Editor
- Editing your video with Flowblade Video Editor
- Editing your video with Shotcut
Edit your video with kdenlive
Network and system
Email management
kdenlive overview and configuration
Last modified
August 4, 2024
This site has been automatically translated with Google Translate from this original page written in french, there may be some translation errors
This site has been automatically translated with Google Translate from this original page written in french, there may be some translation errors
Object
This page is
part of a tutorial to explain video editing with kdenlive and which includes the following topics:
Quick overview of the interface
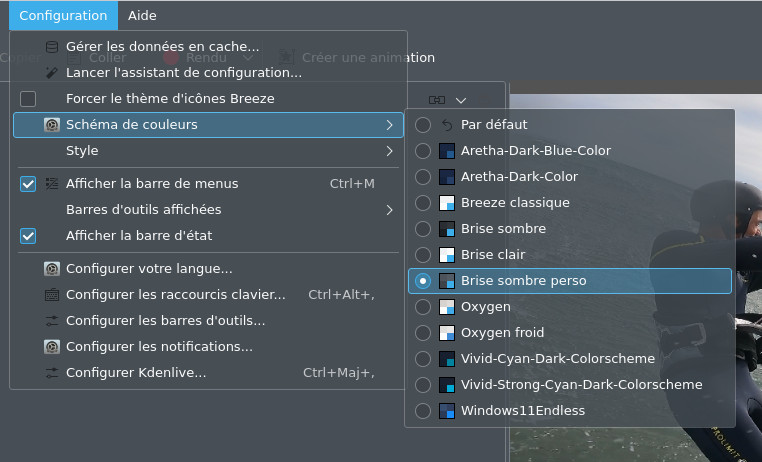
Just type kdenlive to launch the application, you can optionally change the theme from the Configuration->Color scheme menu. I chose a custom dark theme because I found that the icons lacked contrast.
The interface is fully configurable but we generally find these different areas
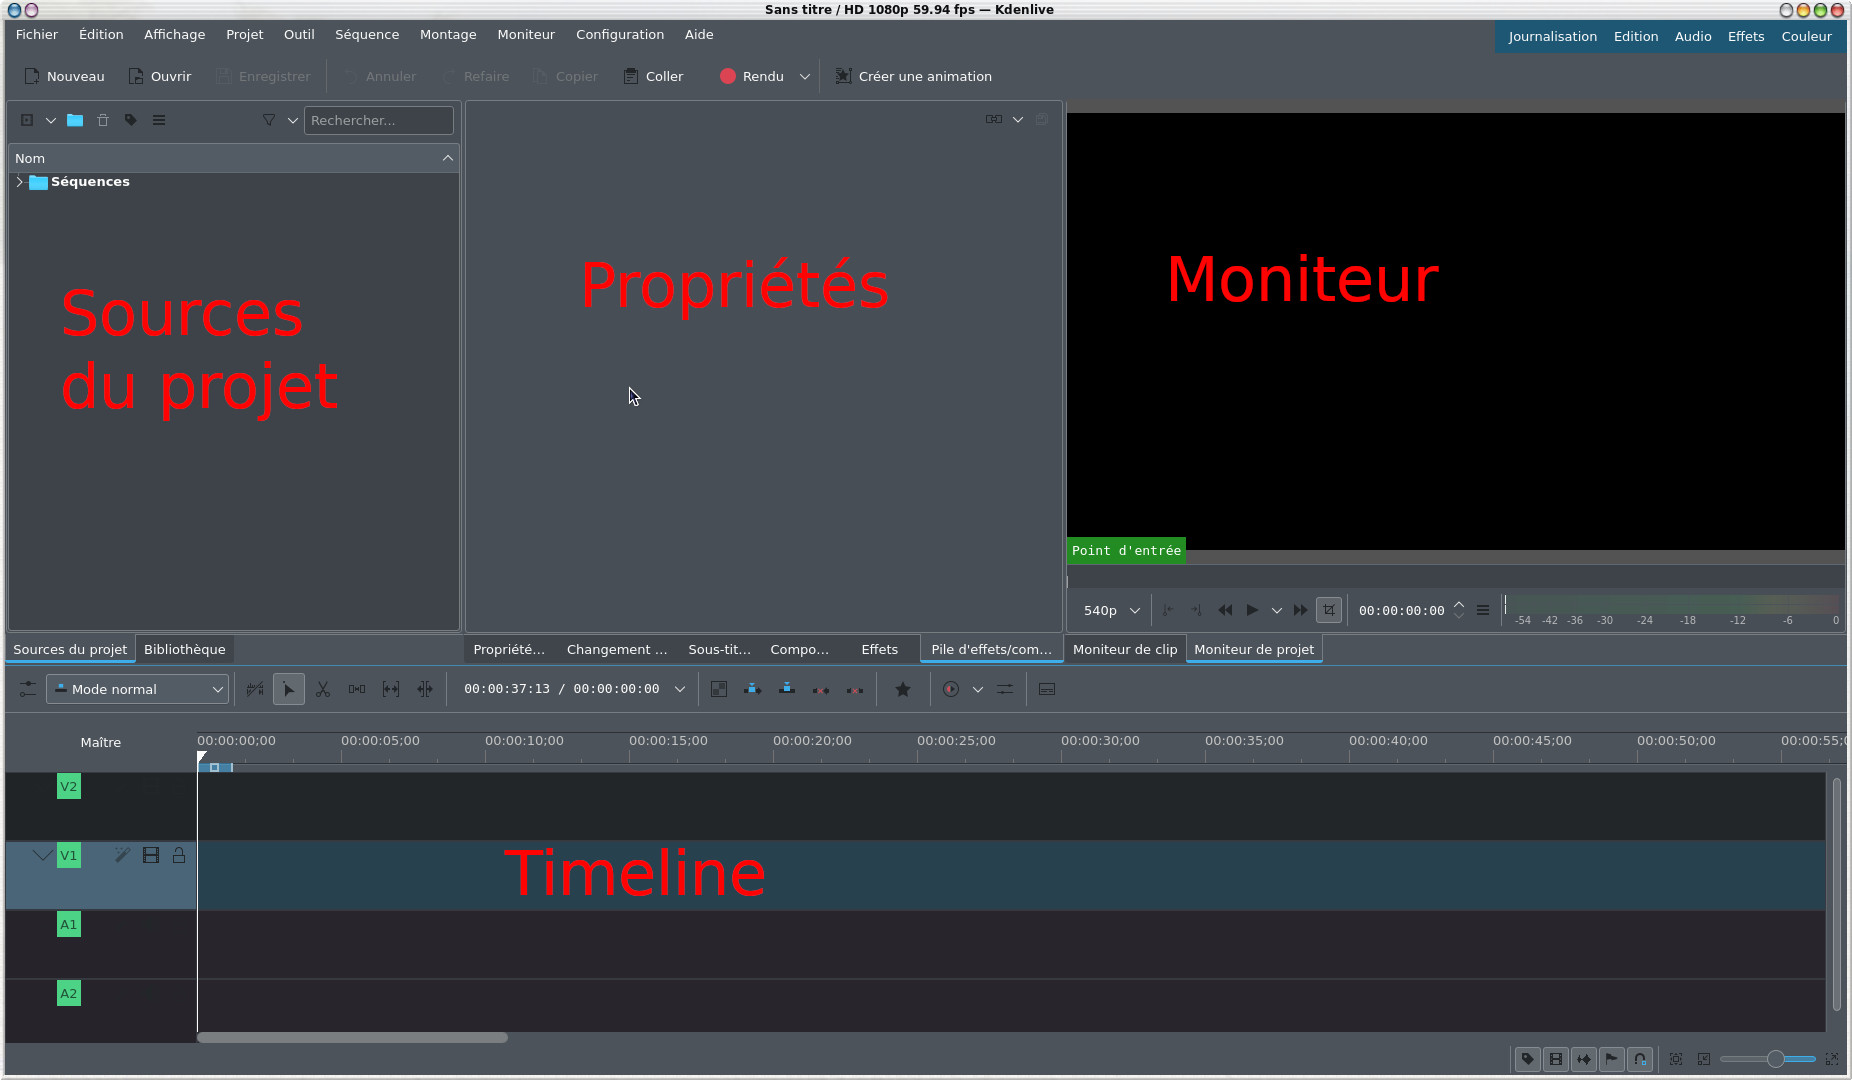
On the left is the Project Sources project files area ( Project Bin in English), where we will find all the raw multimedia files (audio, video, image) that will be the basis of the final video, we will also talk about rushes. At the bottom is the timeline where the video editing is done on a timeline (hence the term timeline), this is where we will chain pieces of clips one after the other in the time scale of our video. The timeline is often made up of several audio and video tracks, we will see their interest later. The project monitor allows you to view your work on the timeline ( Project Monitor tab ) or the rushes ( Clip Monitor tab ). The properties area lists the properties of the element selected in the Project Sources or in the timeline, but not only in this area different tabs are accessible to manage effects, transitions, subtitles.
It's not too
visible with this dark theme but you can reduce or enlarge
the vertical size of the timeline by playing on the double
arrow below
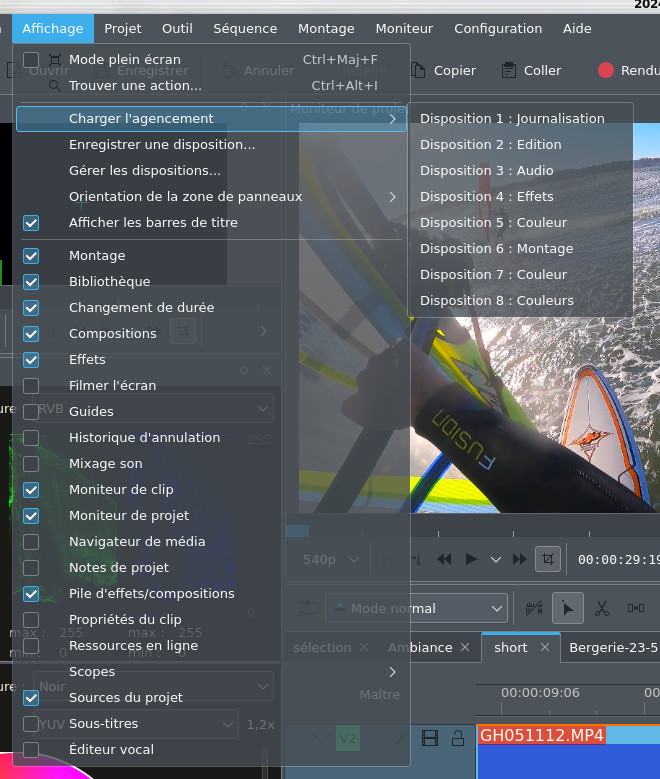
Different
predefined displays are accessible via the buttons at the
top right,  each display corresponds to a particular stage of
the assembly. To illustrate it all, here is what it can give
with a loaded project.
each display corresponds to a particular stage of
the assembly. To illustrate it all, here is what it can give
with a loaded project.
each display corresponds to a particular stage of
the assembly. To illustrate it all, here is what it can give
with a loaded project. First of
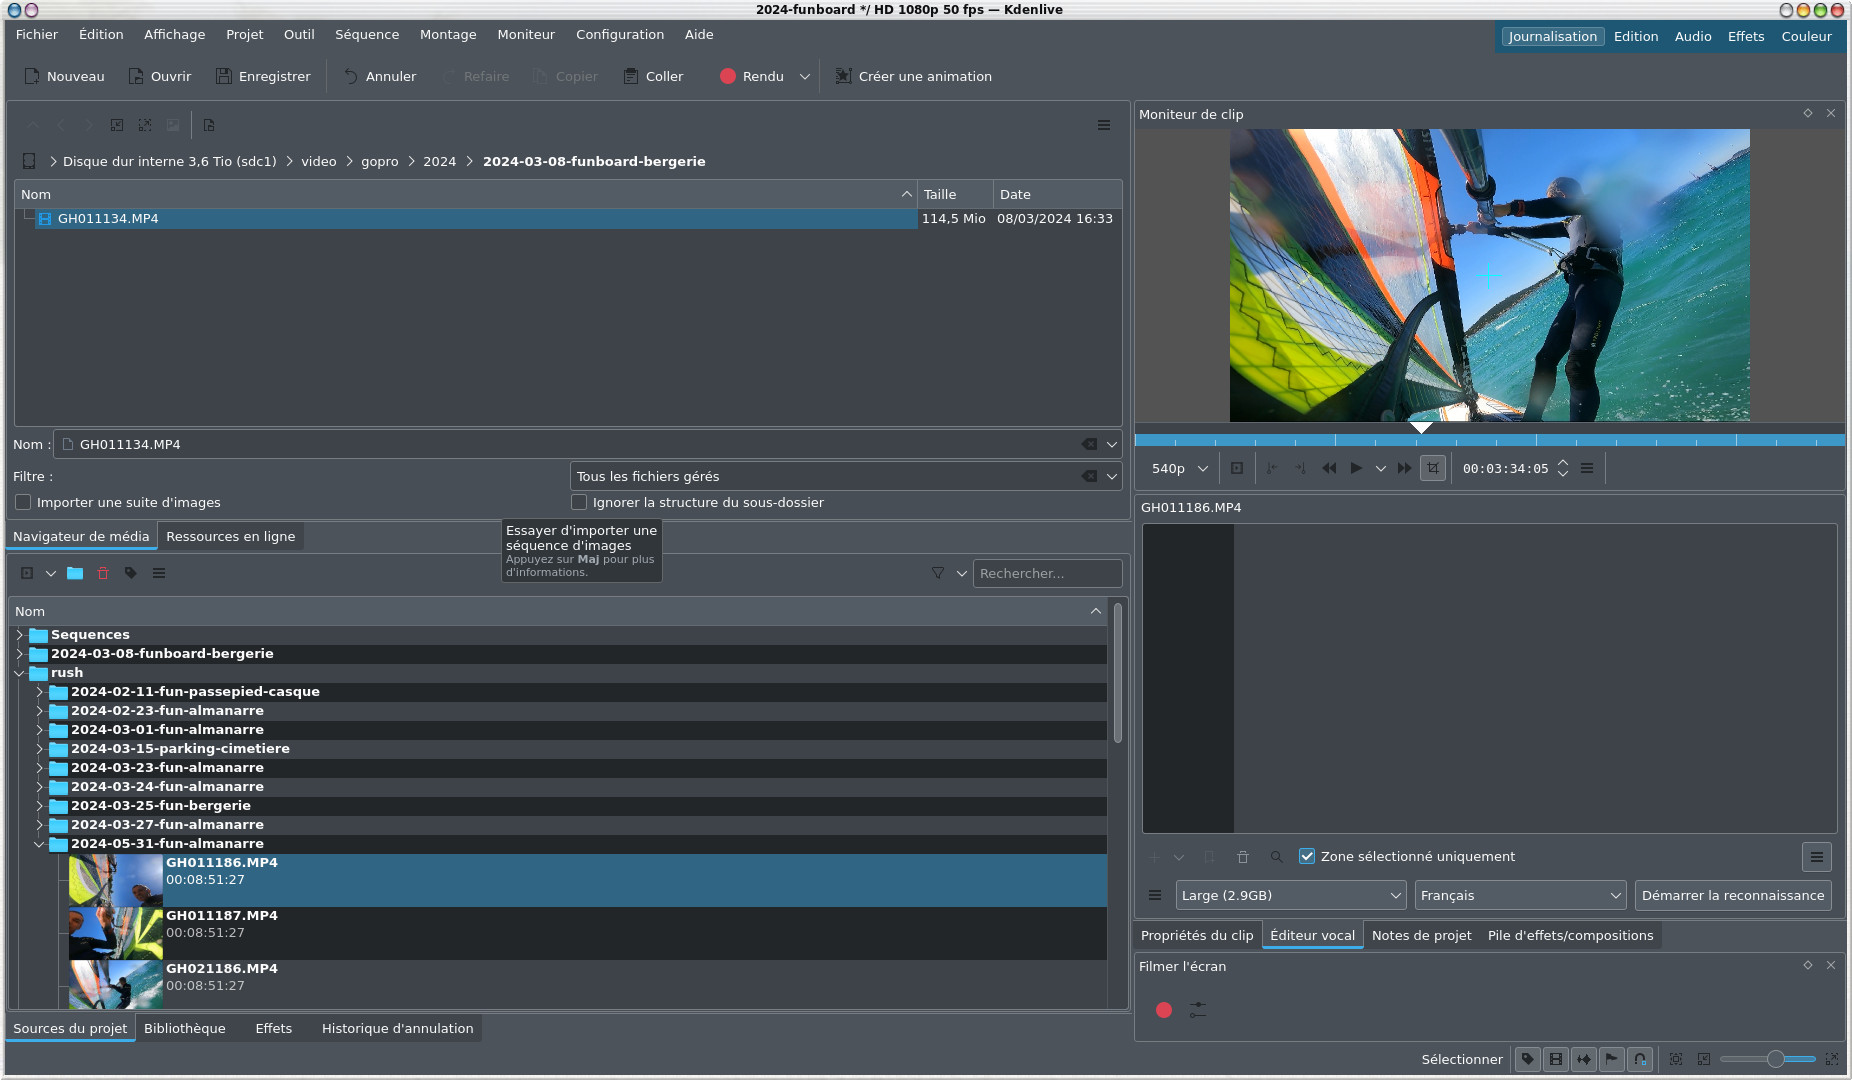
all, Journalization allows you to work on the raw files (rushing) of
the project Sources .
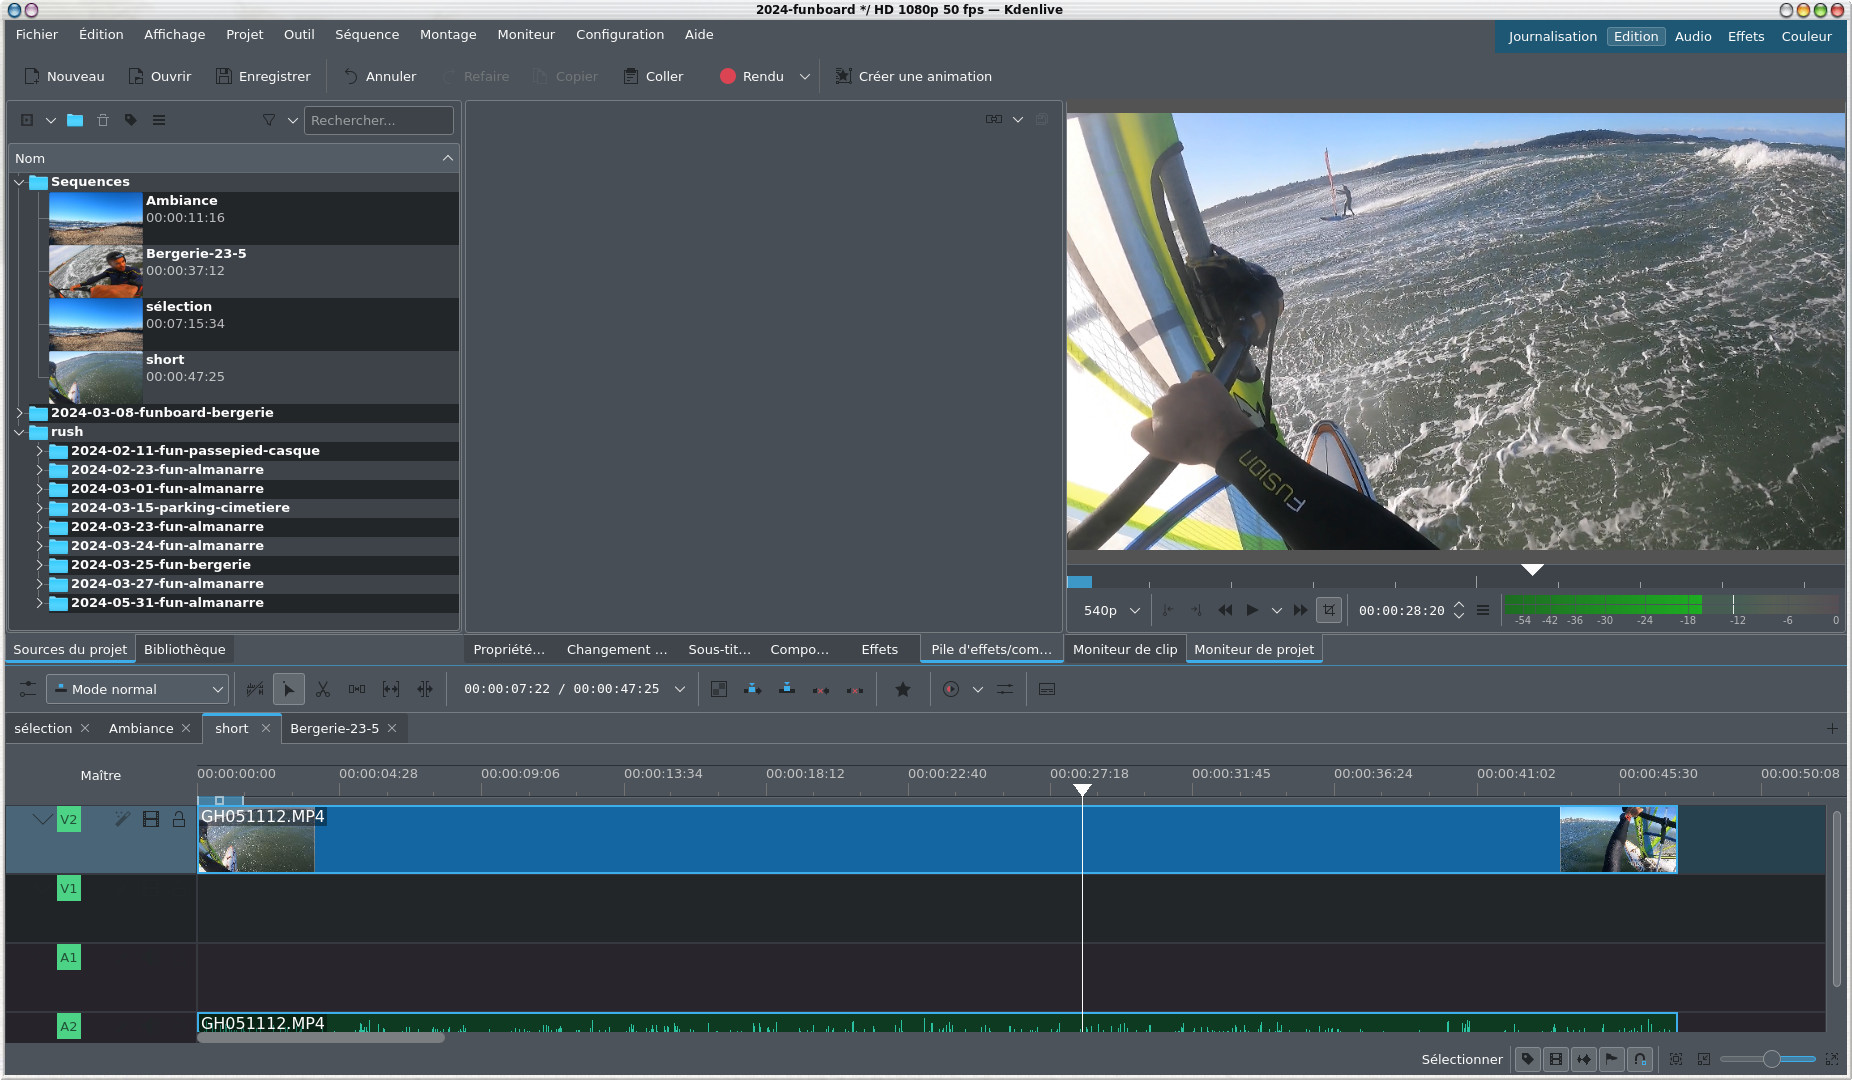
Edit view is the default mode for working on video editing
at the timeline level.
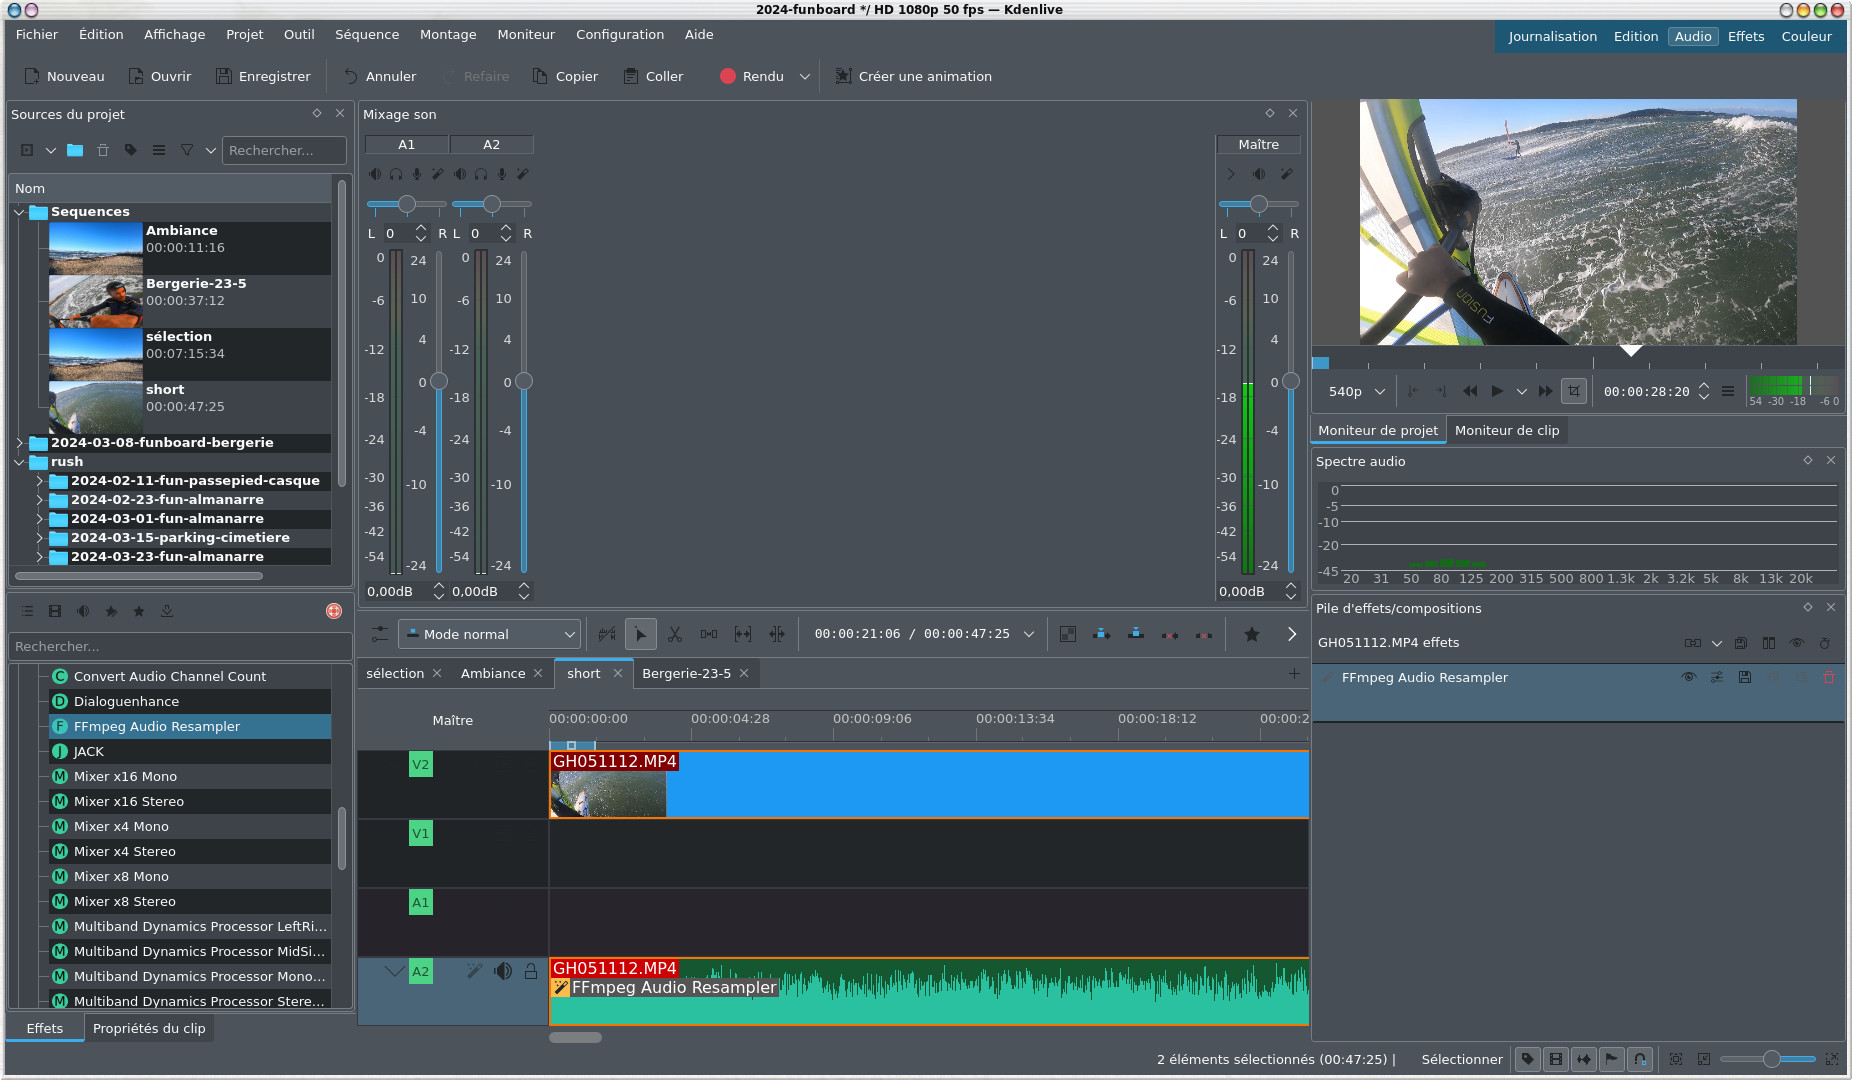
The Audio view allows you to work on audio editing and
mixing.
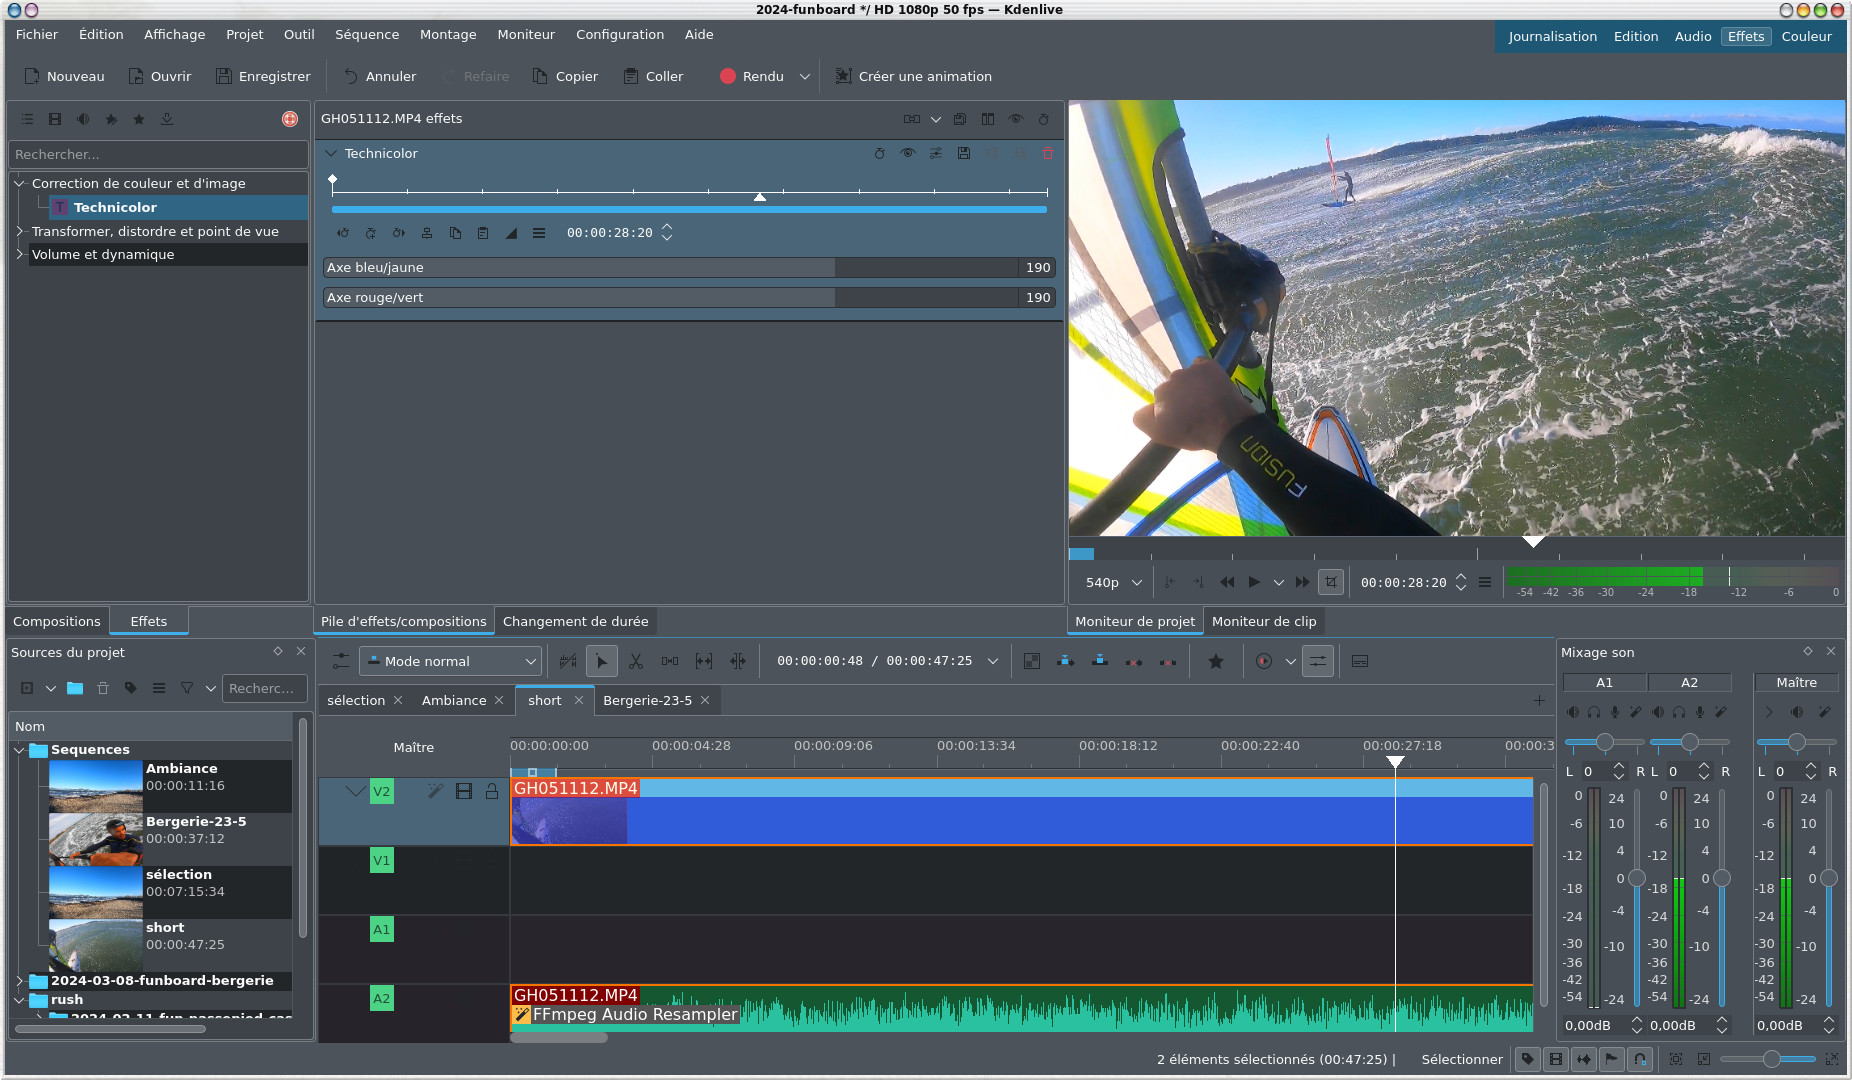
The Effects view for working on effects.
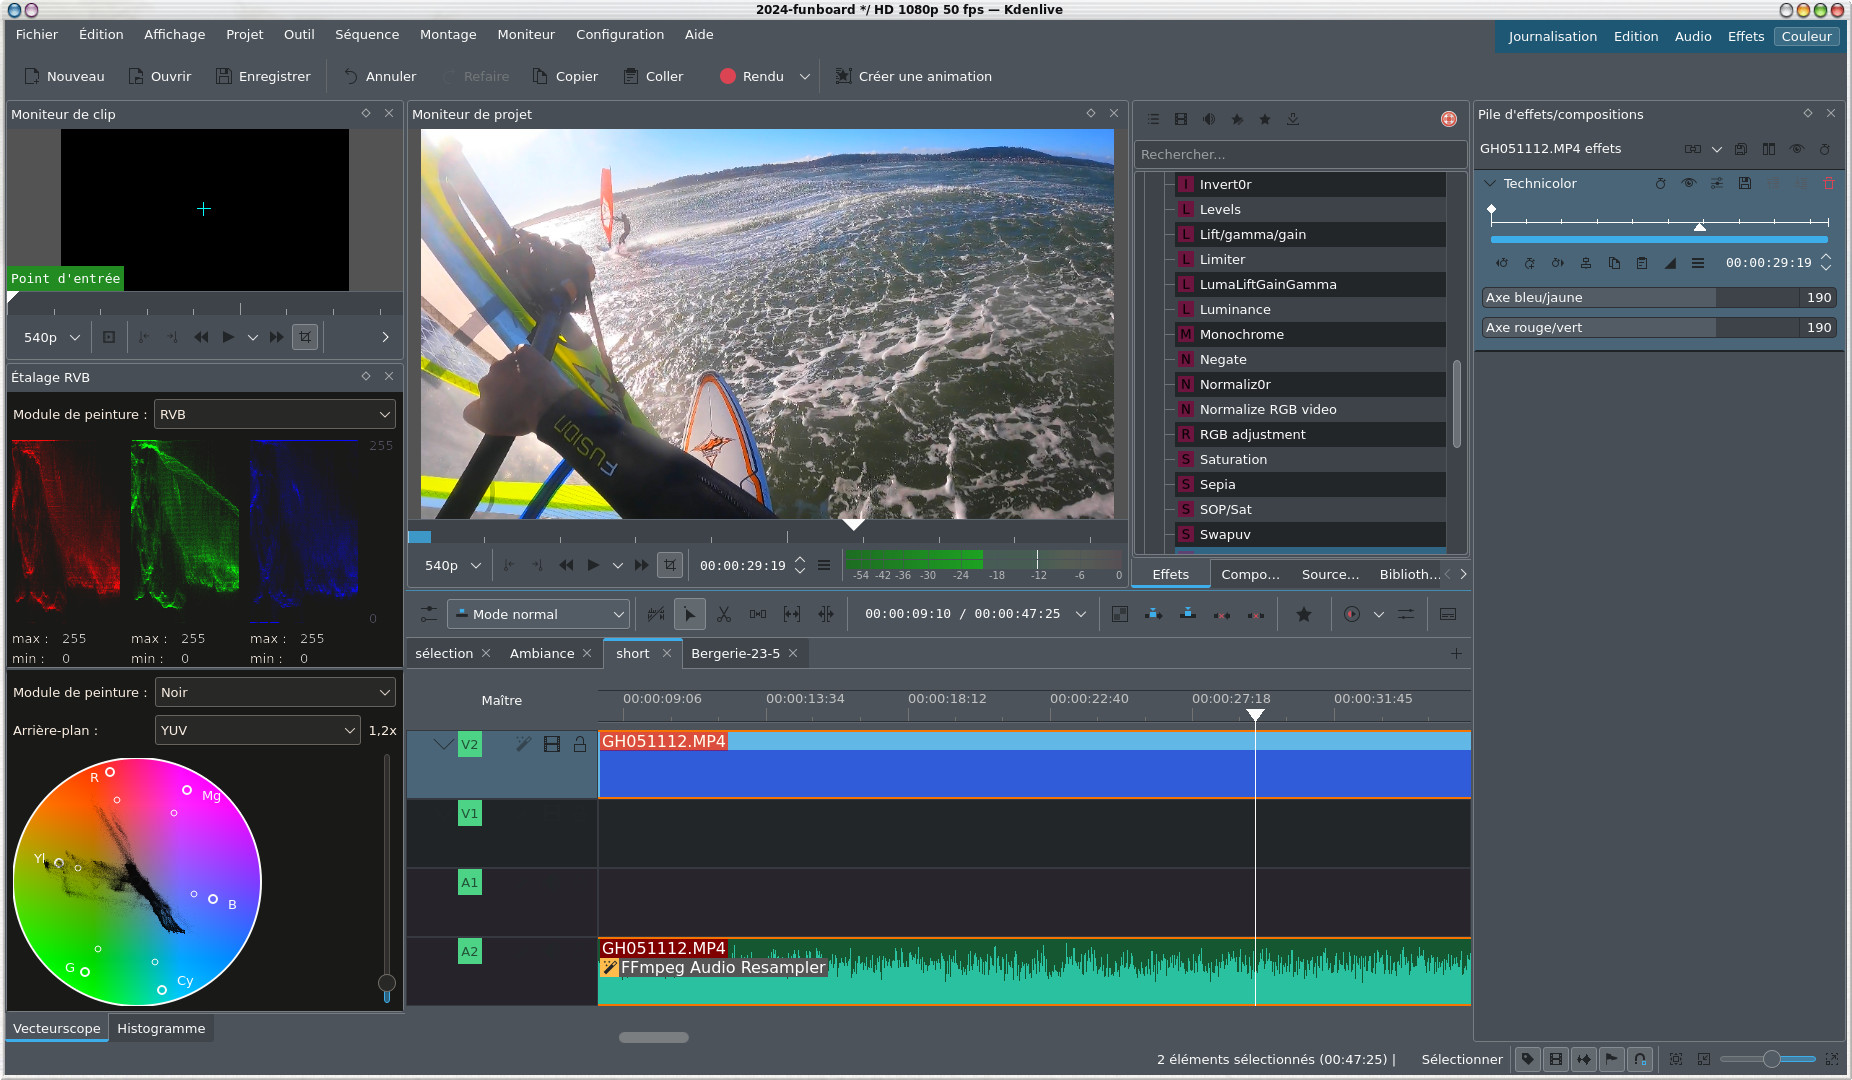
And finally
the Color display allows you to work on the colorimetry of the
project.
So of course
all these display modes are fully configurable, for each of
them you have the choice in the elements to display from the
Display menu ,
Then each
module of the interface can be moved by drag and drop and
resized. When you are satisfied with the layout of the
screen, there is a way to save the configuration from the
menu View->Save
Layout
then
reload it from the View->Load Layout menu or from the buttons
at the top right
To
summarize and for a good understanding later, we speak of
clip for the rushes that are in Sources of the project and for the audio and
video elements that are in the timeline. Moreover, the
context menu is the menu that appears when you click with
the right mouse button on a particular element.
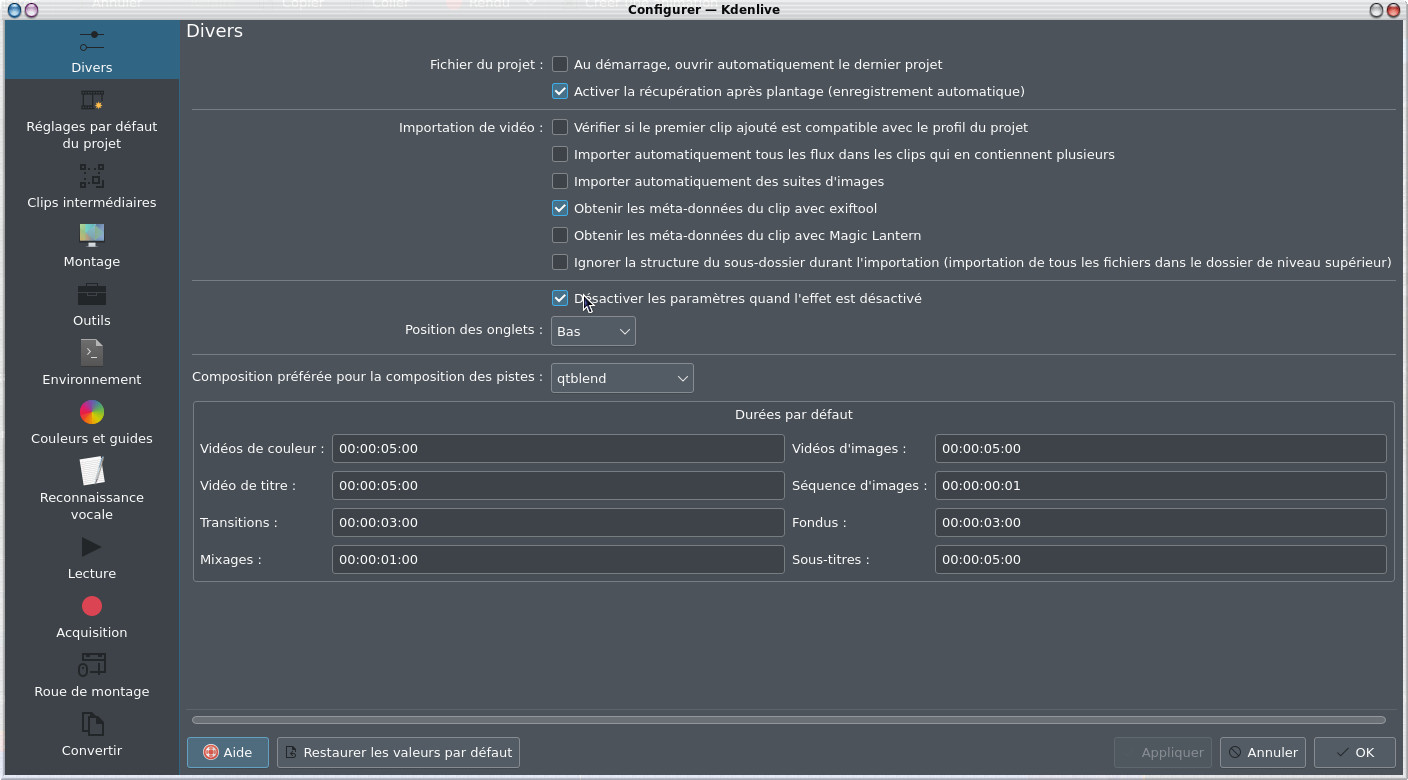
Configuration
We will start
with the software configuration in the Configuration->Configure
Kdenlive menu , we can
be satisfied with the default settings, I just point out the
interesting parameters. In the Miscellaneous section, we will find in particular the default
duration of titles and transitions and other more or less
interesting parameters that we can discover in the screenshot
below:
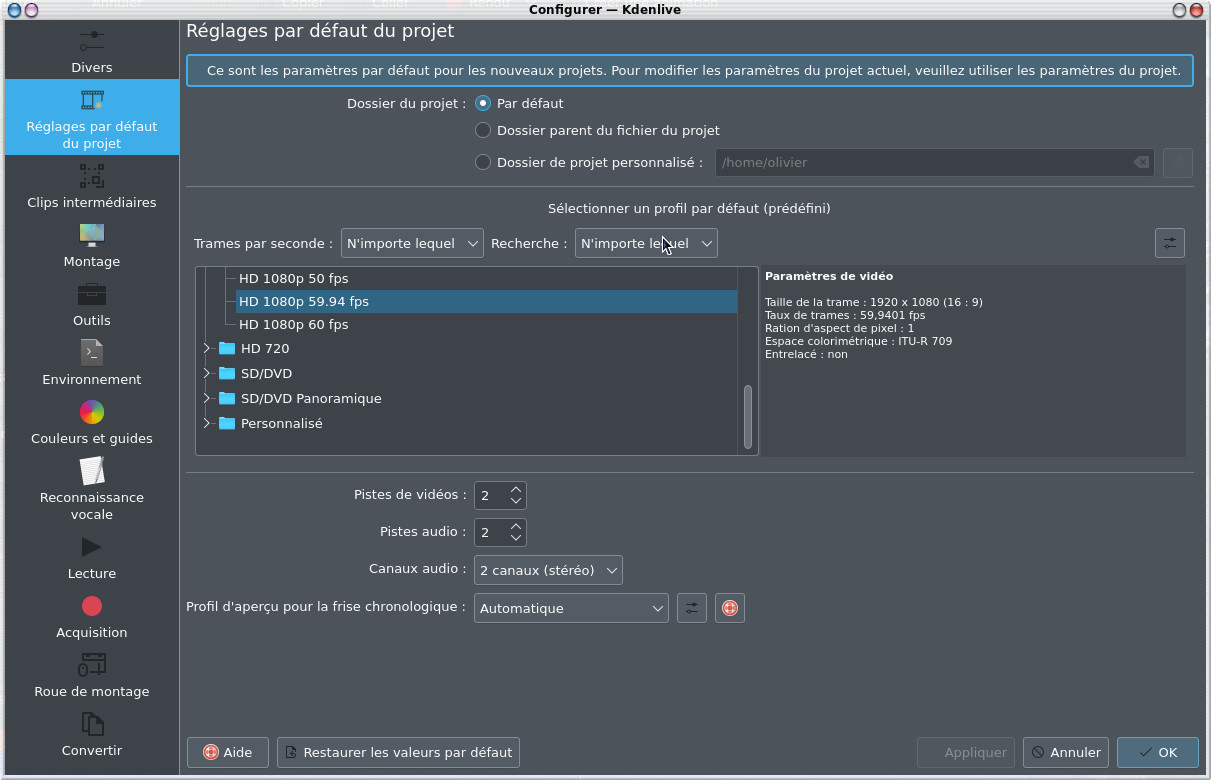
At the Project Default
Settings level we will set the default video
format for the videos. I set HD 1080p (i.e. 1920x1080) and
59.94 frames per second which correspond to the recording
frequency of my GoPro
By clicking
on  Manage Project Profiles you can edit the format of the projects
Manage Project Profiles you can edit the format of the projects 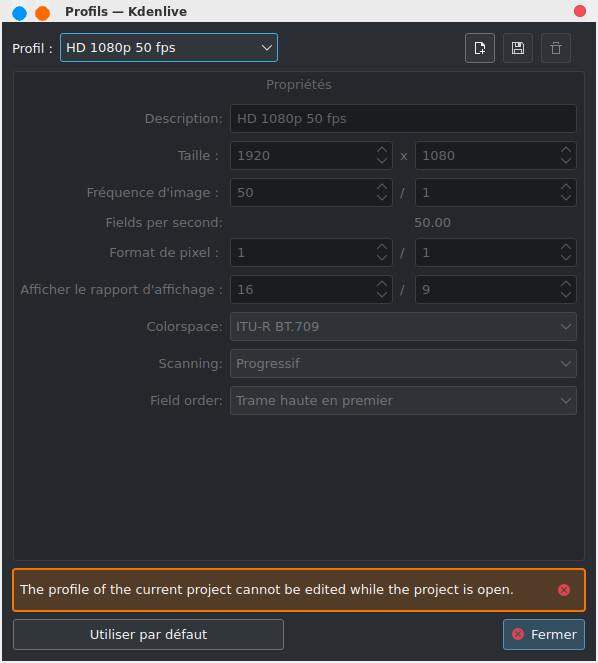
By clicking
the button to the right of Preview profile for
timeline , one can
edit the preview profiles of the montage in the timeline,
below are the options with hardware acceleration
to the right of Preview profile for
timeline , one can
edit the preview profiles of the montage in the timeline,
below are the options with hardware acceleration 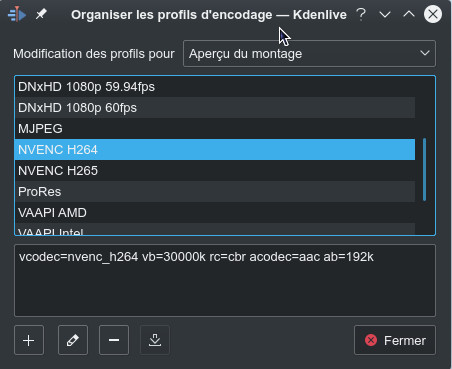
Also note
the Intermediate Clips parameter ( Proxy clips in English) which can be used if you do not
have a lightning-fast machine. Indeed in this case, editing
can be laborious and quite a hassle when you work on HD
clips. In this case you will have to check Intermediate
Clips, the
imported clips will then be automatically "degraded" to be
able to be used and edited, once the editing is finished,
the final video must be generated by disabling the proxy
clip function. But at this stage I advise you not to check
it, we will see later how to use it.
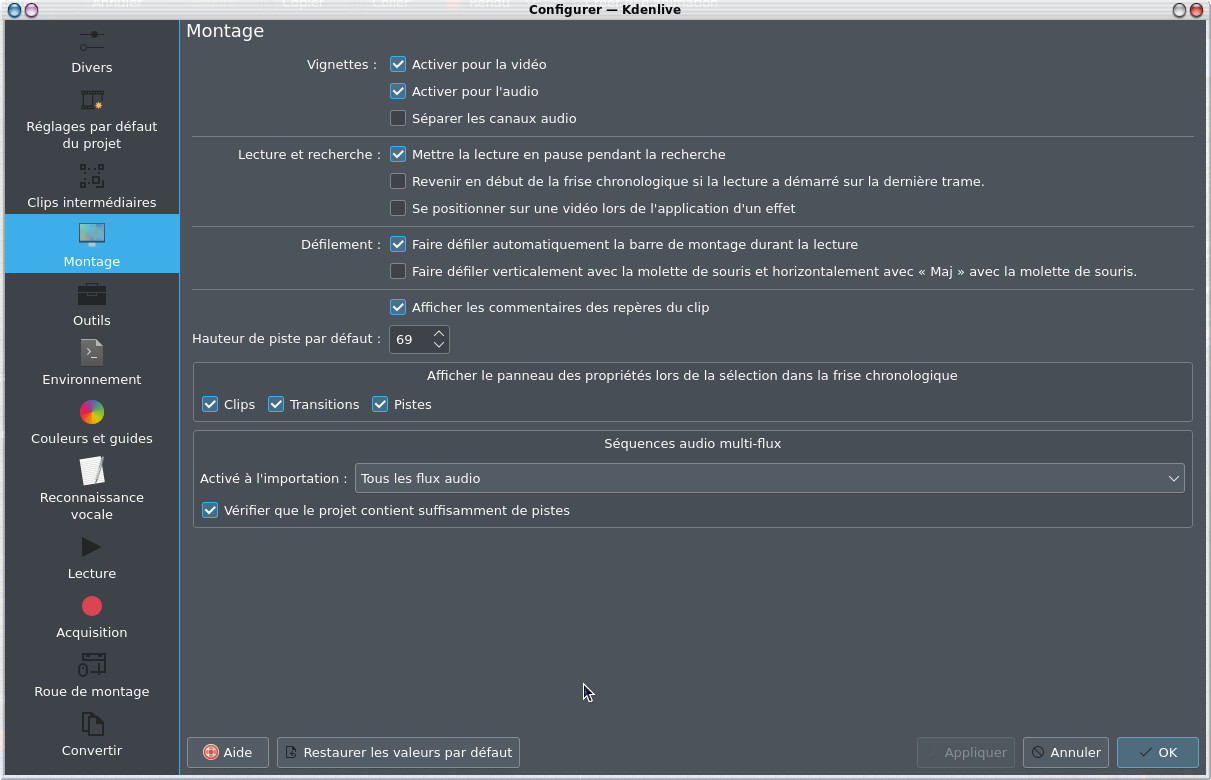
On the Mounting tab you
have the mounting parameters, I left the default values
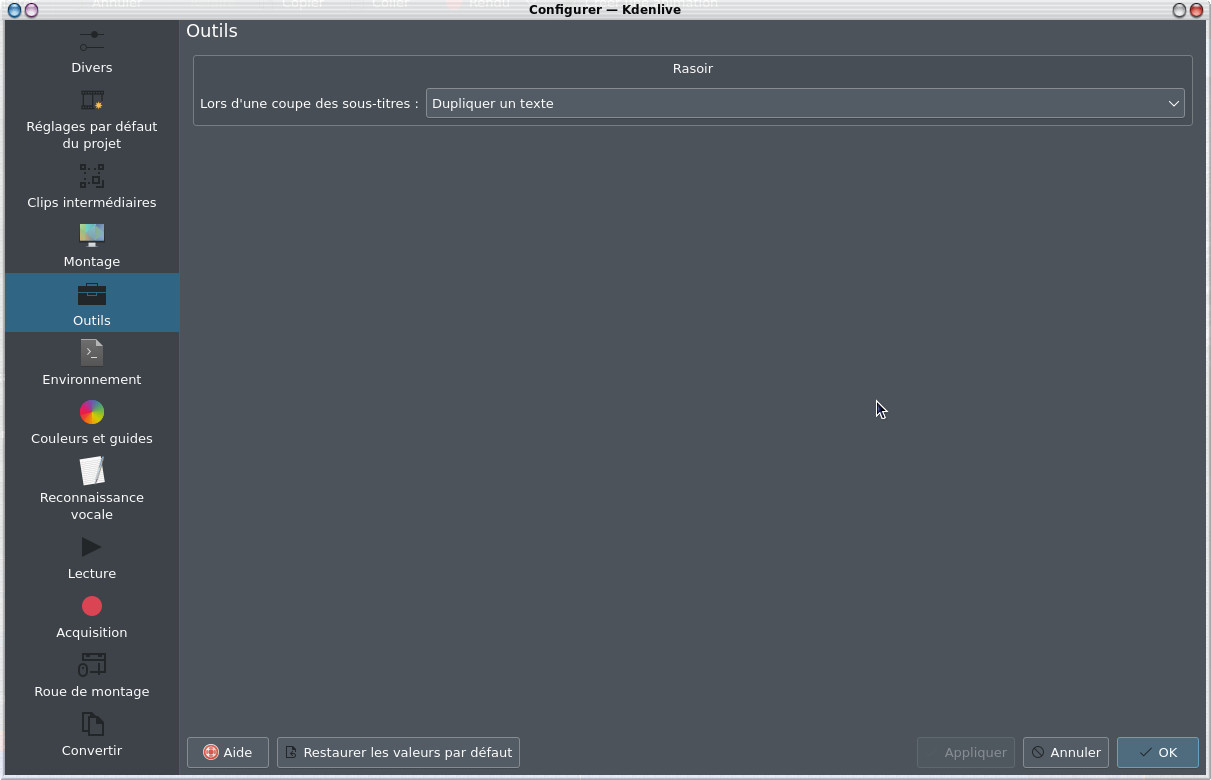
The Tools tab corresponds
to options for the Razor cutting tool.
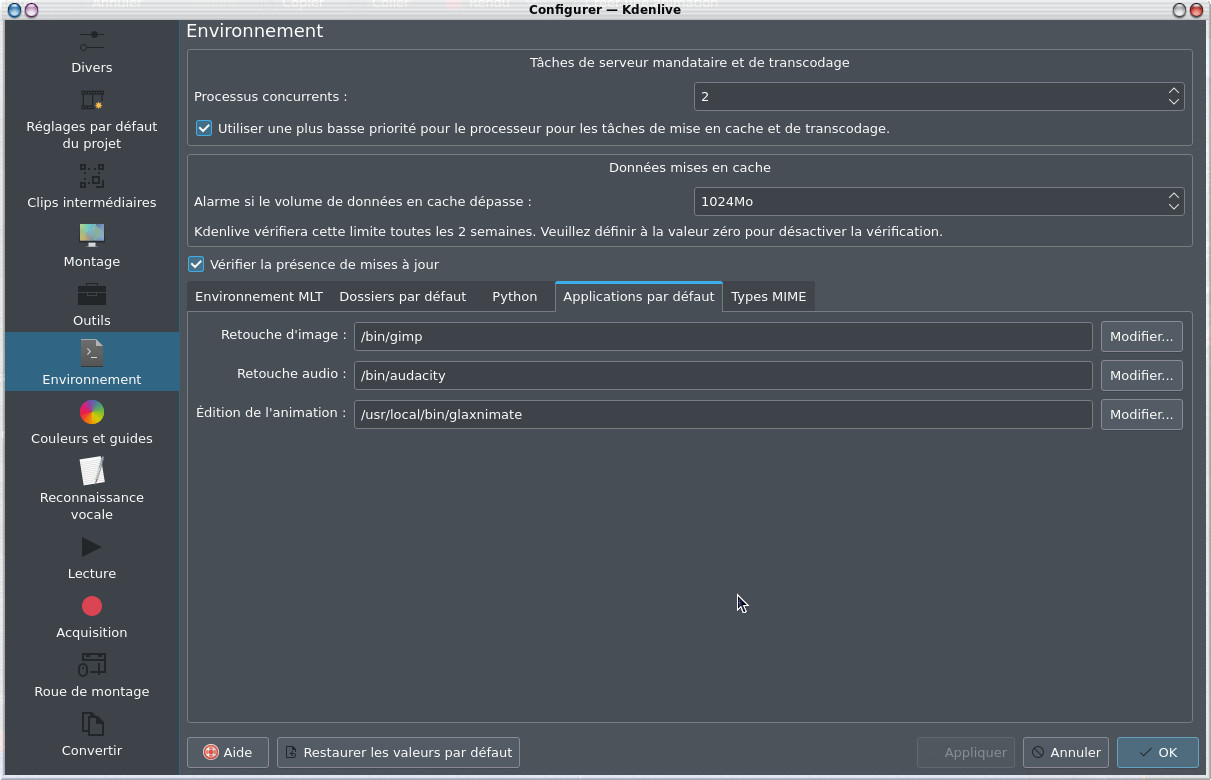
In the Environment
tab, there is
normally nothing to do, everything is entered automatically,
this nevertheless allows you to check that kdenlive has ffmpeg, MLT, audacity or even Gimp.

In the Default Applications tab,
note that you must indicate the path to glaxnimate to have access to 2D animations.
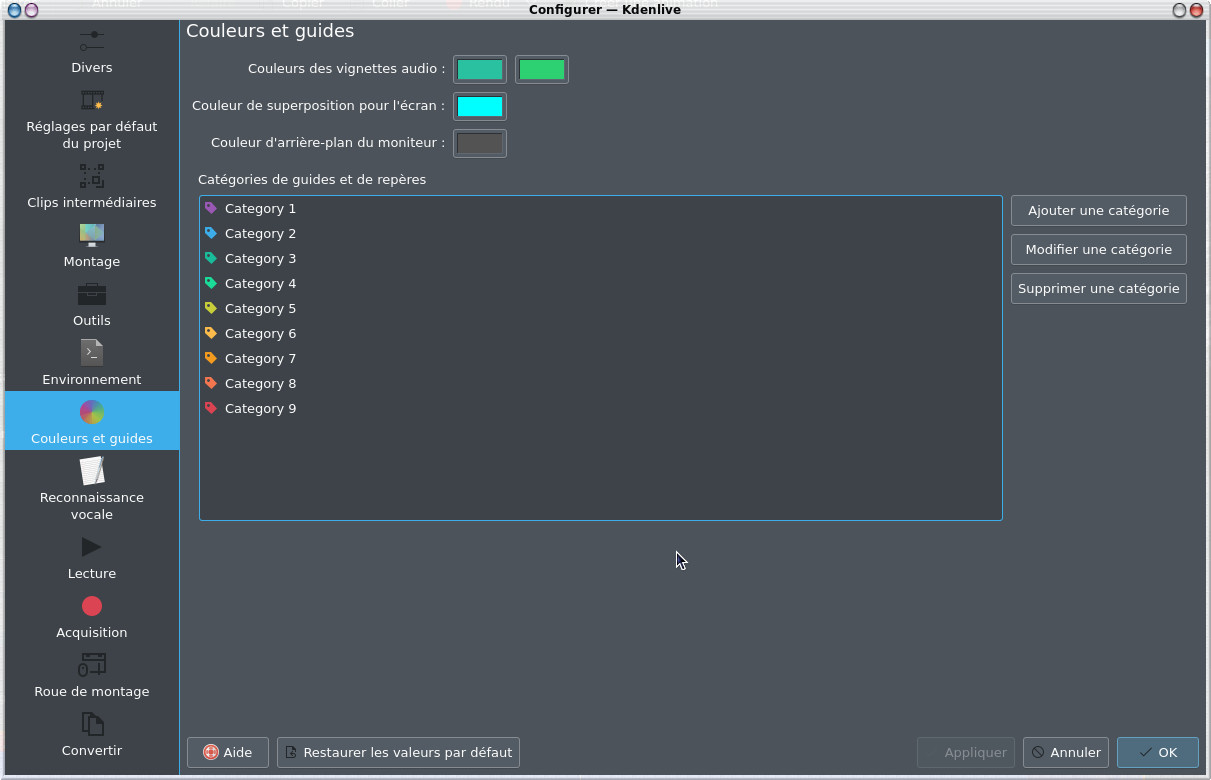
At the Colors and Guides level we choose the default colors for the guides and
markers
For Voice Recognition which allows audio recognition and automatic
transcription to text to create subtitles, we will see that later .
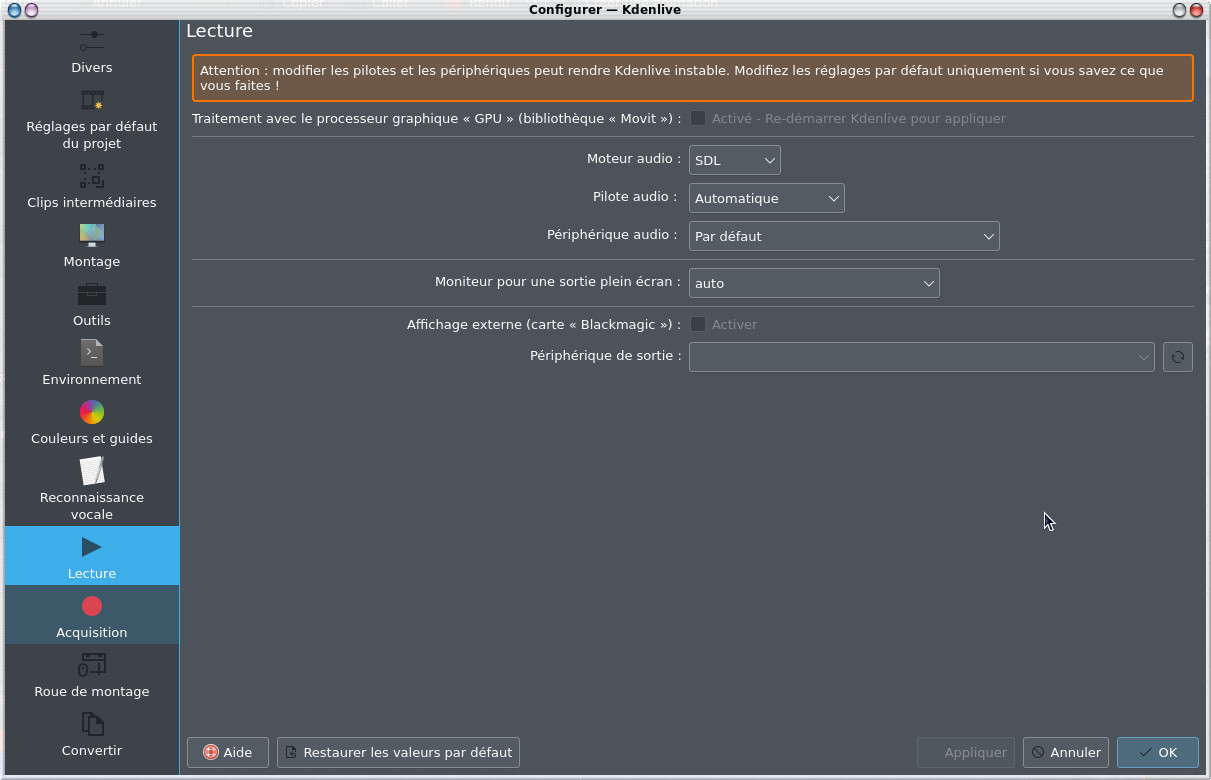
At the Reading level , you can check Processing with the graphics processor "GPU" , this allows you to use the processor of your graphics card, with modern video cards, it generally boosts the operation of kdenlive, the processing of sluggish HD video becomes really very fluid. On the other hand, it is subject to crashes for certain hardware configurations including mine :-( to try nevertheless. If you have performance problems there are however other solutions including the intermediate clips which are described there.
At the Acquisition
level , you
can configure a possible device, this is a feature that is
less and less useful at a time when you can take videos on a
mobile phone. It was especially useful at the time of miniDV
firewire camcorders or even older S-VHS, this feature has
now disappeared, I invite you to visit this page to digitize old VHS tapes which will give you alternatives.
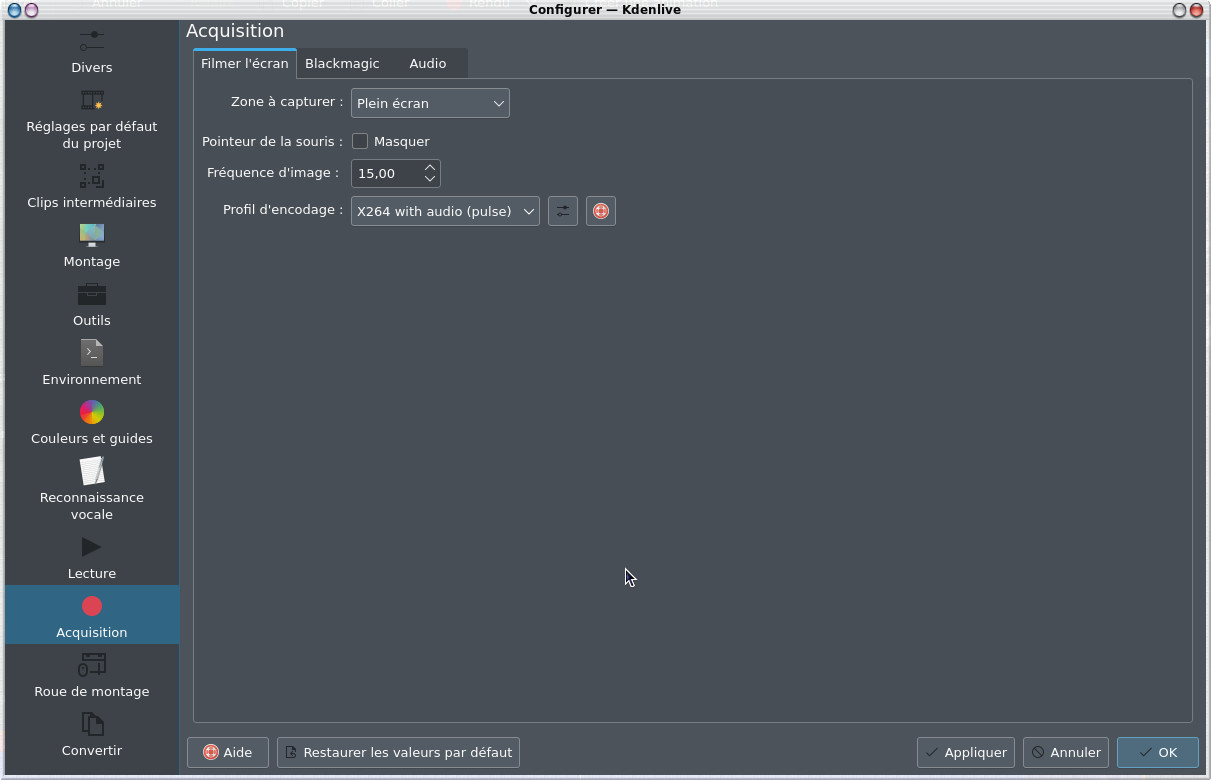
I'm going to skip the Editing Wheel screen, this is for those who have these types of
devices.
At the
same level, there is also the possibility of making
screencasts, therefore recording what is happening on your
work screen, this is interesting for those who make video
tutorials.
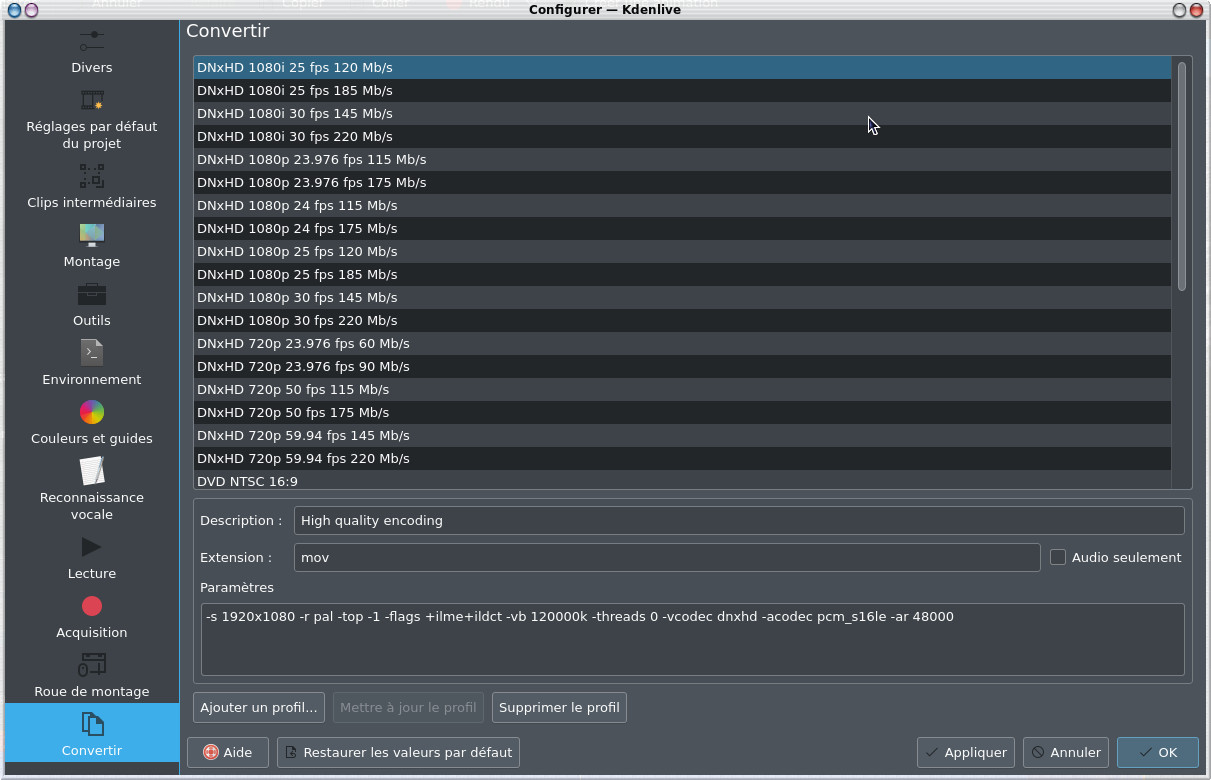
The Convert screen allows you to configure encoding settings for
rendering the final video.
| Back to FUNIX home page ] |