 Welcome
 Linux
Linux Unix
Unix Download
Encourage FUNIX
Multimedia
Video editing
- Installation of video editing software
- Editing your video with Kdenlive
- Editing your video with Cinelerra
- Editing your video with OpenShot Video Editor
- Editing your video with Pitivi Video Editor
- Editing your video with Flowblade Video Editor
- Editing your video with Shotcut
Edit your video with kdenlive
Network and system
Email management
The roughing under Kdenlive
This site has been automatically translated with Google Translate from this original page written in french, there may be some translation errors
Object
The principle of assembly
The generic
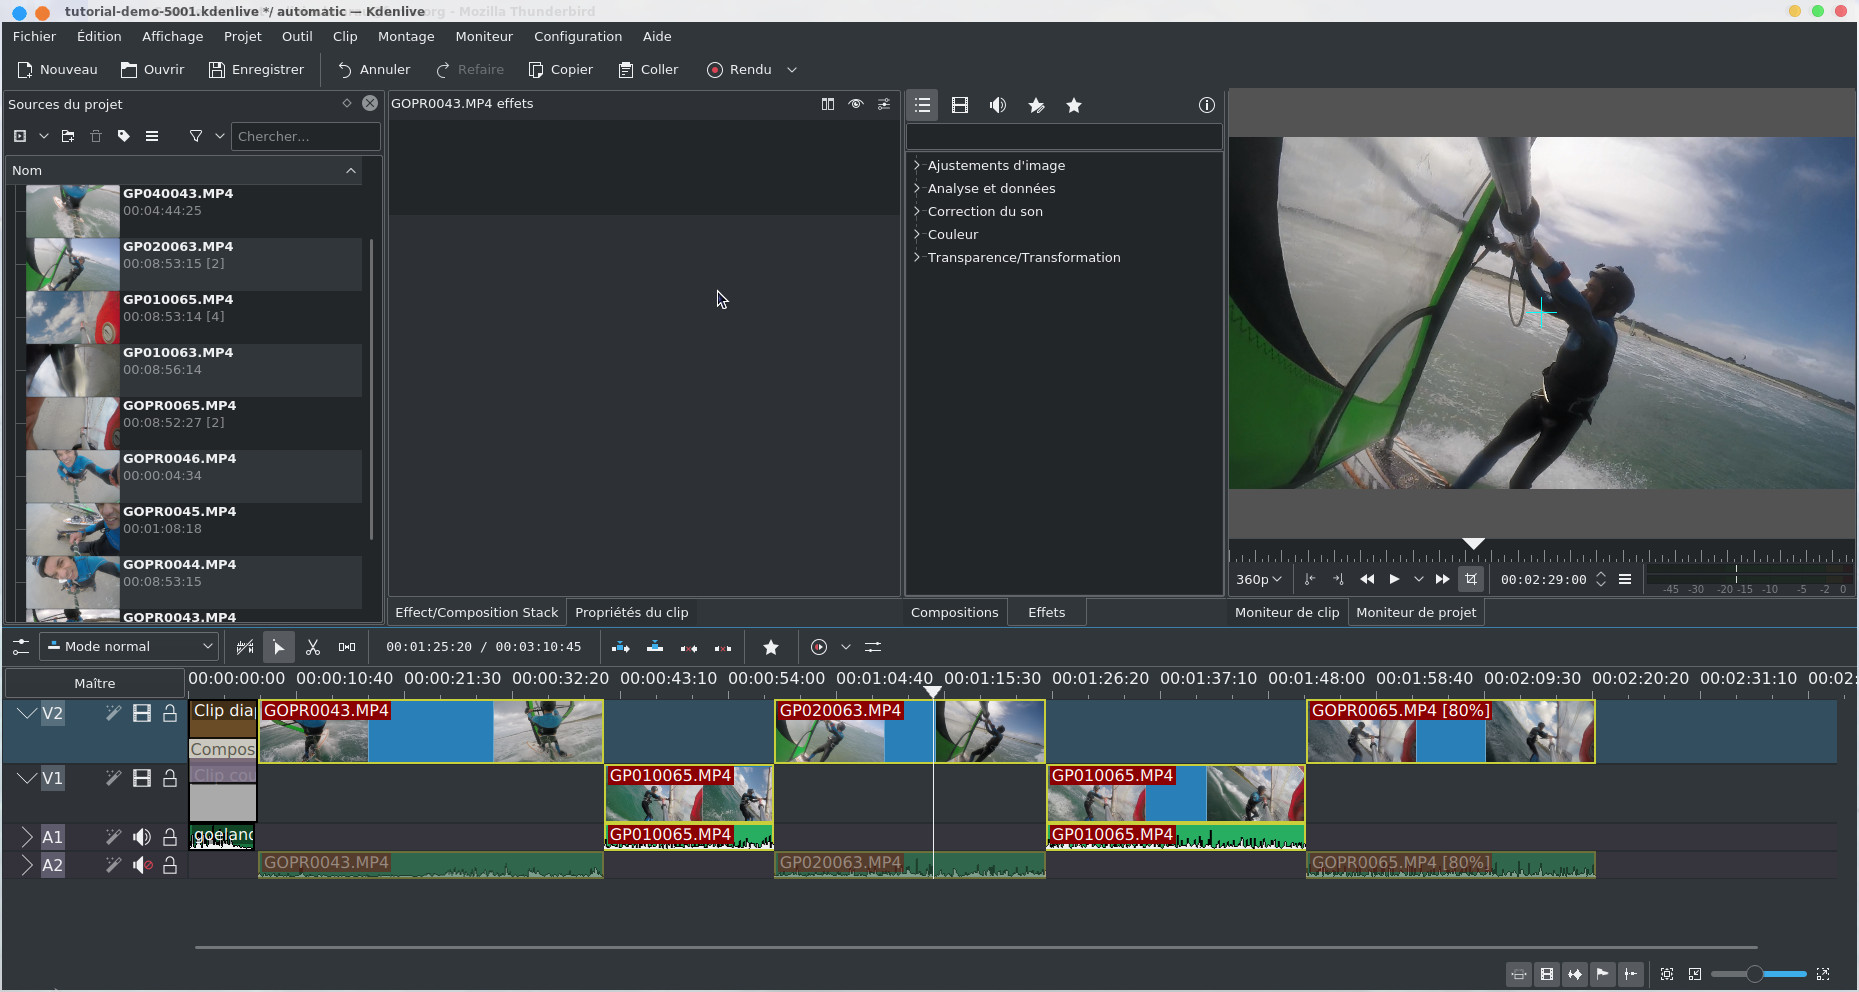
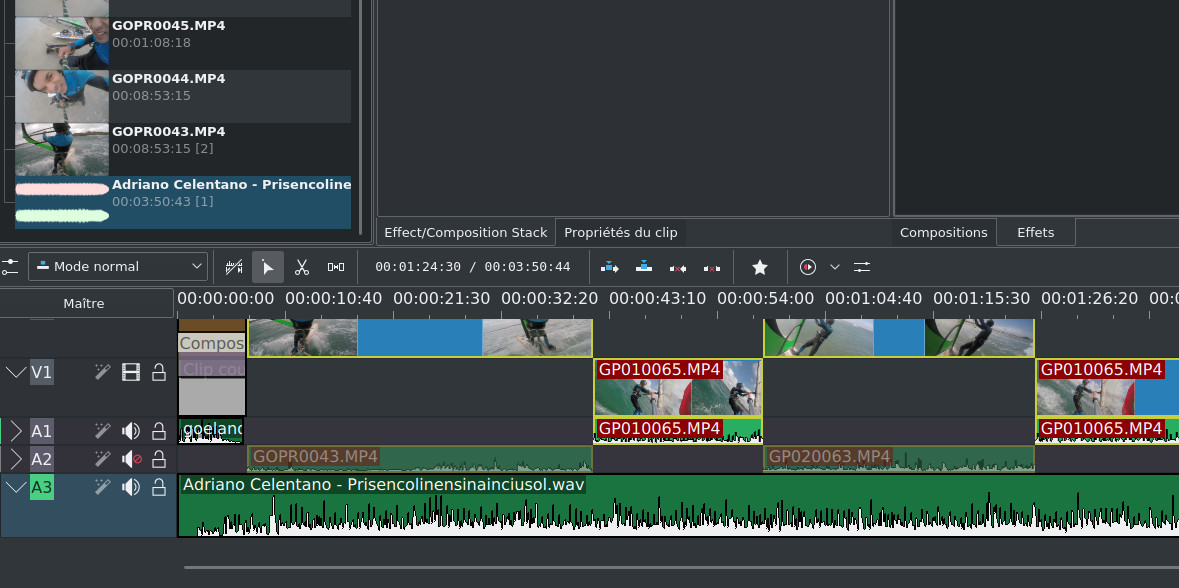
At the very beginning of the final video, we will place a synfig animation ( Slideshow Clip ) with a jingle as we can see later in the page on title management , then the rest of the video will be sized by a soundtrack. So we start by placing the opening animation with its jingle on the timeline.
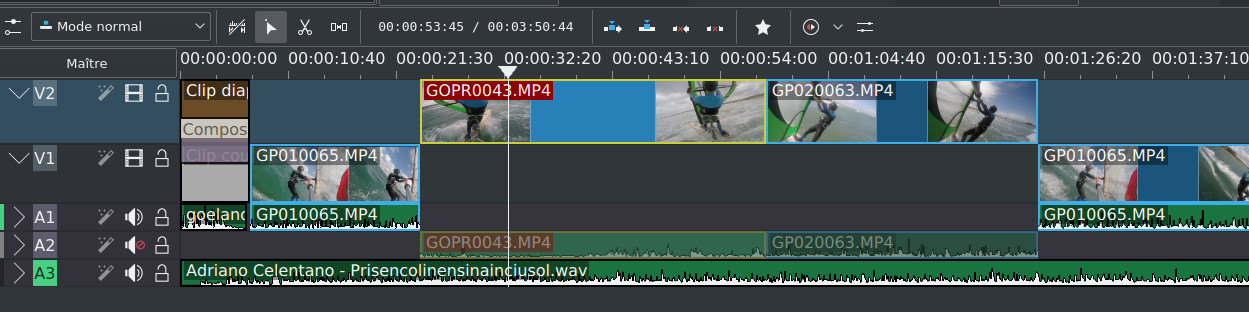
In Project Sources we select the sequence of images and by drag and drop we slide it onto the first video track of the timeline (the one marked V2 ), we then slide the white color clip onto the second track (the one marked V1 ), I place the jingle on the first audio track of the timeline (the one marked A1 ). It should give something like this:
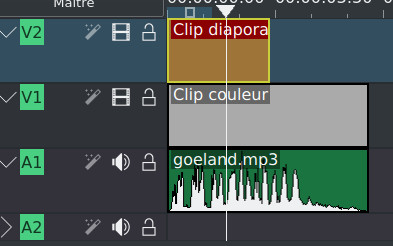
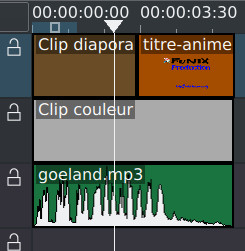
Arrange clips on the timeline
We now begin the most laborious part of the editing, it consists of selecting from the rushes the video clips that will be the basis of the editing and that will be moved in the timeline to constitute the final video. All the art of editing then lies in placing them between them in the right order, the right rhythm, the right duration, etc. It cannot be improvised and it comes with time, there are quite a few sites on the internet that explain this very well by giving some good advice.
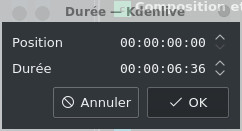
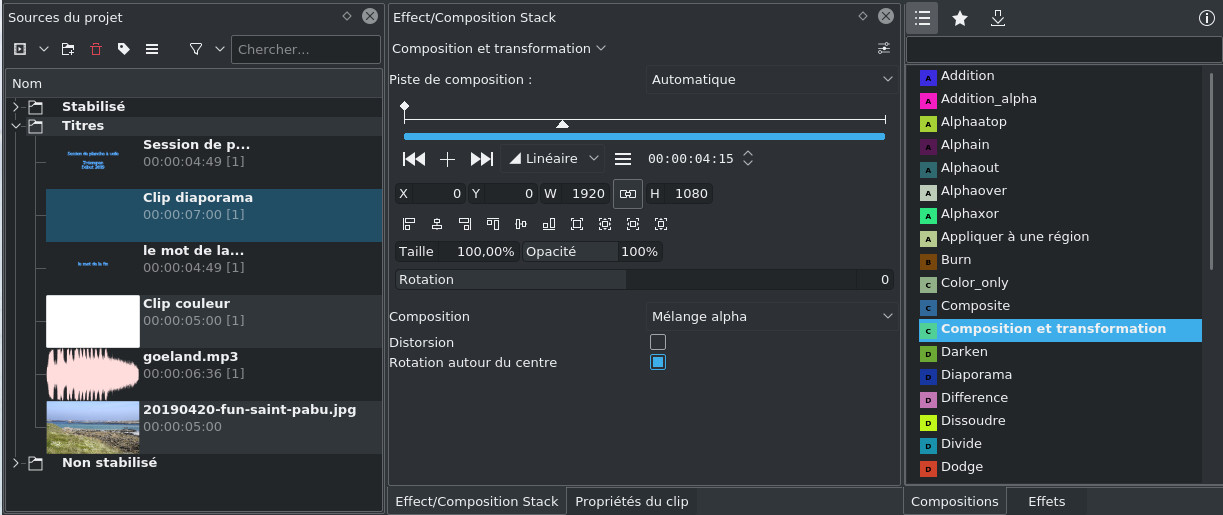
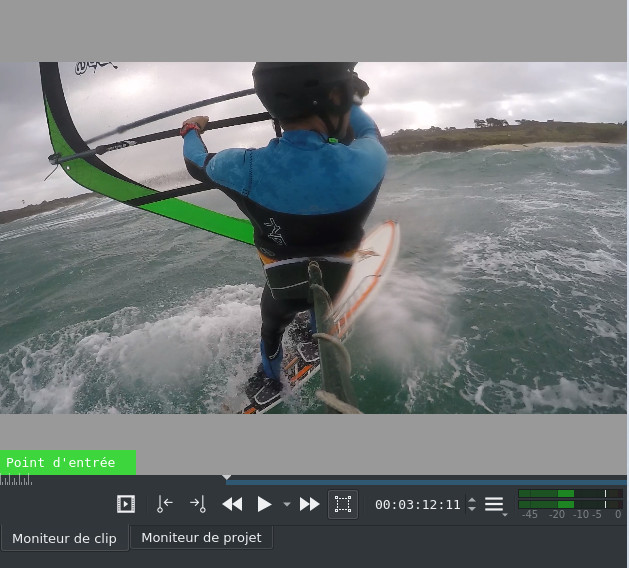
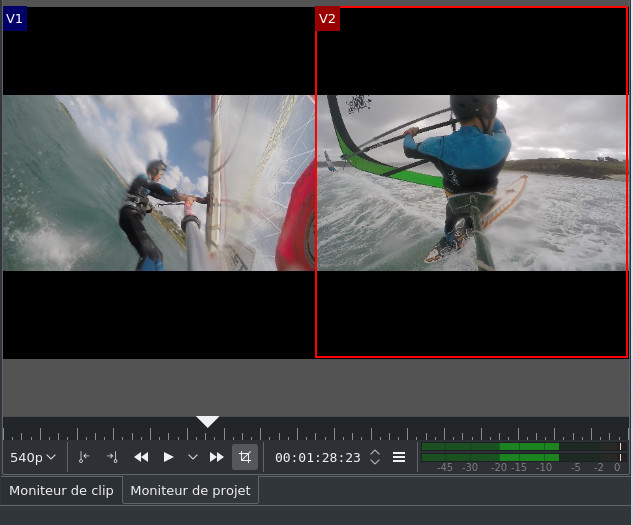
We start by selecting our first clip and viewing it in the clip monitor to locate the part of the clip that interests us.
 , we place ourselves at
the end of the clip and we click on
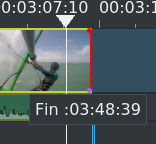
, we place ourselves at
the end of the clip and we click on  . The selected part of
the clip now appears in the Clip Monitor in blue:
. The selected part of
the clip now appears in the Clip Monitor in blue: 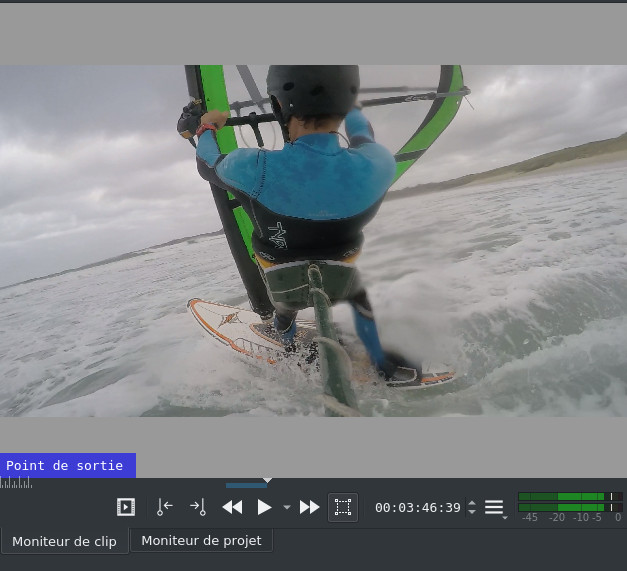
 at the bottom right of the main window. This is
what it gives:
at the bottom right of the main window. This is
what it gives: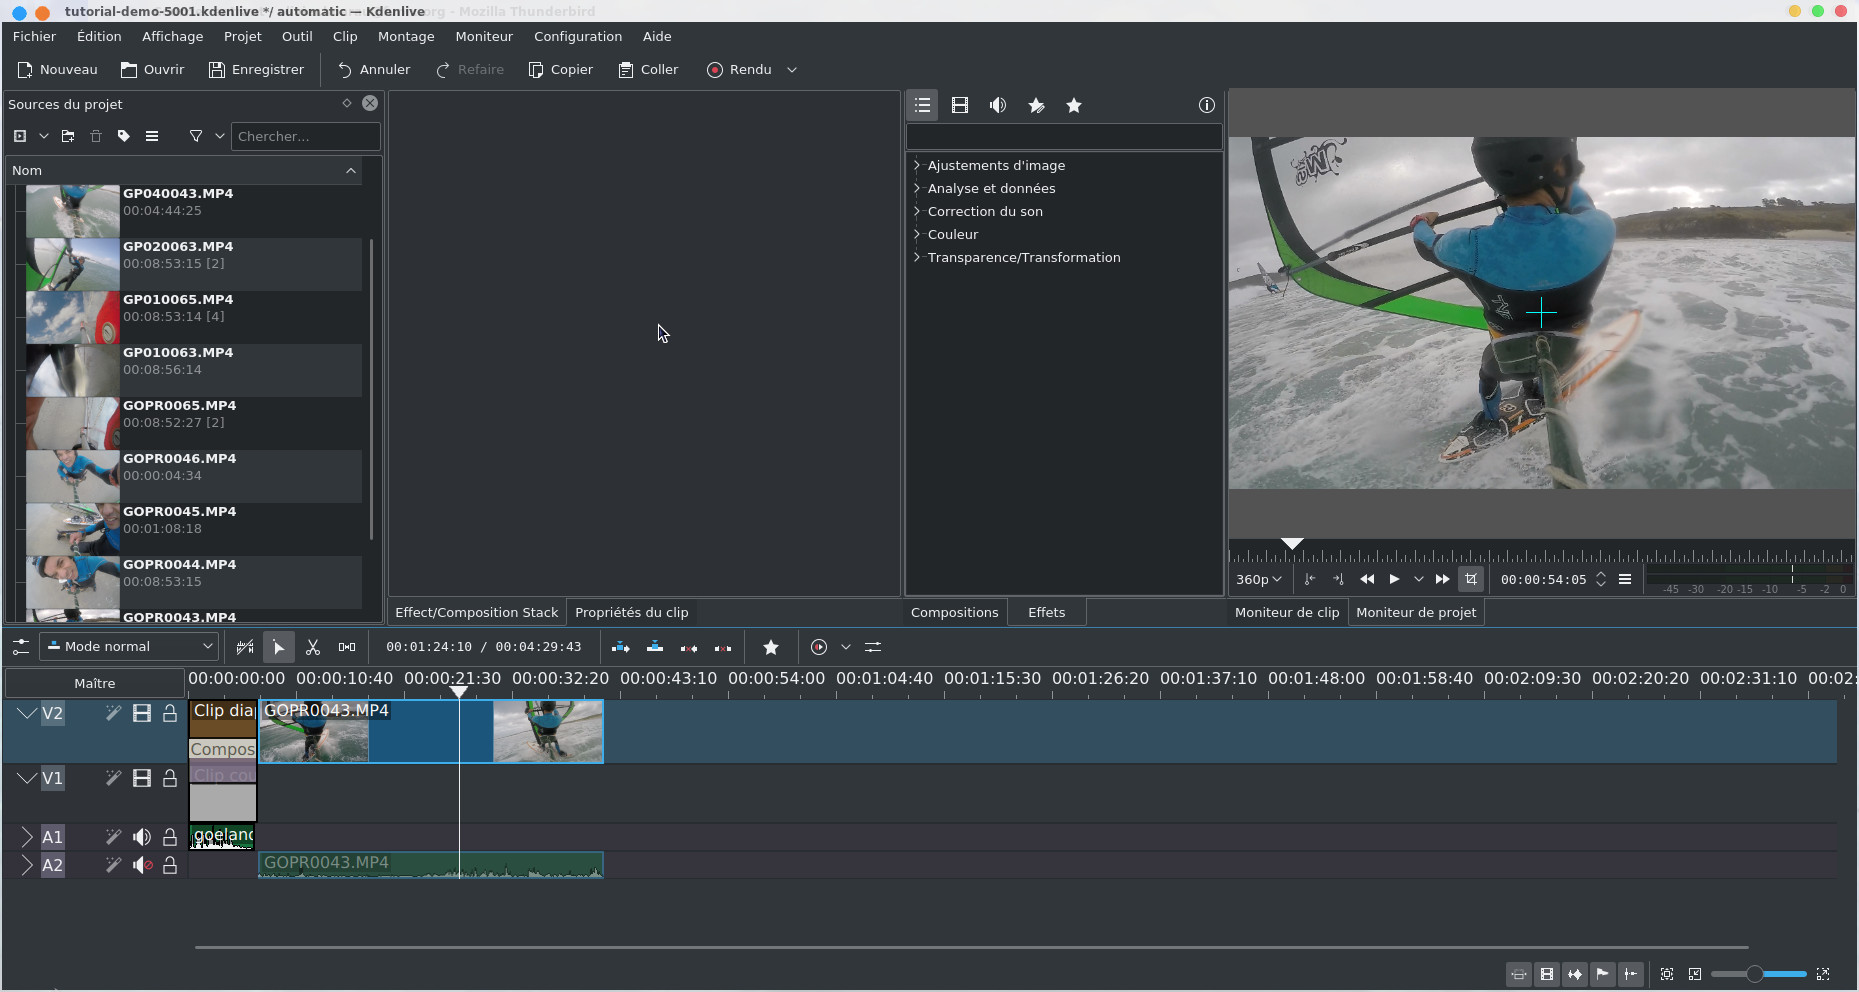
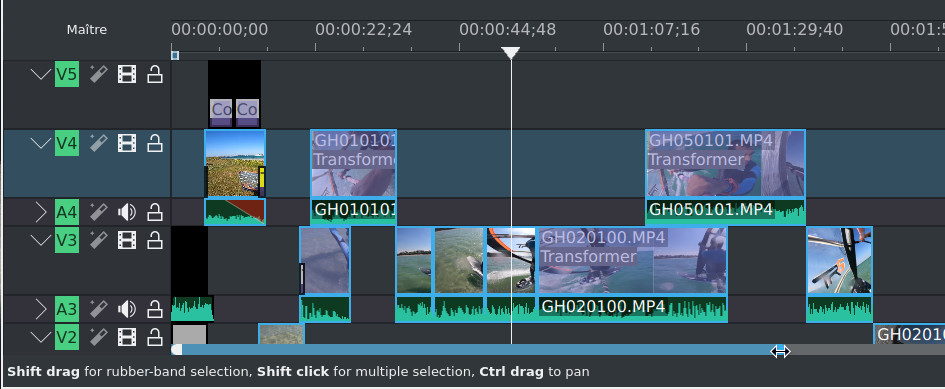
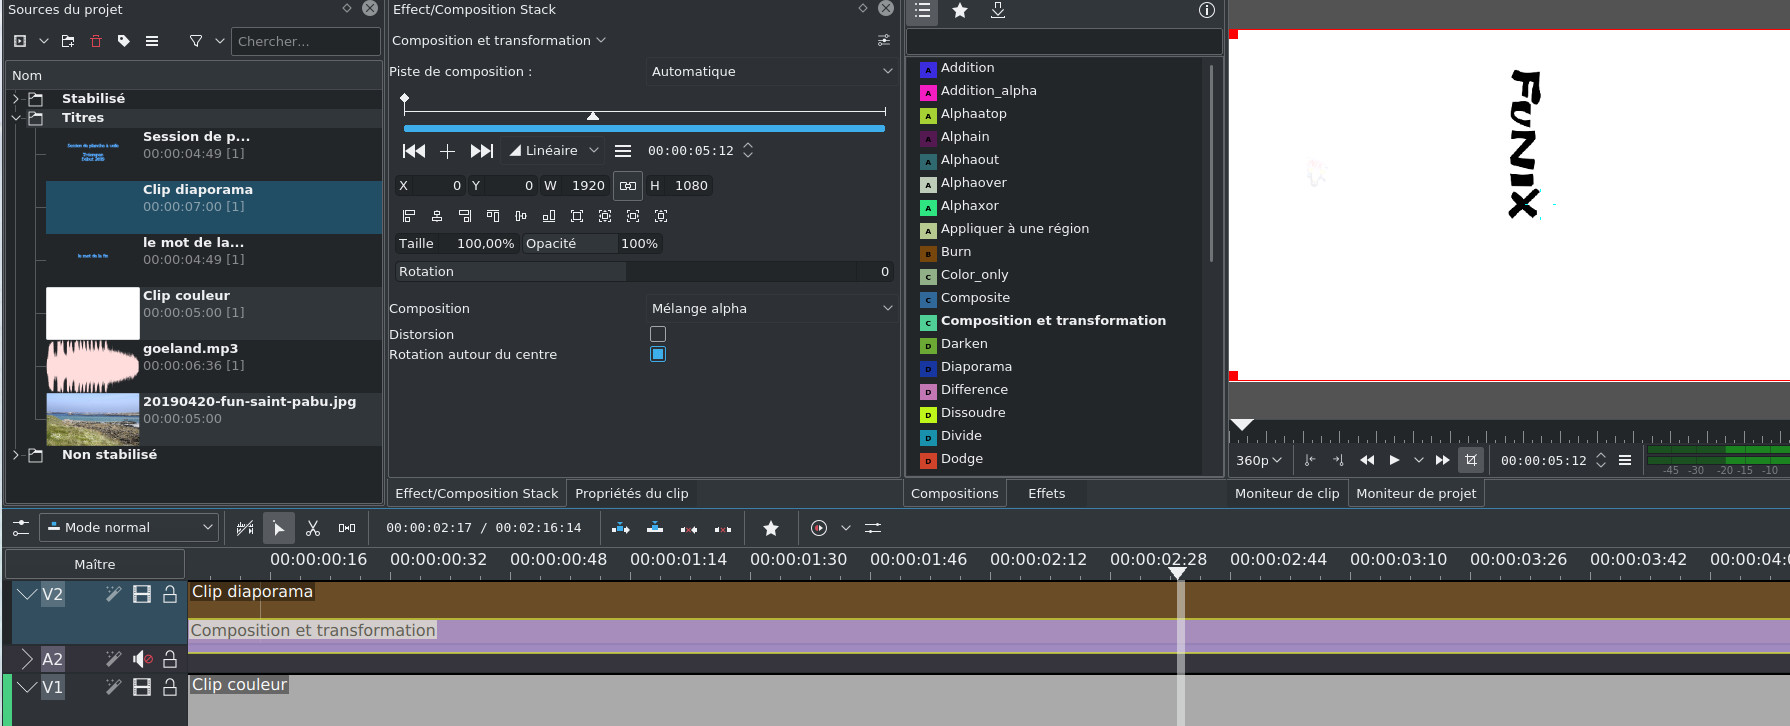
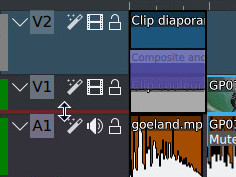
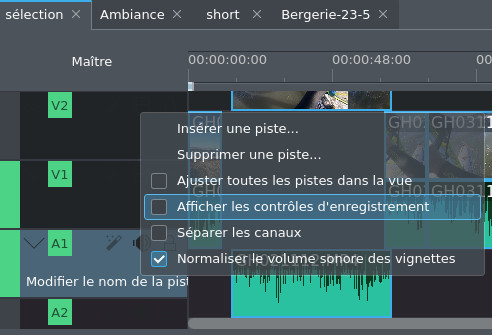
I intentionally zoomed in on the timeline to show it as a whole. Note that you can increase or decrease the size of the tracks by playing with the slider as the image below indicates:

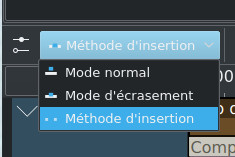
 , the clip will
be automatically added to the timeline at the
level of the V1 track by default at the cursor
level and all the clips of all the tracks will be
shifted to the right.
, the clip will
be automatically added to the timeline at the
level of the V1 track by default at the cursor
level and all the clips of all the tracks will be
shifted to the right. 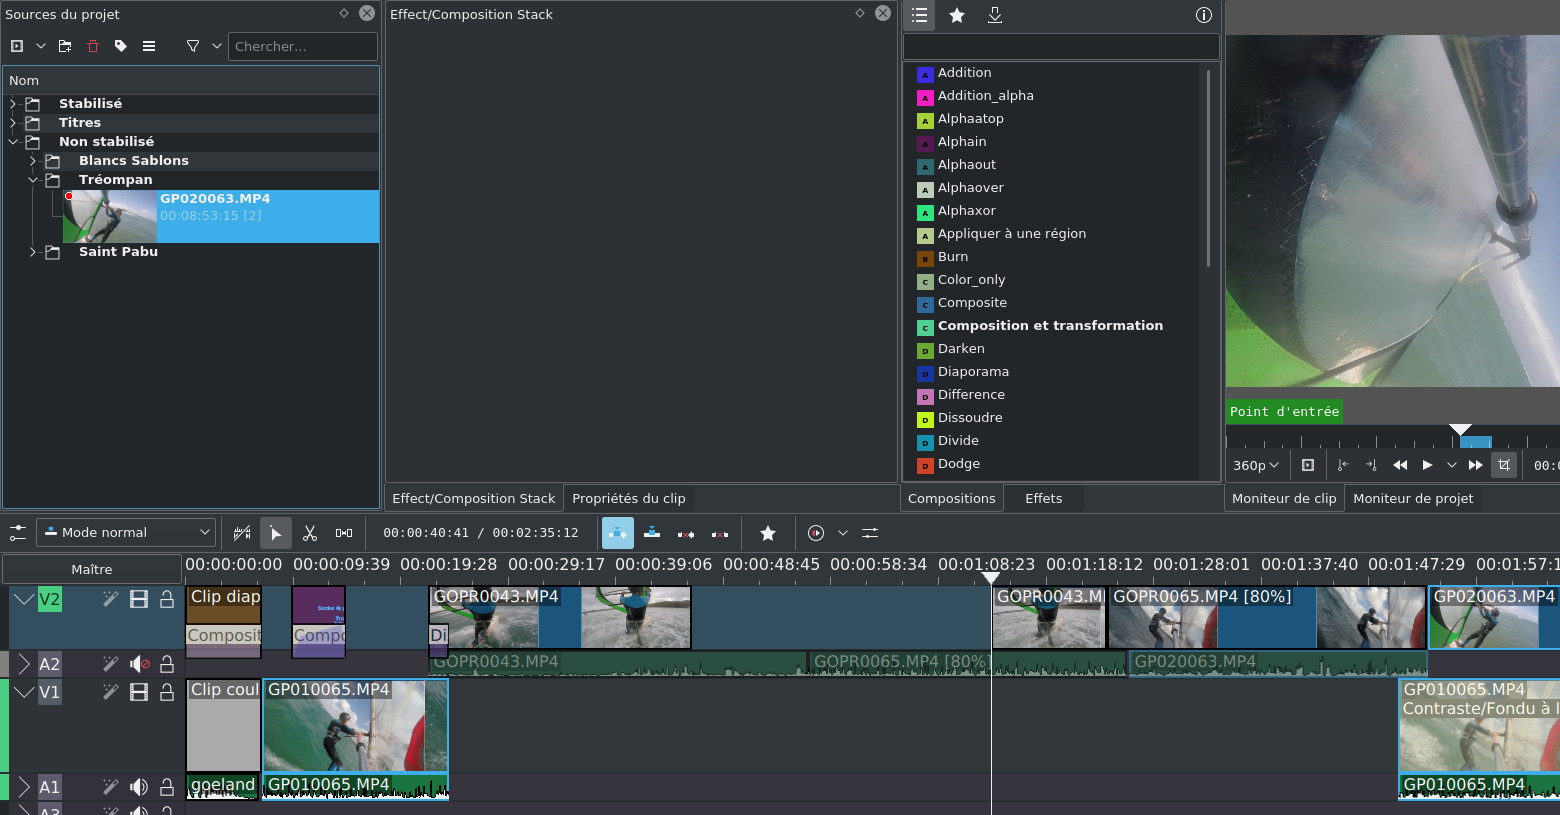
- to go to the end of a clip, you have to place the cursor somewhere at the clip level then click on the End key (on my keyboard it's the Fn key + arrow >), and to go to the beginning you will do the same with the Home key (on my keyboard Fn key + arrow <).
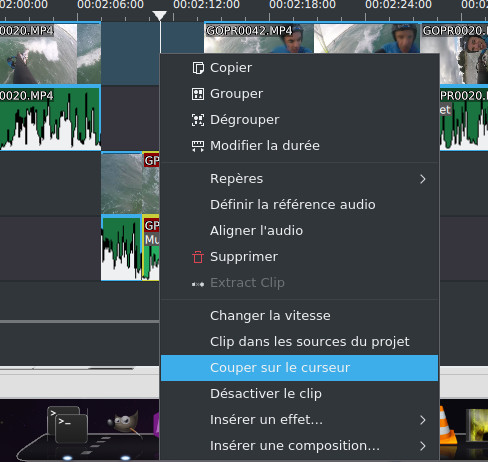
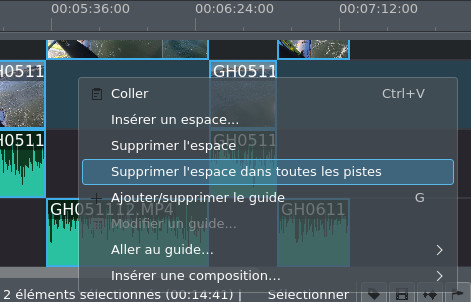
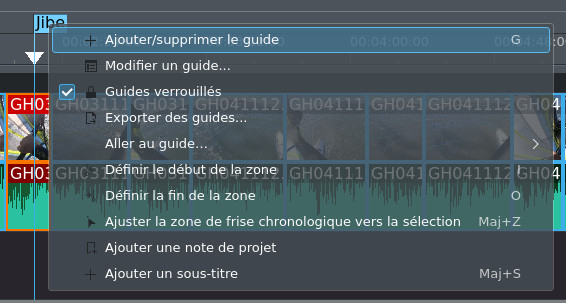
- you also have a function to remove all unnecessary spaces from the timeline between clips, it is accessible from the timeline context menu

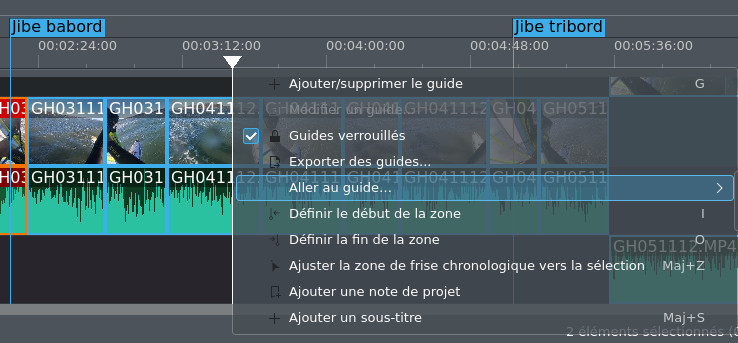
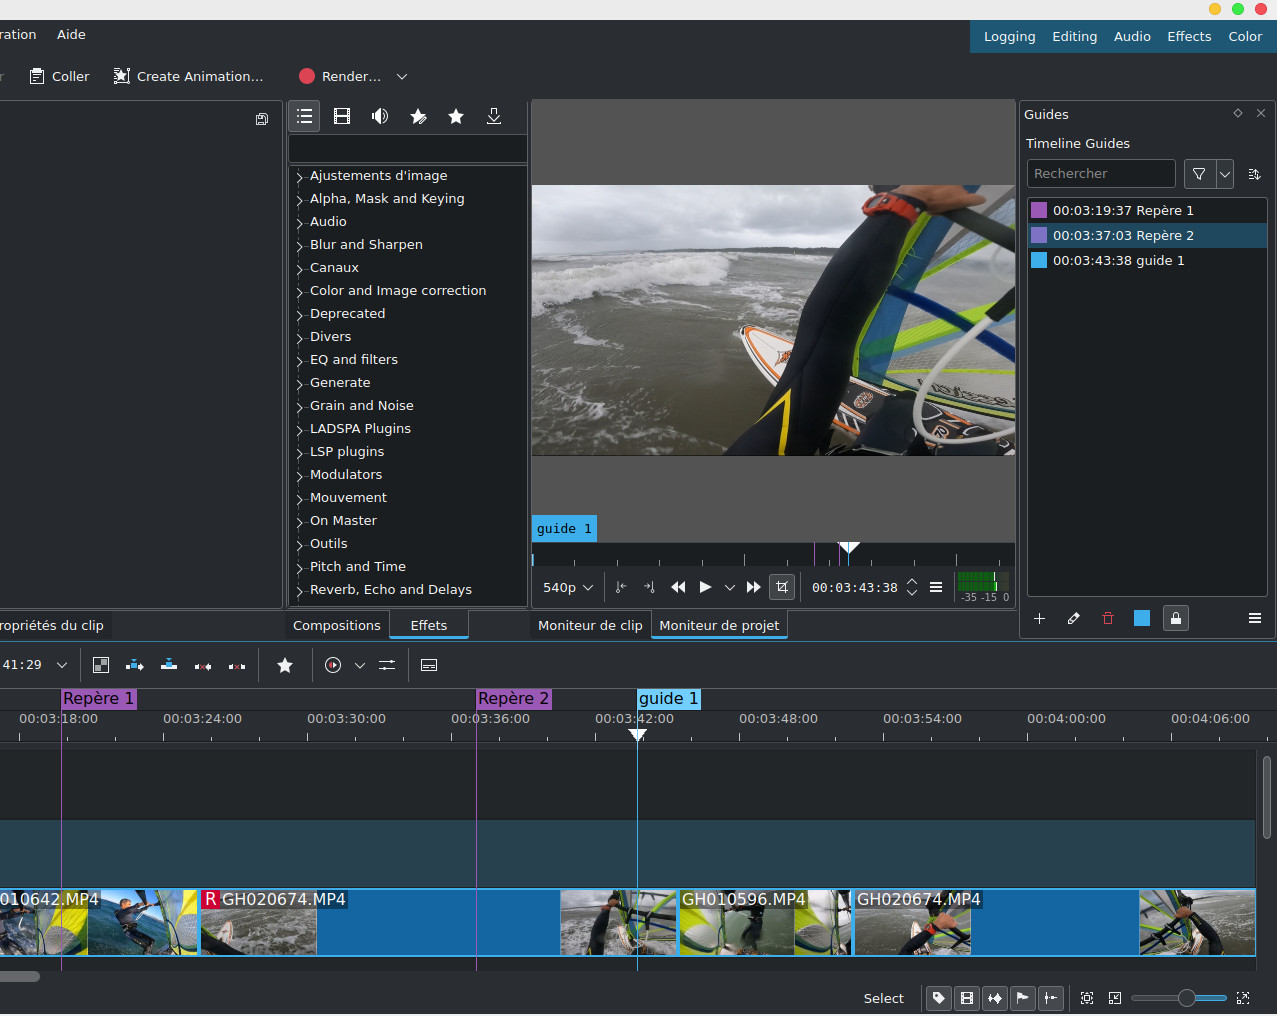
 we can move the
entire project in the timeline, including the
guides.
we can move the
entire project in the timeline, including the
guides. 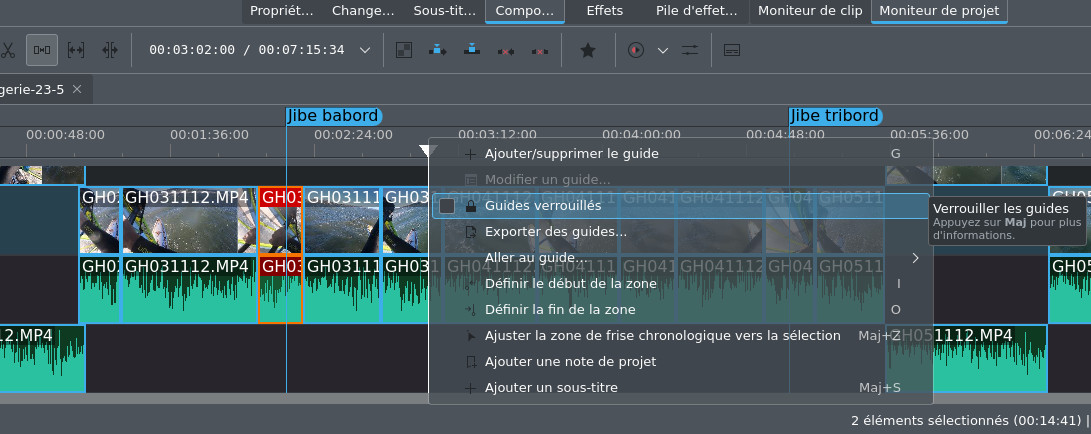
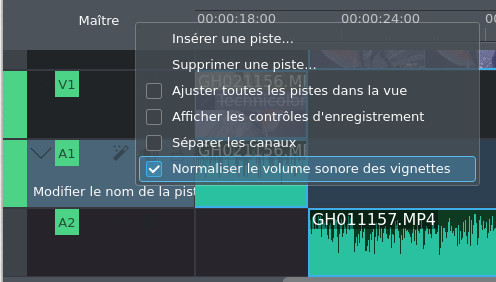
 thenwe
create an additional audio track Editing->Tracks->Insert
Track we create it under
track A2
thenwe
create an additional audio track Editing->Tracks->Insert
Track we create it under
track A2 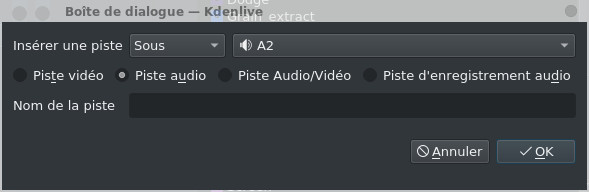
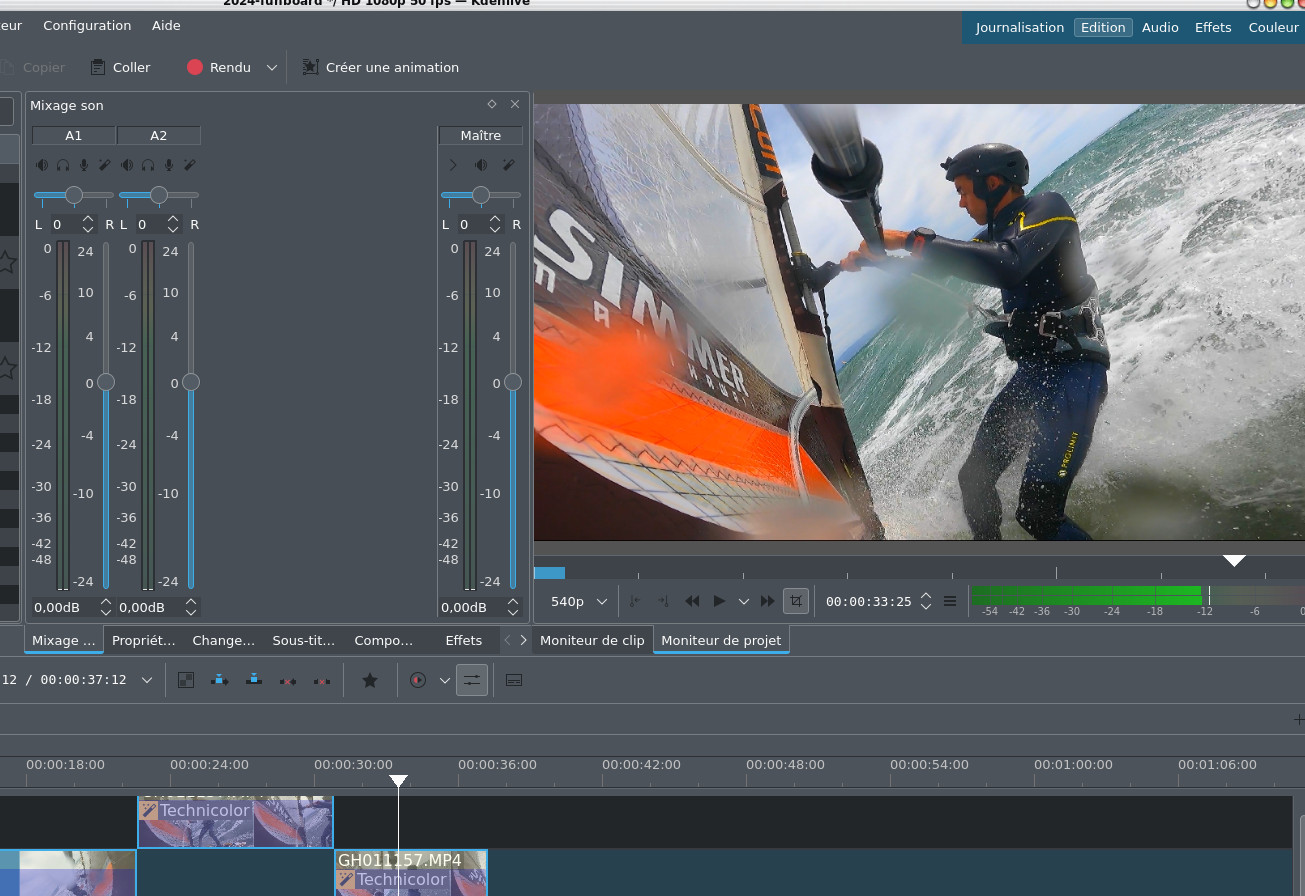
The audio mixer
| Back to FUNIX home page ] |